background image

www.PyleUSA.com

5

1. Camera Pairing:

 Press the 

MODE

 button to confirm. At the same time,      

     press and hold the camera red switch pairing for about 2 ~ 5 seconds. 
     The message "

Pair OK

" indicates that the pairing is successful. Otherwise,     

    the system displays "

Timeout

" or pairing failure.

2. Vision Control:

 Set the camera brightness, contrast, saturation.

3. Time Setting:

 You can adjust the current year, month, day, hour, minute,     

     in order to keep the DVR recording time.

4. Language:

 Can switch multiple languages.

5. Default Setting:

 Restore the current factory settings. 

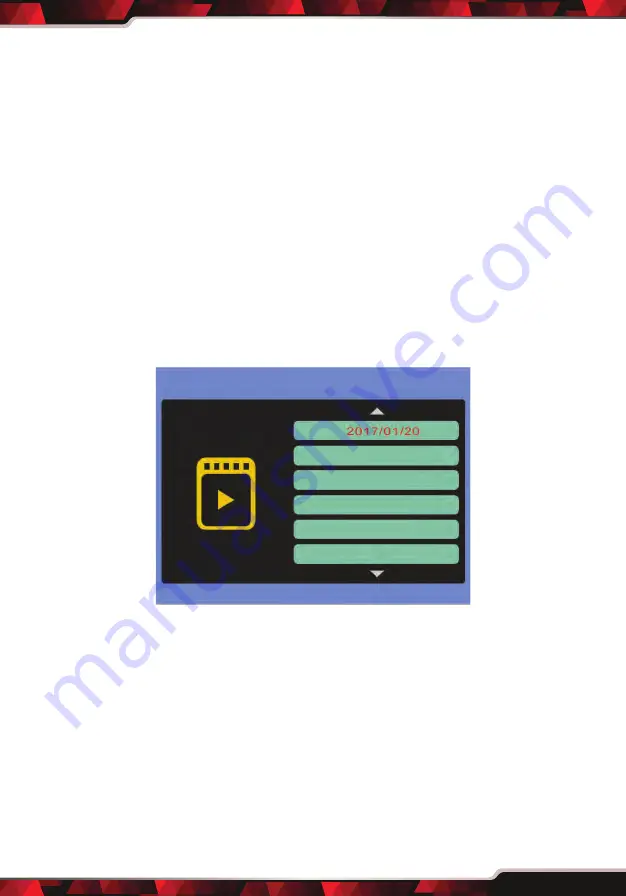
Video file:

Main Menu Select "

Video File

" Press the “

MODE

” button or the “

MODE

” 

button on the remote control to confirm, play the recorded video file, press 

MENU

 to exit.

Tips: 

1. During the monitor video recording, pressing the menu button will cause     
     the video recording function to stop. After returning to the menu, the  
     video recording will continue automatically.
2. Monitor the state by pressing the MODE button to switch to the next    
    screen will have a delay of 1-2 seconds.
3. This video file does not support the computer network player to play, you  
    need to play in the computer please go to the company's official website  
    to download a dedicated player.

Summary of Contents for PLCMTR83QIR

Page 1: ...Wireless Vehicle Back Up Camera Monitor DVR Kit PLCMTR83QIR 7 Display Video Recording Quad View Ability Night Vision Waterproof Cams For Truck Van Bus Trailer...

Page 2: ...for your future reference Product introduction Monitor Introduction 1 2 4G antenna 2 Sunshade 3 LOGO sticker 4 MENU Open or Exit the menu 5 Confirm Button Start and stop recording button 6 Play Back...

Page 3: ...e brightness increase key 6 key the volume up function 7 key the volume down function 8 CH 1 CH 2 CH 3 CH 4 Key quick switch to CH1 or 2 or 3 or 4 for full screen quad view camera viewing CAMERA 1 2 4...

Page 4: ...N MENU Press MENU button on the panel or remote control lightly enter the menu interface there are three small menu System Setting Video Files SD Card SYSTEM SETTING Select System Setting press MODE k...

Page 5: ...ult Setting Restore the current factory settings Video file Main Menu Select Video File Press the MODE button or the MODE button on the remote control to confirm play the recorded video file press MEN...

Page 6: ...on on the remote control to check the storage capacity or format Press MENU to exit Note Please select the brand high speed card video otherwise there will be video crashes or do not recognize the phe...

Page 7: ...nomenon please check the antenna if in good contact or long antenna mounted to the exterior of the car to receive a good location 3 Preferably a display system is installed in such an in vehicle posit...

Page 8: ...s Quad View Display Ability Choose to View 1 2 or 4 Cameras On Screen User Friendly Control Interface Video Recording File Saving via SD Memory Card Slot Easily Save Share files via Computer Universal...

Page 9: ...x W x H 3 38 x 3 03 x 2 93 inches each Technical Specs Wireless Connectivity 2 4G Wireless Distance Up to 330 Feet Monitor Type LCD TFT 7 0 inches Monitor Screen Resolution 800 x 480 Pixels On Screen...

Page 10: ......

Reviews: