


Exit
FUNCTION
2
1
3
Remote
Monitor
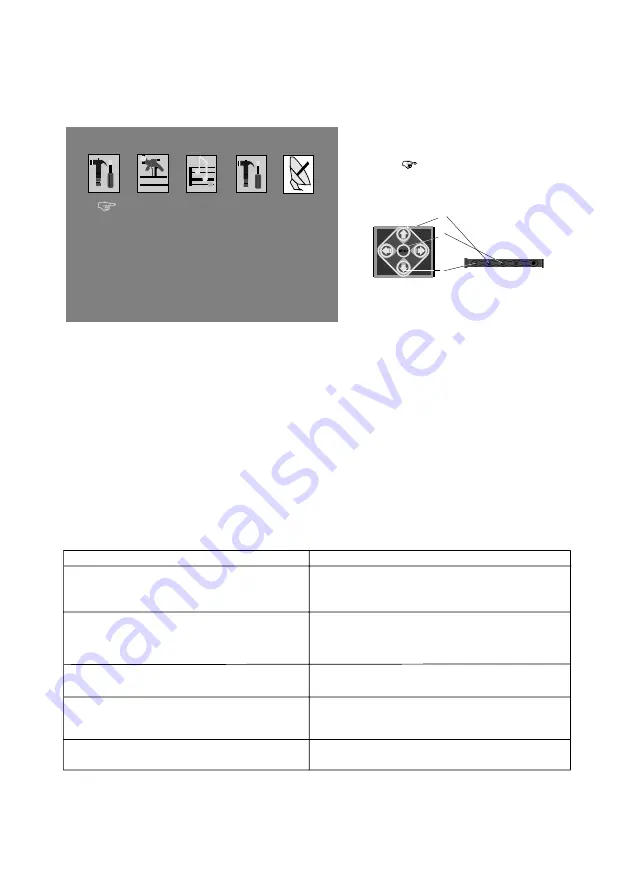
When the
symbol at
“
Exit
”
Press the MENU (1)
button to exit the setup.
18
No picture, no sound
The power cord or battery has been disconnected.
The fuse has blown.
Press power on.
Good picture, but no sound
Dolled lines or stripes
This maybe caused by local interference such as car
engine or motorcycle.
No picture, or no sound when you
connect the optional equipment
The cord has been disconnected. Connect the cord
securely.
Press power on.
No response when pressing the buttons on
the wireless remote
The wireless remote batteries may be exhausted.
Press the volume increase button on the wireless
remote, or on the monitor.
Press the mute button from the wireless remote.
(TIP: refer to page 4 for the
“
control & layout
”
)
Problem
Cause/solution
Troubleshooting guide
The following checklist will help you solve problems you may encounter with your unit.
Before going through the checklist below, check the connection and operating.
if you can not solve the problem with follows guide, please contact your nearest dealer.


