Copyright @ 2011 PurGro Electronics, LLC
All Rights Reserved
Page 29 of 47
Connecting External Devices
Our Pluggable Relays are designed to control everything external to the GroBot. The kit comes with
one of these, but you may want to automate your flood and drain, fans, dampers, CO2 valves, just
about anything. Runs on 120 or 240 volts AC and can handle 2000 Watts max.
Network
On the back of each Pluggable are three two rotary switches numbered 0-9. The top one is Marked
Network and this is so you can have multiple GroBots in the same room. Set this to 1 if you only have
one GroBot.
Channel
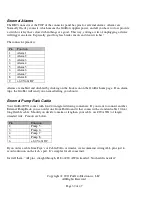
You can choose any channel from 1 – 13, and you can have up to 13 Pluggable devices on a single
GroBot. Your GroBot can control:
1. Primary Lights
2. Secondary Lights
3. Mother Room Lights
4. Foliar Feed Pump
5. Heat
6. Cool
7. Humidify
8. Dehumidify
9. CO2 Generator
10. CO2 Purge Fan
11. Nutrient (Feed or Aeroponic) Pump
12. Drain Pump
13. Fill Valve
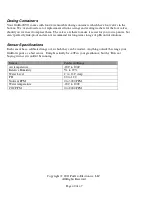
Dosing and pH Control is wired internally
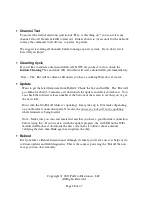
Setting Channel Switches
The Channel switches are set them from top to bottom.
•
To set channel 4, set the top switch to 0, the bottom to 4.
•
To set channel 12, set the top switch to 1, the bottom to 2.
Pluggable relays have a range about the same as a wireless LAN since they use the same 2.4 GHz
radios. You’ll get best results with the Pluggable in the same room and within sight of your GroBot.
Turn It On
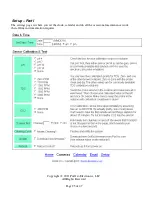
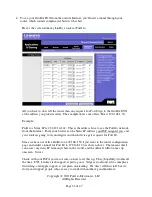
Fire up your Browser and go to the Setup page on your GroBot. Enter the channel number of the
Pluggable, choose On and hit OK. It can take up to 10 seconds for the device to turn on. We suggest
using a desk lamp or something similar and easy to test your Pluggables for the first time.


