6
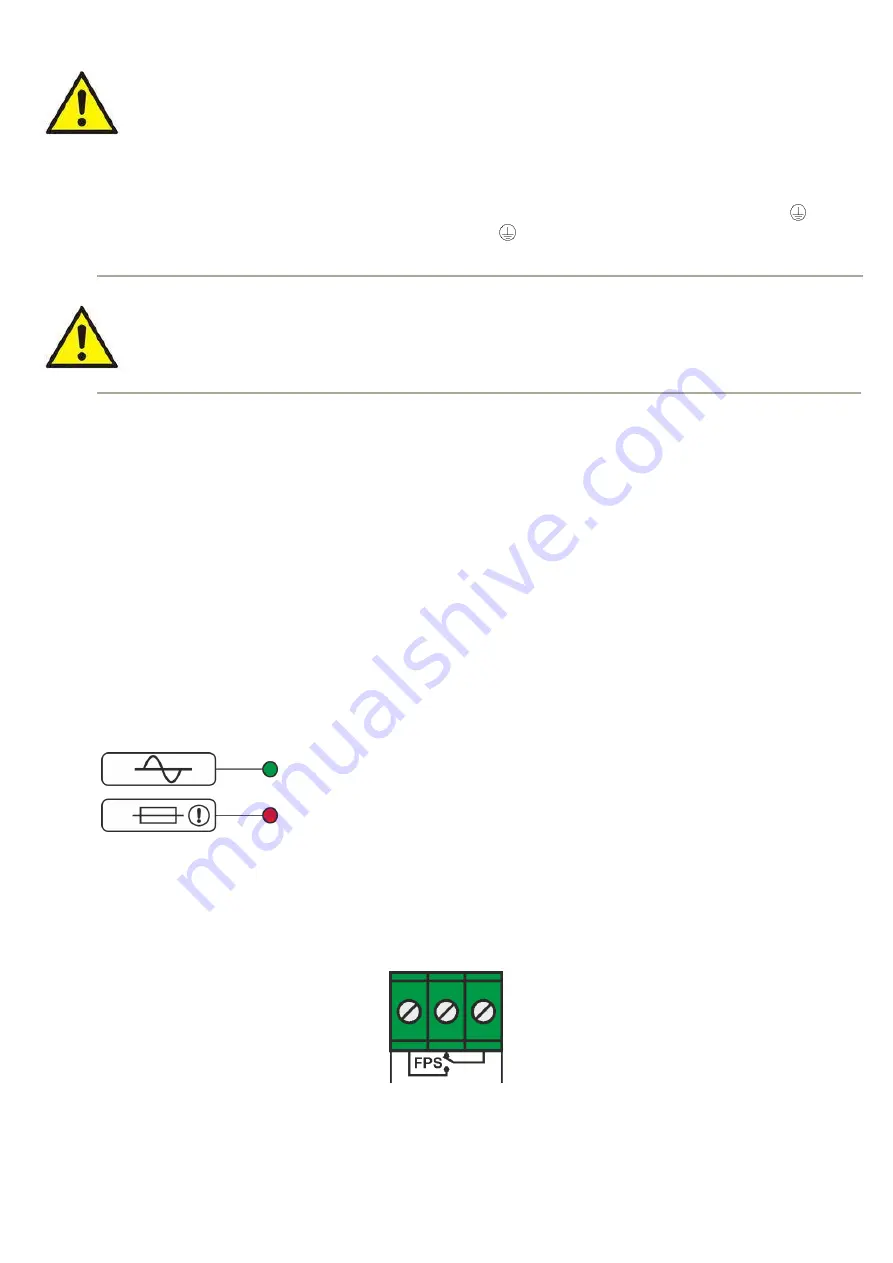
LED green AC:
on
– PSU is supplied with 230 V
off
– no 230 V power
LED red FPS:
off
– no failure
on
– indicates fuse failure
2.2. Installation procedure.
CAUTION!
Before installation, cut off voltage in 230 V power-supply circuit. To switch power off, use an
external switch, in which distance between contacts of all poles in disconnection state is not less
than 3mm.
It is required to install an installation switch with a nominal current of min. 6 A in the power supply circuits
outside the power supply unit.
1. Mount the PSU in a selected location and connect the wires.
2. Connect power cables (~230 V AC) to L-N clips of PSU. Connect ground wire to clip marked by earth symbol
.
Use a three-core cable (with a yellow and green protection wire
). Lead the power cables to the relevant terminals of
the power supply via an isolation conduit.
Shock protection circuit shall be done with a particular care: yellow and green wire coat of power
cable should be connected to terminal marked with the grounding symbol on PSU enclosure.
Operation of PSU without the properly made and fully operational shock protection circuit is
UNACCEPTABLE! It can cause damage to equipment or an electric shock.
3. Switch on 230 V supply. The LEDs on the PCB and on the lid of PSU should light up (see Section 3.1).
4. Check output voltage and adjust if necessary using potentiometer.
5. Disconnect the PSU from the mains and make the rest of the connections - connect wires to the AUX1...AUXn
connectors. If necessary, connect the wires from devices (control panel, controller, siren, etc.) to the PSU technical
outputs FPS (fuse failure indication output).
6.
Once the tests and control operation have been completed, close the enclosure.
3. Operating status indication.
The power supply unit features LED status indication:
3.1 Optical indication.
The power supply unit features LED status indication. Presence of voltage at each output of the PSU is indicated
by the green LED nearby each outputs fuse. Failure (fuse damage) is indicated by shutting down green LED nearby
appropriate outputs fuse on the PSU module and illuminating the red LED FPS. Status of the PSU (fuse damage
AUX1 ÷ AUXn) can be remotely controlled via the FPS technical output.
In addition, there is an additional indication on the lid of the power supply:
4. Technical output.
The PSU features a relay type output indicating FPS fuse failure.
Caution! In Fig. 4 set of contacts shows a potential-free status of relay, which corresponds to power supply failure.
Fig. 4 Technical output diagram


