- 11 -
2.2 Compound table KT 70 CNC-ready (Fig. 1b):
Table size
250 x 70 mm
Traversing paths (approx.):
X-axis
150 mm
Y-axis
70 mm
T-slot dimensions
12 x 6 x 5 mm
T-slot spacing
25 mm
Mass:
2 kg
2.3 Scope of delivery:
• Compound table KT 70 CNC-ready with stepping
motors and connecting cable
• Mounting parts
Fig. 2a Screws/nuts for clamping the machine vice MS
4
Fig. 2b Clamping jaws
Fig. 2c Mounting parts for fixing the coordinate table
• Flexible spiral hose
• Operating and safety instructions
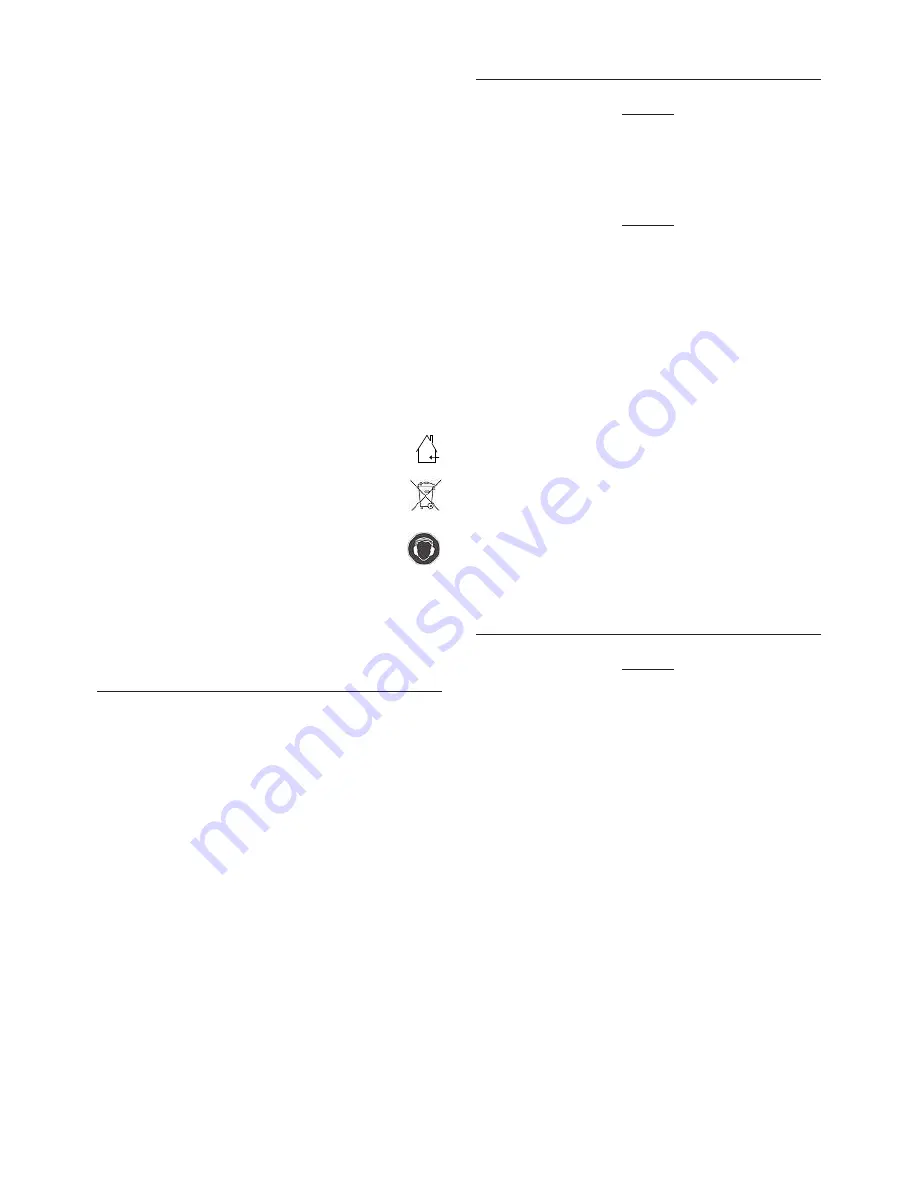
Use only in dry rooms
Please do not dispose of this electrical
machine in the household waste!
For your safety, always wear hearing
protection while working!
3 Mounting the Micro coordinate table KT 70
CNC-ready on the PROXXON drill stand MB
200, MB 140 or PROXXON table drilling
machine TBM 220 (Fig. 3)
The Micro coordinate table KT 70 CNC-ready is ideally suit-
able for use in combination with the PROXXON drill stand
MB 200, the MB 140 or the PROXXON table drilling
machine TBM 220. It is, for example, perfect for semi-auto-
matic coordinate drilling!
A conventional MF 70 can also be retrofitted with this
device, although automatic operation of the Z-axis is then,
naturally enough, no longer an option in this configuration.
The existing compound table can be simply replaced for
this purpose. Two M4 threads should first be cut in the
worktop as depicted in Fig. 3 for use with the PROXXON
drill stand or the PROXXON table drilling machine TBM 220.
1. Pilot drill the threaded holes with a drill bit (ø 3.3 mm)
and countersink the holes. Then cut the threads with
an M4 tap.
2. The Micro coordinate table KT 70 CNC-ready can now
be fixed to the drill stand base with the aid of the M4
threaded holes and the mounting parts provided with
the device.
4 Miller setup (Fig. 4):
Caution:
Please ensure that the mains plug is pulled out of the
socket during all assembly, setup or adjusting work! A
failure to do this may result in the inadvertent starting of
the machine, damage and injury.
Caution:
The miller should be screwed securely to a stable support-
ing surface for operation! Four holes are provided in the
device base for this purpose with which the miller can be
screwed to an appropriate supporting surface using suitable
bolts (3)!
The compound table (Fig. 4) can then be fixed to the base
using the 4 M4 Allen screws provided. The compound table
carriage may need to be traversed for this purpose in order
to move the carriage and work table to ensure access to
the screw holes.
Caution:
No control system should be connected to the
machine if the spindles are rotated manually to traverse
the carriage!
Following connection of the plug connectors to the control
system, the wiring should be sheathed in the spiral hose
provided.
5 Fitting the collets (Fig. 5):
Caution:
Pull out the mains plug prior to any adjusting, setup or
assembly work, as there is otherwise a risk of injury or
possible damage to the device!
Always insert a suitable tool in the collet to tighten the
union nut! Tightening the union nut without an appropriate
shaft will damage the collet!
All operational tools should be clamped as short as
possible! Shafts protruding too far will vibrate and result in
poor milling results.
1. Hold the spindle 1 firmly on the flats with one of the
wrenches 2 provided and release and remove the
union nut 3.
2. Insert the desired collet 4 into the spindle and tighten
the union nut 3 slightly by hand.
3. Insert the desired tool 5 into the collet. Caution:
Ensure that the tool shaft diameter corresponds to the
inside diameter of the collet!
4. Hold the spindle firmly with the wrench and tighten
the union nut firmly with the second wrench.
Summary of Contents for KT 70 CNC-ready
Page 1: ...MF 70 cnc ready Manual...
Page 3: ...2 4 3 1 2 1 5 1 3 2 1 4 3 2 2 5 Fig 6 Fig 4 Fig 5 Fig 8 Fig 7...
Page 8: ...54...
Page 9: ...MF 70 cnc ready 55...
Page 10: ...56...


