


DSNET USER’S GUIDE
16
3.5
RESCANNING THE NETWORK
The DSNet audiovisual network is automatically scanned at first start. However each time you add some
device, or if the network diagram is empty, or if all monitors are grey, or if you think that there are missing
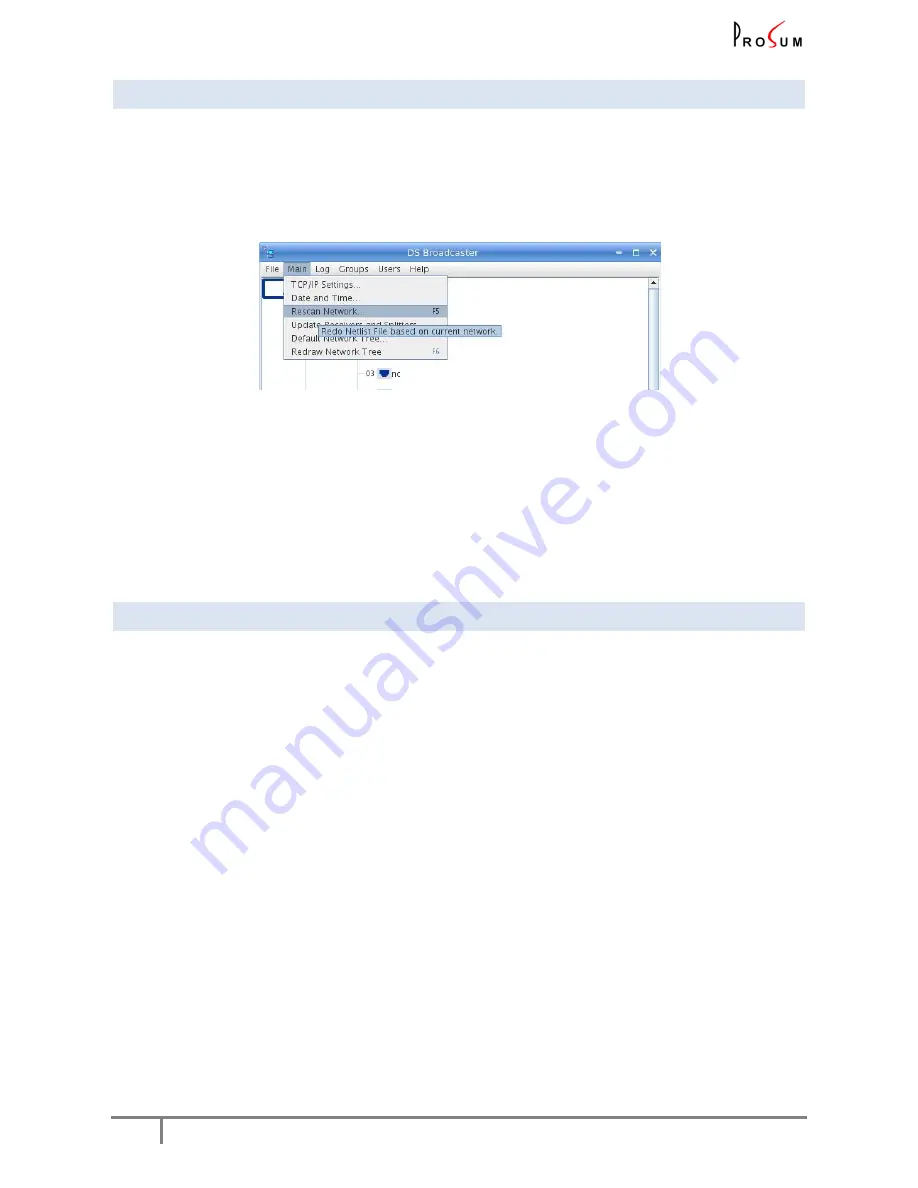
elements, proceed to a manual network rescan. To do this, select
Main/Rescan Network
into the menu, or
simply press the
F5
key. The broadcaster will enter in dialog with all networked devices in order to build a
new network map. This operation does not remove labels that are written in device EEPROMs.
Figure 6: Rescan Network
Rescan provides an updated diagram of the network with all the downstream Splitters and Receivers as
well as the current status of each device including the display panels and the audio speakers, etc. The listing
also shows forth the port status of each Receiver Port.
If the rescan fails, just press F5 again until it works. However don’t press F5 while a rescan is going on.
3.6
UNDERSTANDING THE LEDS
All DSNet network ports of all devices have an LED indicator. The most important thing you must
understand is
DSNet is not an Ethernet network
. The LEDs don’t indicate that there is a physical
connection between two devices. As a DSNet connection is much more complex than an Ethernet one, the
LEDs have a different meaning, which is a little bit more subtle.
The LEDs of audiovisual ports of DSNet devices indicate that the corresponding port (input or output) is
open.
They reflect the broadcaster internal network diagram
.
Any cable can carry audiovisual stream only if both sides are connected to open ports, i.e. with LED lit on
both sides. The LEDs show the enabled paths.
There is something wrong if a cable is connected to a disabled port. Remove the cable or run a Rescan (F5)
There is something wrong if the LED of a port that has no cable plugged is turned on. Proceed to a Rescan
(F5)
Note:
After a Rescan, the LEDs should be in accordance with the cabling. If not, check the cables and
devices that make problems.


