CT-5000
Installation Guide
P.9
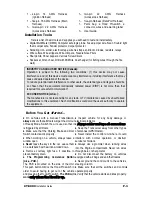
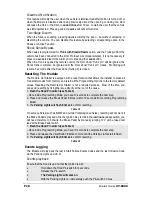
2-Pin Harness
Wire
Description
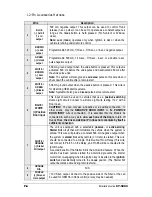
1
BLUE / WHITE
( -) AUX 2 output
•
500 mA negative output. Can be programmed for one of the following
options:
•
Constant while the
LOCK
and
UNLOCK
buttons are pressed, + 1 sec. after
the buttons are released.
•
Pressing the
LOCK
+
UNLOCK
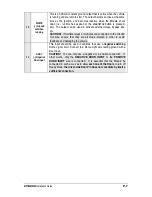
buttons simultaneously will toggle the
AUX 2
output
ON
for a 30-second cycle and shuts off automatically unless the user
presses
LOCK
and
UNLOCK
before the end of that cycle, at which point, the
AUX2
output shuts off.
•
This output can also be used as Priority Door Unlock.
Car Finder is enabled or disabled in the
AUX 2
function programming.
2
YELLOW
(-) Parking Light
output
•
500 mA negative Parking Light output
Note:
Ensure that the voltage does not vary when the dimmer control
switch is turned up or down. If this is the case, it is not the right wire.
There is also a positive Parking Light output. Only one of these
two different outputs needs to be connected.
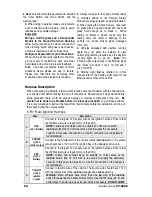
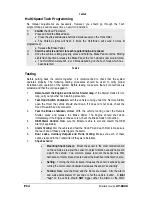
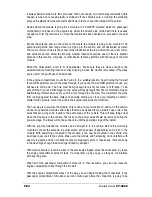
Flashing the Hood Pin
What is Flashing the Hood Pin?
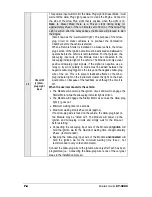
It is a procedure that makes the Module go into the Programming Centre. Once the Module
is in the Programming Centre, the Installer has no more than 20 seconds to get into one of
the sub-menus.
Failure to do so will result in the Module exiting the Programming
Centre and the Installer will have to Flash the Hood Pin once more.
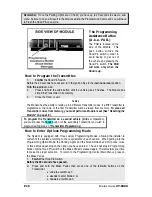
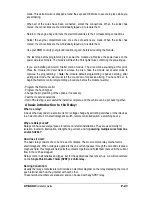
Remember:
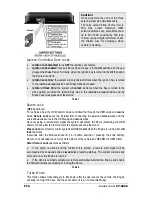
You can use the
Programming
Assistance Button
instead of the Hood Pin any time
the Hood is up.
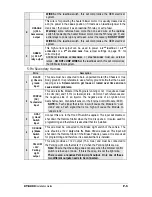
The Installer …
The Module …
1-
Press and hold the Hood pin for 4 seconds.
2-
Let go of the Hood Pin.
Parking Lights “ON”
3-
While the Parking Lights are on, press down the
Hood Pin once more.
4-
Release the Hood Pin again --be careful not to
over flash the Hood Pin as this will bring up the
Events Playback and will not bring you the
Programming Centre.
“ON” for 20 seconds
5-
You have 20 secs to select one of the sub-menus.
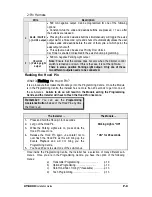
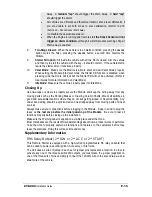
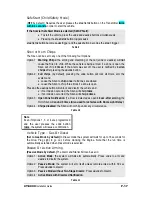
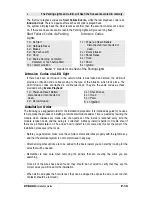
Once inside the Programming Centre, the Installer has a selection of many different sub-
menus. Once you are in the Programming Centre, you have the option of the following
menus:
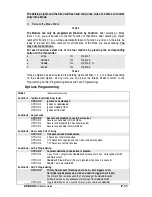
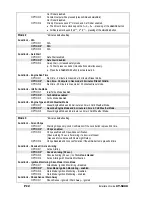
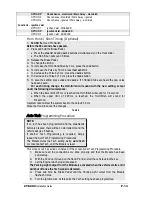
a)
Transmitter Programming …………………..
p.10
b)
Options Programming …………………..…
p.10
c)
Horn Honk/Siren Timing* (*if available) ………..…p.13
d)
Tach Programming …………………..………
p.13


