6D
B. Automatic DMX-addressing
1.
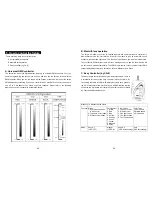
The DMX address of fixture can be set automatically. You have to press the auto
addressing button from the first fixture. When you hold the button 5secs, the fixture will
be set the DMX start address to 1, and the other fixtures of the chain will be set their
own DMX start address automatically.
2.
The LED fixtures use four channels, the next fixture’s will be automatic calculate their
own DMX address, not need to calculate the DMX channels of each fixture in the chain.
(Fixture 1 = 1, Fixture 2 = 5, Fixture 3 = 9, Fixture 4 = 13, Fixture…)
3.
Not need to turn the fixture off when you change the DMX address, as new DMX
address setting will be effect at once. Every time you turn the fixture on, it will be ready
to receive DMX signal or run the built-in programs.
C. Remote DMX address setting by CA-T DMX TESTER
The fixture can be set the DMX address remotely by CA-T
DMX TESTER
. Please refer to
the CA-T user manual to set the DMX address to the fixture.
7D
D. Remote DMX address setting by universal DMX controller
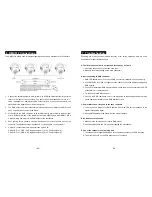
Make sure the DMX cables of all units are connected.
Connect the first unit to a universal DMX controller.
Connect all units to the mains so they are switched on.
Set all DMX-channels on your DMX-controller to zero (value 000).
Set the DMX-channel, that you want to assign as DMX start address on you projector,
tot maximum (value 255).
Press the “Auto DMX address” button on the projector shortly.
If you want to set another projector to the same DMX start address, simply press it’s
“Auto DMX address”, button and it will receive the same address.
Done!
An example to make things clear:
We will set the DMX start address of a projector to 106:
Connect the projector to the DMX-controller as described above and make sure all is
switched on.
Set all DMX-channels on the controller to zero (000).
Now set DMX-channel 106 to maximum (255).
Press the “Auto DMX address” button on the projector shortly.
Done! Your projector now has DMX address 106!


