3
10. H Microphone Jack
11. 10/100Mbps RJ45 Ethernet Port:
support Ethernet connection
12. AC/DC In Jack:
powered by 12V/3A AC/DC input
13. Power Switch:
switch power ON/OFF
14. IR Receiver & LED Indicator
IR Receiver:
support remote control
LED Indicator:
Power supply ON
Red then turn Green after kernel boot up.
Power supply OFF
LED light off.
15. WIFI:
802.11b/g/n/ac 2.4G
16. Temperature
:
Operation: 0
℃
~ 40
℃
( 32F ~104F)
Storage: -10°C ~ 55°C (14°F ~ 131°F)
Power on the Product
Step 1
Plug the power source into the AC/DC in jack (
#12
Step 2
Switch the power switch (
#13
) on the bottom of this product to
ON
.
Insert SD Card
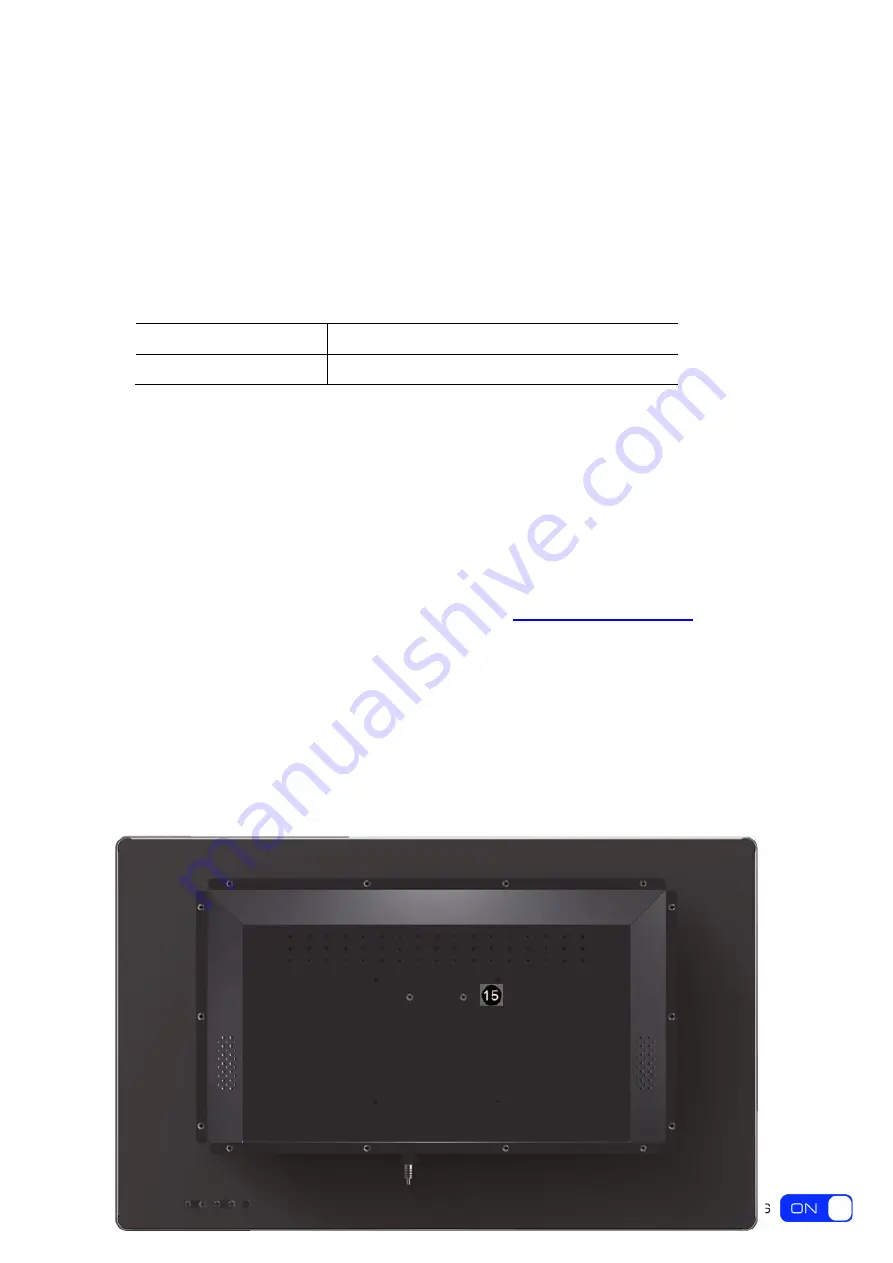
The SD card slot is provided inside the product. To install SD card, you need to open the back
cover by unscrewing all the screws (circled in the picture blow). The SD card slot is located at
position
#15
nearby on board.


