


2-8
Installing and Connecting the External Power Supply Shelf
Installation Procedures
In
stal
lin
g and
Co
nnec
tin
g th
e Ext
ern
a
l
Po
we
r Supp
ly Sh
elf
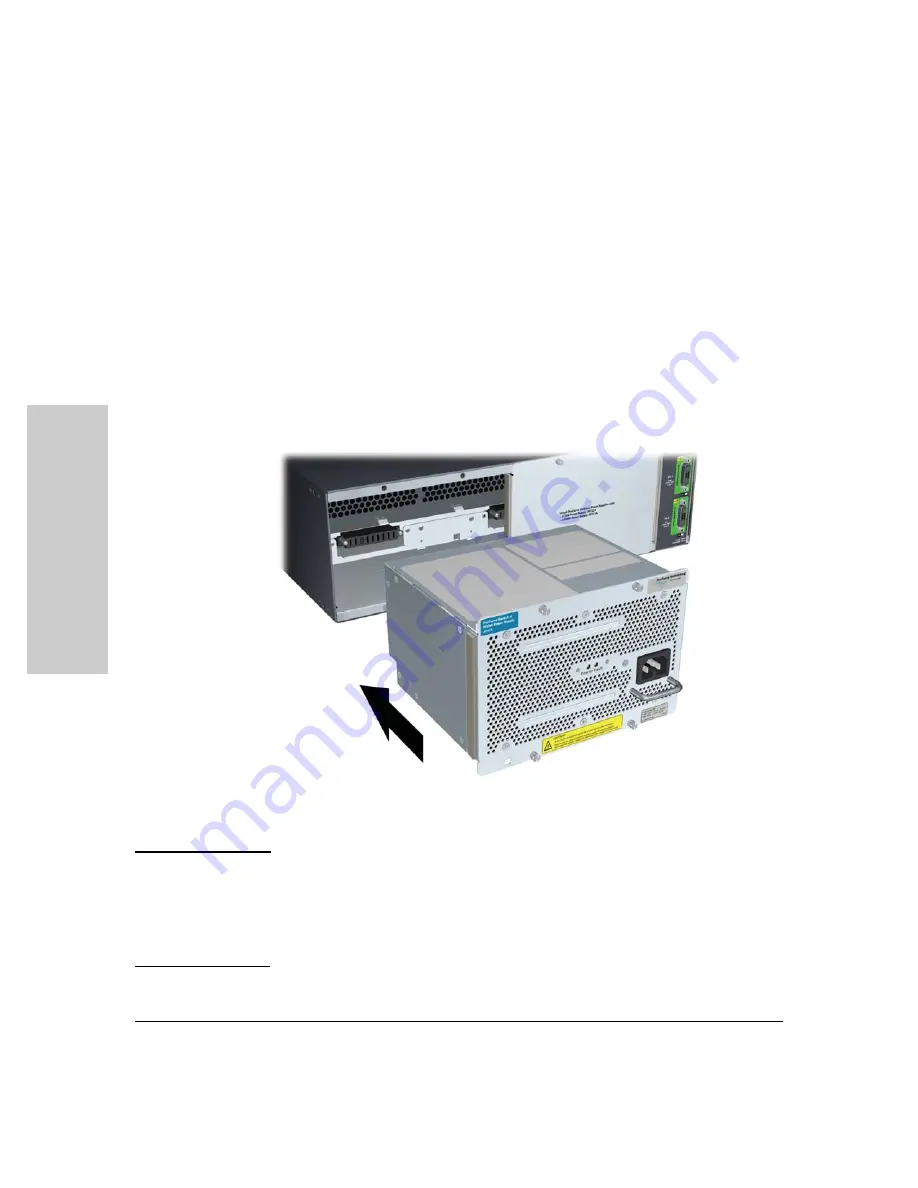
3. Install the Power Supplies
The Power Supply Shelf does not come with power supplies installed. You
must purchase power supplies separately and install them. The supported
power supplies are the:
•
ProCurve Switch zl Internal Power Supply, J8712A
•
ProCurve Switch zl 220V Internal Power supply, J8713A
1.
Remove the power supply slot cover if present.
2.
Slide the power supply into the slot.
3.
Secure the power supply by tightening the retaining screws.
Figure 2-5. Installing a power supply
N o t e
Although mixing power supplies is supported, ProCurve Networking highly
recommends that the two types of power supplies are not mixed in the same
Power Supply Shelf.
See the
Procurve Power over Ethernet (PoE) for zl and yl Products Planning
and Implementation Guide
, page 4-9 for more information.