background image

17

 4.  

Follow your progress.


 The console offers several display modes. The 
display mode that you select will determine which 
workout information is shown. 


 Drag upward on the screen to enter the fullscreen 
display mode. Drag downward on the screen to 
view the workout information displays. 


 Touch the various workout information displays 
to view more options. Touch the more button 
(+ symbol) to view statistics or charts. Touch the 
center of the screen to view even more display 
mode options.


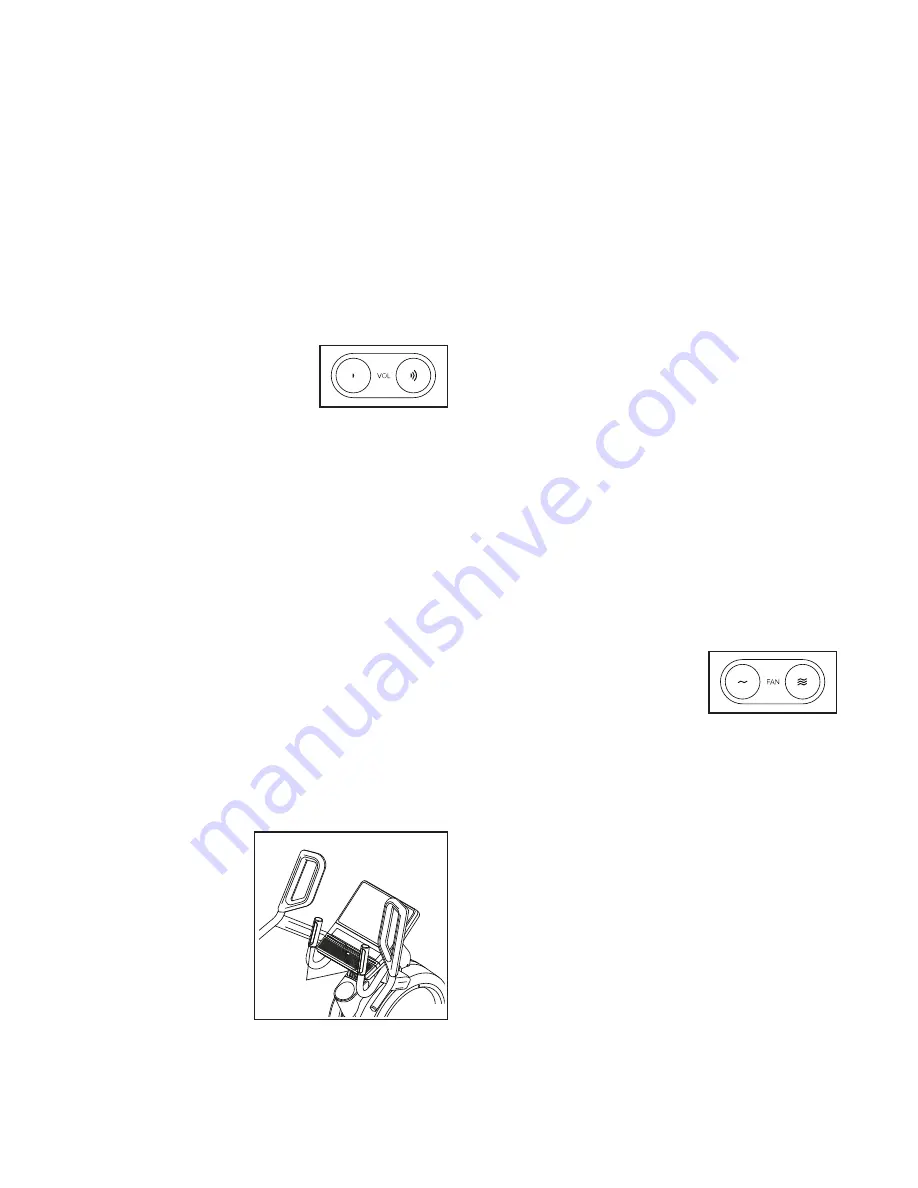
 If desired, adjust the vol-
ume level by pressing the 
Vol increase and decrease 
buttons. 


 To pause the workout, simply touch the screen 
or stop pedaling. To continue the workout, simply 
resume pedaling. 


 To end the workout session, touch the screen to 
pause the workout, and then follow the prompts 
on the screen to end the workout and return to the 
home screen. 

 5.  

Measure your heart rate if desired. 


 You can measure your heart rate using either the 
handgrip heart rate monitor or a compatible heart 
rate monitor. Note: The console is compatible with 
all Bluetooth

®

 Smart heart rate monitors.


Handgrip Heart Rate Monitor

—To use the 

handgrip heart rate monitor, follow the instructions 
below. 

Note: If you use both heart rate monitors 

at the same time, the compatible heart rate 
monitor will have priority.


If there are 
sheets of plas-
tic on the metal 
contacts (A) on 
the handgrip 
heart rate moni-
tor, remove the 
plastic.

 To mea-

sure your heart 
rate, hold the 
handgrip heart 

rate monitor with your palms resting against the 
contacts. 

Avoid moving your hands or gripping 

the contacts tightly.


 When your pulse is detected, your heart rate 
will be shown. For the most accurate heart 
rate reading, hold the contacts for at least 15 
seconds. 


 If the display does not show your heart rate, make 
sure that your hands are positioned as described. 
Be careful not to move your hands excessively or 
to squeeze the contacts tightly. For optimal perfor-
mance, clean the contacts using a soft cloth; 

never 

use alcohol, abrasives, or chemicals to clean 
the contacts.


 Compatible Heart Rate Monitor

—A compatible 

heart rate monitor is included with some models. If 
a heart rate monitor is included, see THE HEART 
RATE MONITOR in this manual to learn how to 
use it. 


 If this model does not include a compatible heart 
rate monitor, see page 26 for information about 
ordering one.


 The console will connect to your compatible heart 
rate monitor automatically. When your heartbeat is 
detected, your heart rate will be shown.

 6.  

Turn on the fan if desired.


 The fan has several speed 
settings, including an auto 
mode. While the auto mode 
is selected, the speed of 
the fan will automatically 
increase or decrease as your pedaling speed 
increases or decreases. Press the Fan increase 
and decrease buttons repeatedly to select a fan 
speed or to turn off the fan. 


 Note: If the pedals are not moved for a while when 
the home screen is selected, the fan will turn off 
automatically. 

 7.  

When you are finished exercising, the console 
will turn off automatically.


 See HOW TO TURN OFF THE CONSOLE on 
page 15.

A

Summary of Contents for PFEL01420-INT.0

Page 1: ...umber in the space above for reference iconeurope com CUSTOMER SERVICE UNITED KINGDOM Call 0330 123 1045 From Ireland 053 92 36102 Website iconsupport eu E mail csuk iconeurope com Write ICON Health F...

Page 2: ...RT IDENTIFICATION CHART 5 ASSEMBLY 6 HOW TO USE THE TRAINER 12 HOW TO USE THE CONSOLE 14 MAINTENANCE AND TROUBLESHOOTING 27 EXERCISE GUIDELINES 30 PART LIST 32 EXPLODED DRAWING 34 ORDERING REPLACEMENT...

Page 3: ...ainer and 2 ft 0 6 m on each side To protect the floor or carpet from dam age place a mat under the trainer 8 Inspect and properly tighten all parts each time the trainer is used Replace any worn part...

Page 4: ...workouts at home more effective and enjoyable For your benefit read this manual carefully before you use the trainer If you have questions after reading this manual please see the front cover of this...

Page 5: ...DENTIFICATION CHART Use the drawings below to identify the small parts needed for assembly The number in parentheses below each drawing is the key number of the part from the PART LIST near the end of...

Page 6: ...er if you have your own set of wrenches To avoid damaging parts do not use power tools ASSEMBLY 1 1 To register your product and activate your warranty in the UK go to iconsupport eu If you do not hav...

Page 7: ...lizers 8 9 and orient them as shown Have a second person hold the Frame 1 and tip it to the left IMPORTANT Be careful not to damage the Shields 50 51 Attach the Right Stabilizer 8 to the Frame 1 with...

Page 8: ...s and then tighten them Attach the Left Pedal Base 3 to the Left Pedal Leg 25 in the same way 5 Press the Rear Cover 53 onto the Left and Right Shields 50 51 Attach the Rear Cover 53 with four M4 x 16...

Page 9: ...rews and then tighten them 6 5 5 7 7 4 4 107 A Avoid pinching the wires 4 96 96 109 115 117 Avoid pinching the wires 7 7 While a second person holds the Console Bracket 4 near the Frame 1 connect the...

Page 10: ...he Left Handlebar 11 in the same way 10 105 11 15 22 23 9 9 Identify the Rear and Front Pivot Covers 65 66 Press a set of Rear and Front Pivot Covers 65 66 together around the Right Handlebar 10 near...

Page 11: ...Screws and then tighten them 10 118 11 11 Plug the Power Adapter 118 into the receptacle on the front of the trainer Note To plug the Power Adapter 118 into an outlet see HOW TO PLUG IN THE POWER ADA...

Page 12: ...ront of the trainer Then plug the power adapter into an appropri ate outlet that is properly installed in accordance with all local codes and ordinances HOW TO MOVE THE TRAINER Due to the size and wei...

Page 13: ...a complete stop Note The trainer does not have a free wheel the pedals will continue to move until the flywheel stops When the pedals are stationary step off the higher pedal first Then step off the l...

Page 14: ...cally controls the resistance of the pedals as it guides you through an effective exercise session When you use the manual mode of the console you can change the resistance of the pedals with the touc...

Page 15: ...he console features a tablet with a full color touch screen The following information will help you use the touch screen The console functions similarly to other tablets You can slide or flick your fi...

Page 16: ...ain the workouts and other features that the console offers To use the manual mode see this page To use a featured workout or an onboard workout see page 18 To create a draw your own map work out see...

Page 17: ...t rate hold the handgrip heart rate monitor with your palms resting against the contacts Avoid moving your hands or gripping the contacts tightly When your pulse is detected your heart rate will be sh...

Page 18: ...orkouts for future use you can add it as a favorite by touch ing the favorites button heart symbol You must be logged into your iFit account to save a featured map workout see step 3 on page 21 To dra...

Page 19: ...you burn will be affected To pause the workout simply touch the screen or stop pedaling To continue the workout simply resume pedaling To end the workout touch the screen to pause the workout and then...

Page 20: ...ingers on the screen Touch the screen to add the start point for your workout Then touch the screen to add the end point for your workout If you want to start and end your workout at the same point to...

Page 21: ...ouch the name of the desired user 4 Select an iFit workout from the home screen or the workout library Touch the buttons at the bottom of the screen to select either the home screen Home button or the...

Page 22: ...ary Browse button and then touch My Favorites 7 Start the workout Touch Start Workout to start the workout The workout will function in the same way as a featured workout see page 18 8 Follow your pro...

Page 23: ...Info Equipment Settings Maintenance Wi Fi About Legal 3 Customize the unit of measurement and other settings To customize the unit of measurement the time zone or other settings touch Equipment Info o...

Page 24: ...is enabled the screen will show a list of available networks Note It may take a few moments for the list of wireless networks to appear Note You must have your own wireless network and an 802 11b g n...

Page 25: ...sfully the audio from your device will play through the console sound system Note The console can save 8 devices in its memory If you have previously paired your device to the console you can simply p...

Page 26: ...in the proper heart rate during your workouts The optional heart rate monitor will enable you to continuously monitor your heart rate while you exercise helping you to reach your personal fitness goal...

Page 27: ...console does not boot up properly or if the con sole freezes and does not respond reset the console to the factory default set tings IMPORTANT Doing this will erase all custom settings that you have m...

Page 28: ...over 68 Next turn the Large Pulley 21 until a Pulley Magnet 104 is aligned with the Reed Switch 116 Then slightly loosen the M4 x 19mm Screw 113 slide the Reed Switch slightly closer to or away from t...

Page 29: ...nt Screw four turns this will tighten the Large Drive Belt 31 Stand on the trainer and pedal for a few moments If the pedals still slip step off the trainer and locate the upper Adjustment Screw B Tig...

Page 30: ...ic Exercise If your goal is to strengthen your cardiovascular system you must perform aerobic exercise which is activity that requires large amounts of oxygen for prolonged periods of time For aerobic...

Page 31: ...lles Stretch With one leg in front of the other reach forward and place your hands against a wall Keep your back leg straight and your back foot flat on the floor Bend your front leg lean forward and...

Page 32: ...Ring 50 1 Left Shield 51 1 Right Shield 52 1 Front Cover 53 1 Rear Cover 54 1 Accessory Tray Base 55 2 Stabilizer Cap 56 4 Foot 57 2 Wheel 58 1 Right Wheel Cover 59 2 Handlebar Cap 60 2 Disc Axle Bear...

Page 33: ...2 Slant Cap 112 1 M10 Screw 113 25 M4 x 19mm Screw 114 3 M4 x 12mm Screw 115 1 Main Wire 116 1 Reed Switch Wire 117 1 Pulse Wire 118 1 Power Adapter 119 2 Crank Cover Disc User s Manual Assembly Tool...

Page 34: ...78 78 78 79 79 79 79 73 73 73 73 73 73 78 78 75 75 77 77 80 80 86 88 87 84 84 87 84 84 87 87 87 87 89 89 90 90 92 92 85 85 91 91 100 100 94 94 96 96 109 98 99 93 93 95 95 97 97 87 108 111 113 102 119...

Page 35: ...1 83 83 83 83 83 83 83 83 99 99 106 82 113 113 82 110 110 110 101 113 101 101 113 113 106 106 101 110 110 101 114 114 101 113 113 114 113 113 113 82 113 107 107 101 101 82 113 113 106 115 113 113 103...

Page 36: ...T and the EXPLODED DRAWING near the end of this manual ORDERING REPLACEMENT PARTS This electronic product must not be disposed of in municipal waste To preserve the environment this product must be re...

Reviews: