


12
OSD MENU FUNCTIONS
Brightness/Contrast
Brightness:
Adjusts brightness by using the buttons
<
or
>
(
①
and
②
in fig. 4).
Contrast:
Adjusts screen contrast by using the buttons
<
or
>
(
①
and
②
in fig. 4).
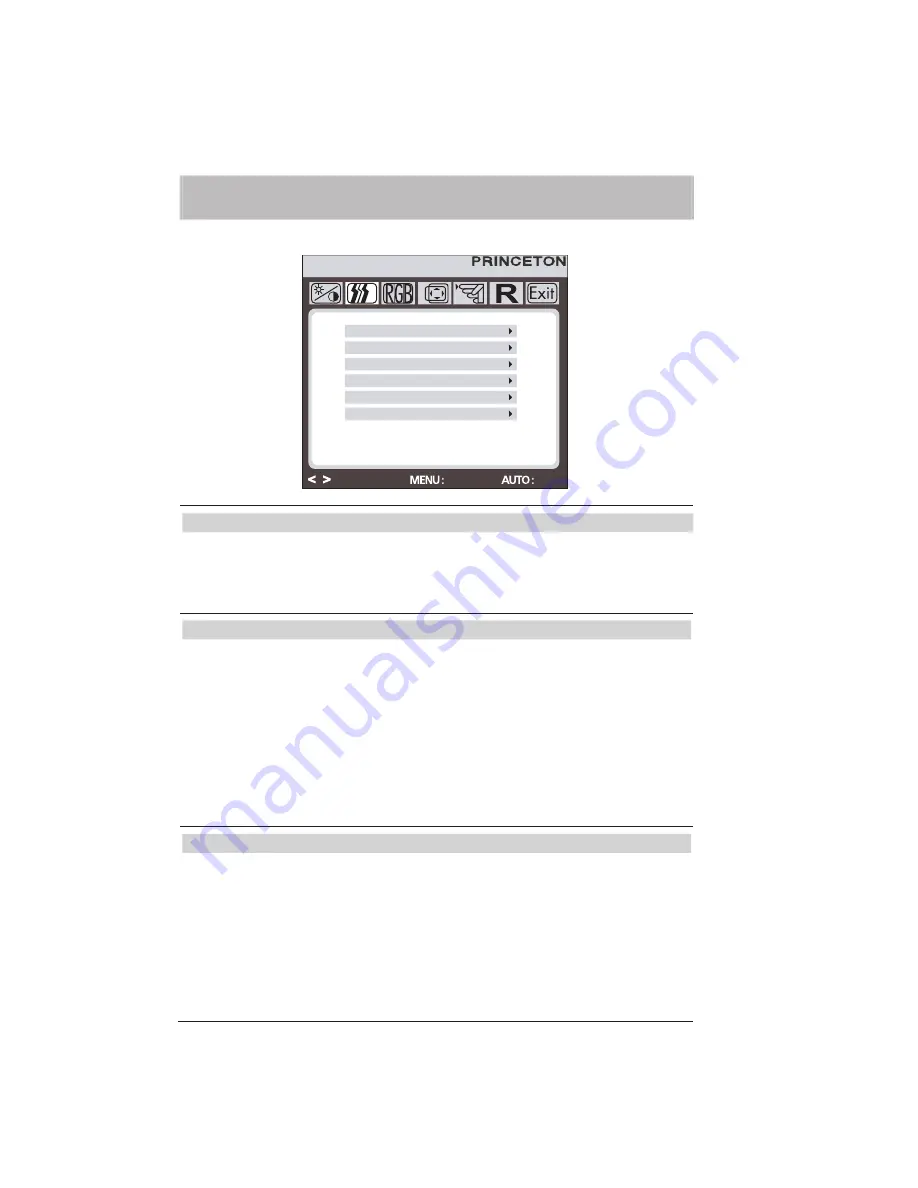
IMAGE CONTROL
Auto Adjustment:
Automatically selects the optimal settings for image parameters
(image position, phase, etc.) by using the button
MENU
(
⑤
in fig. 4).
H. Position:
Controls the picture
’
s horizontal position.
V. Position:
Controls the picture
’
s vertical position.
Clock:
Sets up the internal clock. Larger values make the displayed image appear wider;
smaller values make it appear compressed.
Phase:
Adjusts the internal clock
’
s time lag in order to optimize the screen image.
Sharpness: Controls image sharpness (only for resolutions less than 1920
×
1200pixels)
.
COLOR
This menu lets you select a preset color temperature(
9300 K, 6500 K
) by pressing the
OSD buttons
<
or
>
(
①
and
②
in fig. 4). Changes to the color temperature take
immediate effect on screen. If you wish to set individual color values, select the
Custom
Color
option. Then press the MENU button (
⑤
in fig. 4) to select the red, green and blue
settings and set the desired value using the OSD buttons
<
or
>
(
①
and
②
in fig. 4). The
current settings are automatically saved when you return to the previous level or exit the
OSD menu.
AUTO ADJUSTMENT
IMAGE CONTROL
H. POSITION
V. POSITION
CLOCK
PHASE
SHARPNESS
ADJUST
ENTER
EXIT
Summary of Contents for VL2418W
Page 3: ...3 TABLE OF CONTENTS...


