Printing Discs on a PC
13
3B. Instead of your own background, you can also choose from
several included Surething backgrounds. To choose one of
these images click the
SureThing Background
button in
the Browse window that appears when you click
Select
Background
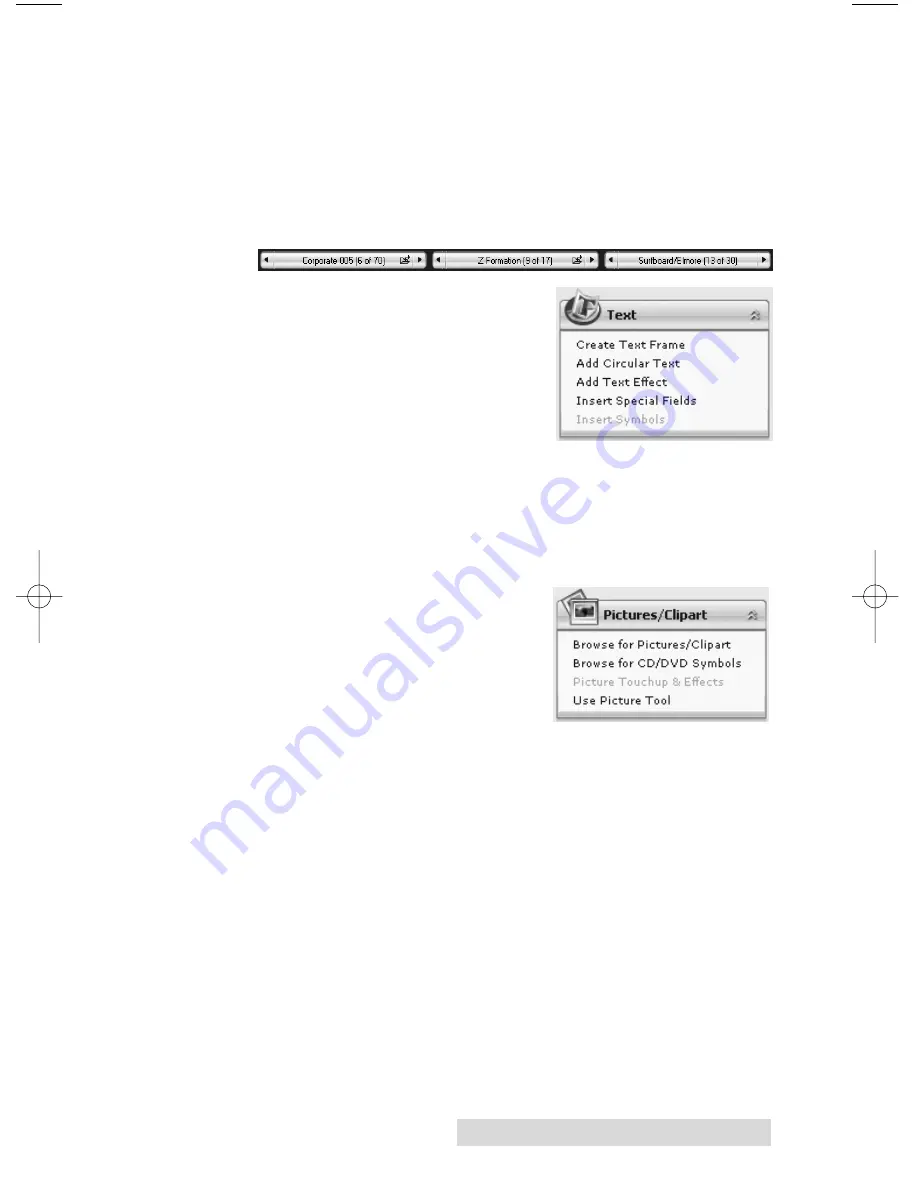
. Also, you can easily toggle through the back-
grounds by using the toggle bar below the label.
Backgrounds are controlled by the far left toggle button.
4A. Open the text panel by clicking
the arrow on the text button.
Add text by selecting one of the
options below. To create text
that follows the curve of the
disc choose Add Circular Text.
4B. You may also choose from several SureThing smart
designs. These design templates automatically position
your text and use certain text effects to give your label a
professional look. You can easily toggle through smart
designs by using the middle toggle button on the toggle
bar below the label.
5. Finally, Open the picture panel
by clicking the arrow on the
Pictures/Clipart button. Add
any logos, graphics or symbols
to the label. These graphics will
appear on top of the background
image. You can size them appro-
priately by dragging the corner of the selected graphic.
6. When you have completed design work save your label by
choosing Save Project in the Actions panel.
7.
TO PRINT
simply go to the file menu and choose Print.
Select the Disc Publisher SE as the printer. Set the number
of copies. Click
OK
.
(If you would like to edit print options for
this job only, click the
OPTIONS
button before you click
OK
.
Options are described in the next section.)
510967.qxd 7/19/2006 1:30 PM Page 13


