6 Hardware and Cable Set-Up
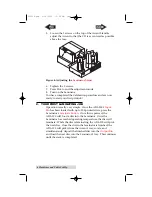
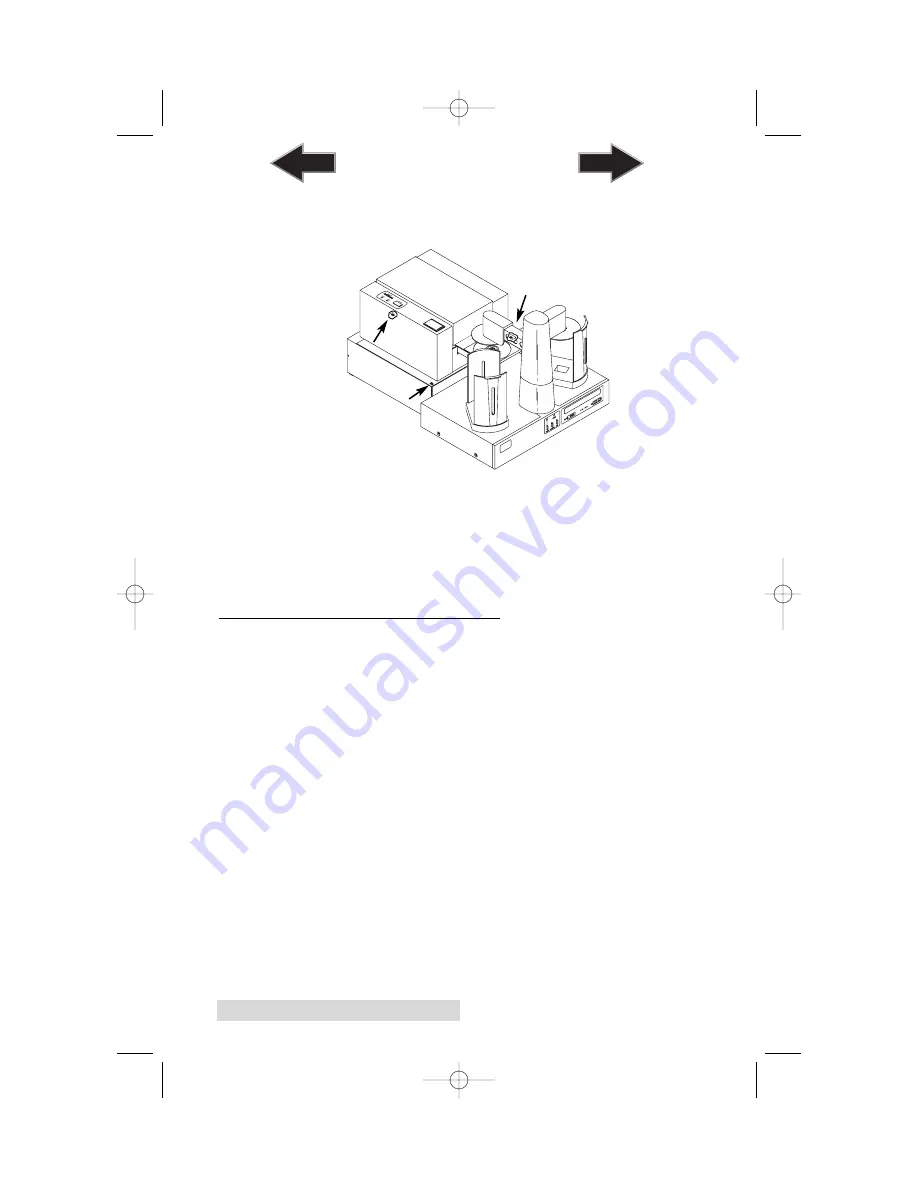
5. Loosen the 3 screws on the top of the Accent Stand &
adjust the Accent so that the CD is as centered as possible
above the tray.
Figure 8: Adjusting the
Laminator Stand
6. Tighten the 3 screws.
7. Press Pick to end the adjustment mode
8. Turn on the Laminator.
You have completed the Calibration procedure and are now
ready to start your first print job!
C. YOUR FIRST LAMINATING JOB
Operation is really very simple. Once the ADL-100's
Input
Bin
has been loaded with up to 100 printed discs, press the
Laminator's
Laminate Button
. Once this is pressed, the
ADL-100 will load a disc into the Laminator. Once the
Laminator has reached operating temperature, the disc will
laminate. While the disc is laminating, the ADL-100 will pick
the next disc. Once the disc in the laminator is finished, the
ADL-100 will pick it from the Accent's tray, rotate, and
simultaneously deposit the finished disc into the
Output Bin
and load the next disc into the Laminator's tray. This continues
until the stack is completed.
510896.qxd 4/15/2004 12:06 PM Page 6
TOC
INDEX


