Using the Bluetooth Software (Vista)
After you have completed the driver and software installation and reboot your computer, a Bluetooth icon will appear on your desktop and in
the bottom right hand corner of your desktop screen (systray). The Bluetooth icon gives you access to the Bluetooth shortcut menu, and
Bluetooth Devices, for configuring your Bluetooth settings.
Right click the Bluetooth icon for to display the shortcut menu.
·
Add a Bluetooth Device: Click to add a new Bluetooth device.
·
Show Bluetooth Devices: Click to show all detected Bluetooth devices.
·
Send a File: Click to send a file using Bluetooth File Sharing.
·
Receive a File: Click to receive a file using Bluetooth File Sharing.
·
Join a Personal Area Network: Click to join a private Bluetooth network.
·
Open Bluetooth Settings: Click to open the Bluetooth Devices screen.
·
Remove Bluetooth Icon: Click to remove the Bluetooth icon from the system tray.
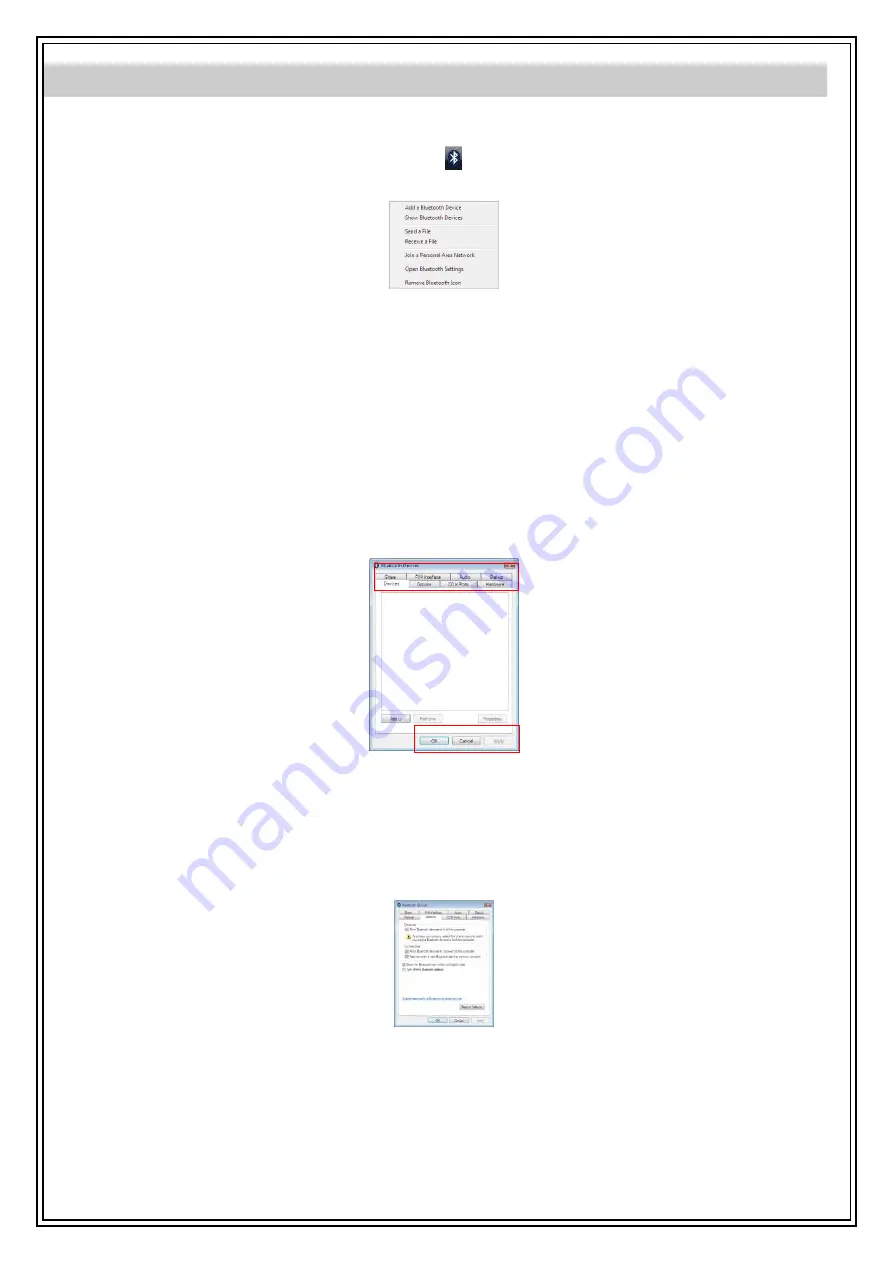
Double click the Bluetooth icon for access to Bluetooth Devices.
You can manage all your Bluetooth connections and settings from the Bluetooth Devices screen.
Use the tabs at the top of the screen to navigate the Bluetooth Devices screen.
Click
OK
to confirm a setting, and close the screen, click
Cancel
to cancel any changes, and click
Apply
to confirm a setting without closing
the screen.
Devices Tab
Click the
Devices
tab to view all detected Bluetooth devices. Click
Add
to configure a new device, click
Properties
to view the properties for a
selected device, or
Remove
to remove a device from the list.
Options Tab
Click the
Options
tab to set discovery and connection permissions. You can also select to how the Bluetooth icon in the system taskbar from
here.
Click
Restore Defaults
to restore all settings to their original defaults.


