Compatibility
Quester Switchbox
works on any USB compatible computer but is primarily intended for gaming on a
PC. It does not work on legacy PS/2 connectors even via an adapter.
Installation
Simply plug your
Quester Switchbox
into a spare USB socket on your computer. It doesn’t matter
whether the computer is on or off. The first time you install
Quester Switchbox
the operating system
may take a few seconds to build a driver. There are no driver files to load onto the computer- the
computer’s resident drivers are always used to help simplify installation.
Getting Started
Quester Switchbox
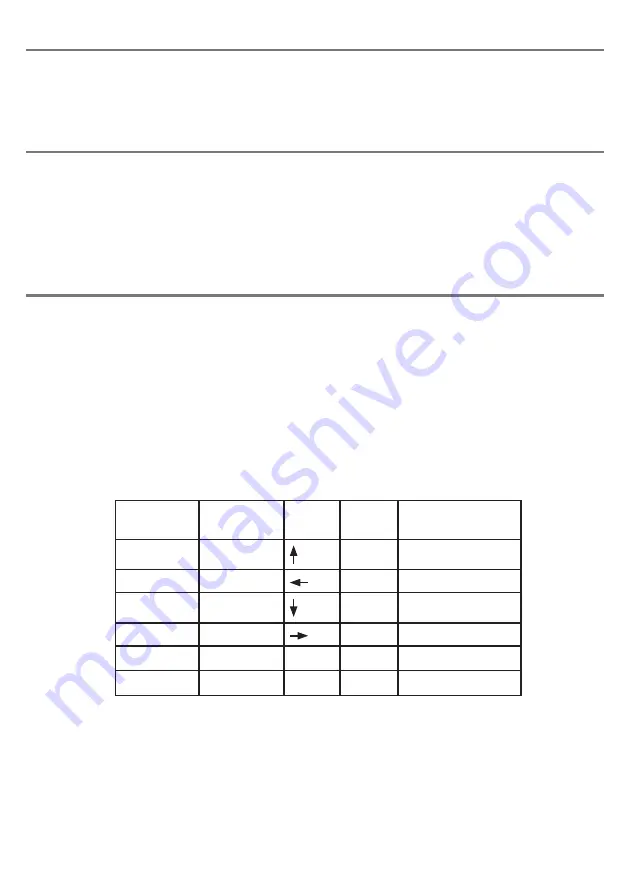
is supplied set to Level 1 by default, giving access to W, A, S, D and Left Click/
Right Click- see Table 1. To change Level, you can either press a switch plugged into the Level socket
[7] or the Level button [8]. The Level button is ideal when a player needs support to change Level,
whereas the Level socket may be used to empower the gamer to do it for themselves.
Note that there is a short ‘ignore repeats’ period when using the Level socket [8] to change levels to
ensure that only one level change is made per press even if users are prone to make multiple presses
due to poor motor control.
Each time the Level is changed, a number of beeps is emitted from the unit, where one beep indicates
Level 1, two beeps indicates Level 2 and so on.
Note that the functions listed in Table 1 for Level 4 are the defaults that the unit is supplied with.
These may be changed at any time using Learn Mode- next page.
Any functions that may be on-going as you change Level will be cancelled automatically to
prevent keys running on indefinitely. This is especially important when using latching W, A, S
and D, for example.
Level 1
Level 2 Level 3 Level 4 (Defaults)
Socket 1
W
1
Space
Socket 2
A
2
Tab
Socket 3
S
3
Shift
Socket 4
D
4
Ctrl
Socket 5
Left Click
Escape 5
Latching-w
Socket 6
Right Click
Enter
6
Caps
Table 1: Quester Switchbox functions


