background image

Startup

5

5. Operation Instructions

Connect the power plug to the power socket, press the key

on the panel or the Standby key on the remote control to turn on the monitor.

Standby

Press the Standby key on the remote control, the monitor goes to Standby.

Tips

The product is environment-friendly:

If no signals are detected in 5 minutes after startup, it enters the Standby mode;

It enters the Standby mode when it reaches the time to switch off;

Power plug must be removed when the complete power-off is needed.

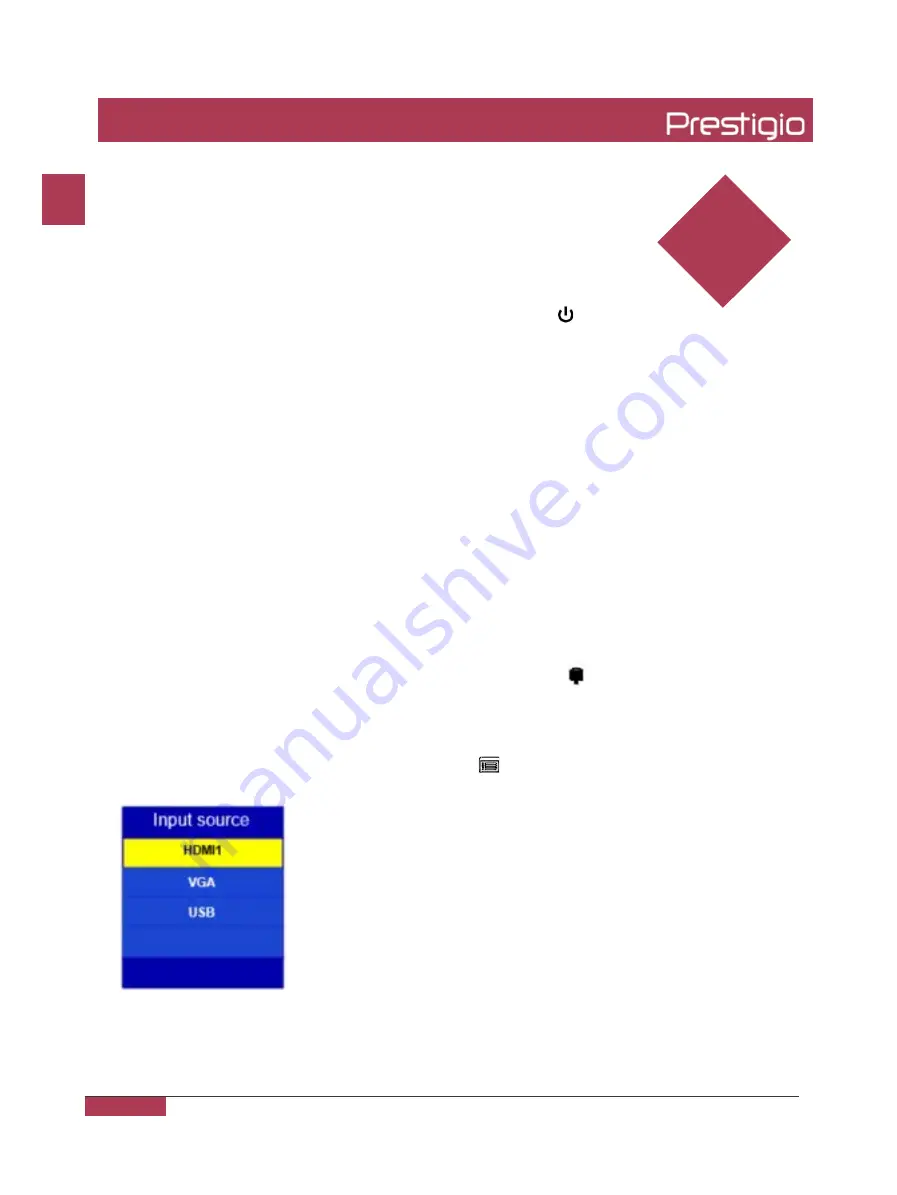
Selecting Signal Source

1. Press the “Signal Source” key on the remote control or the  key on the panel,

the Signal Source menu appears;

2. Press the arrow keys on the remote control, or the 

/

keys on the panel

to select a signal source, such as HDMI, VGA and USB;

3. Press the OK key on the remote control or the        key on the panel to confirm.

Quick Start Guide Prestigio Digital Signage Wall Mount

EN - 7

EN

Summary of Contents for PDSIK43WNN0L

Page 1: ...Wall Mount LCD Quick Start Guide 2019...

Page 2: ......

Page 3: ...Packing list 3 Power requirements 3 Ports 4 3 Panel Keys 5 4 Remote Control 6 5 Operation Instructions 7 Start Up 7 Standby 7 Selecting Signal Source 7 Menu Operation 8 USB Multimedia Function 9 6 Tr...

Page 4: ...under natural temperature do not work under the temperature which human body cannot adapt to If the electronic IDS will not be used for an extended period of time e g during extended holidays turn off...

Page 5: ...ting temperature is 0 40 C and the advised temperature for storage is 20 60 C Humidity Do not expose the product to the rain or place it near the water Please ensure the unit is placed in a dry and co...

Page 6: ...k Start Guide Prestigio Digital Signage Wall Mount LCD Monitor x 1 User Manual x 1 Warranty Card x 1 Remote Control x 1 1 5m Power Cord x 1 Could depend of the model ATTENTION The remote control kit i...

Page 7: ...ximum resolutions supportable When matched with UHD type screen it supports the resolution of 3840 2160 when matched with FHD type screen it supports the maximum resolution of 1920 1080 Ports 2 3 4 5...

Page 8: ...OSD menu press the key to select an item 4 It is used to adjust the volume In the OSD menu press the key to adjust the value of the selected item 5 Press the key to enter the main menu and it confirms...

Page 9: ...ust the value Image mode Image mode switchover Volume Adjust the volume Screen display Display signal type and resolution Menu Display the menu Timing Set the time to switch off LCD Zoom Select the di...

Page 10: ...enters the Standby mode It enters the Standby mode when it reaches the time to switch off Power plug must be removed when the complete power off is needed Selecting Signal Source 1 Press the Signal S...

Page 11: ...he OK key on the remote control or the key on the panel to select an item to be adjusted 4 Press the Left Right arrow keys on remote control or the keys on the panel to change the value 5 When the mai...

Page 12: ...ust the right left sound tracks Surround Turn on off the Surround function AVC Turn on off the Auto Volume Control Settings Language Select Chinese English menu switch Transparency Menu transparency s...

Page 13: ...end Image jerking or ripple A There exists an electric device that interferes with the video signals A Turn off the electric device or relocate the monitor Dim or extremely bright screen A Low or hig...

Page 14: ...cd m2 COLOUR 1 07B 10bit 1 07B 10bit VIEWING ANGLE H V 178 178 178 178 RESPONSE TIME ms 6ms 6ms CONTRAST RATIO 1100 1 1200 1 LIFETIME OPERATING MODE 30 000h min 18 7 30 000h min 18 7 USB USB2 0 x 1 U...

Page 15: ......

Reviews: