7
2
Getting Started
2.3
Step 3: Update Firmware
StudioLive™ Series III Rack Mixers
Owner’s Manual
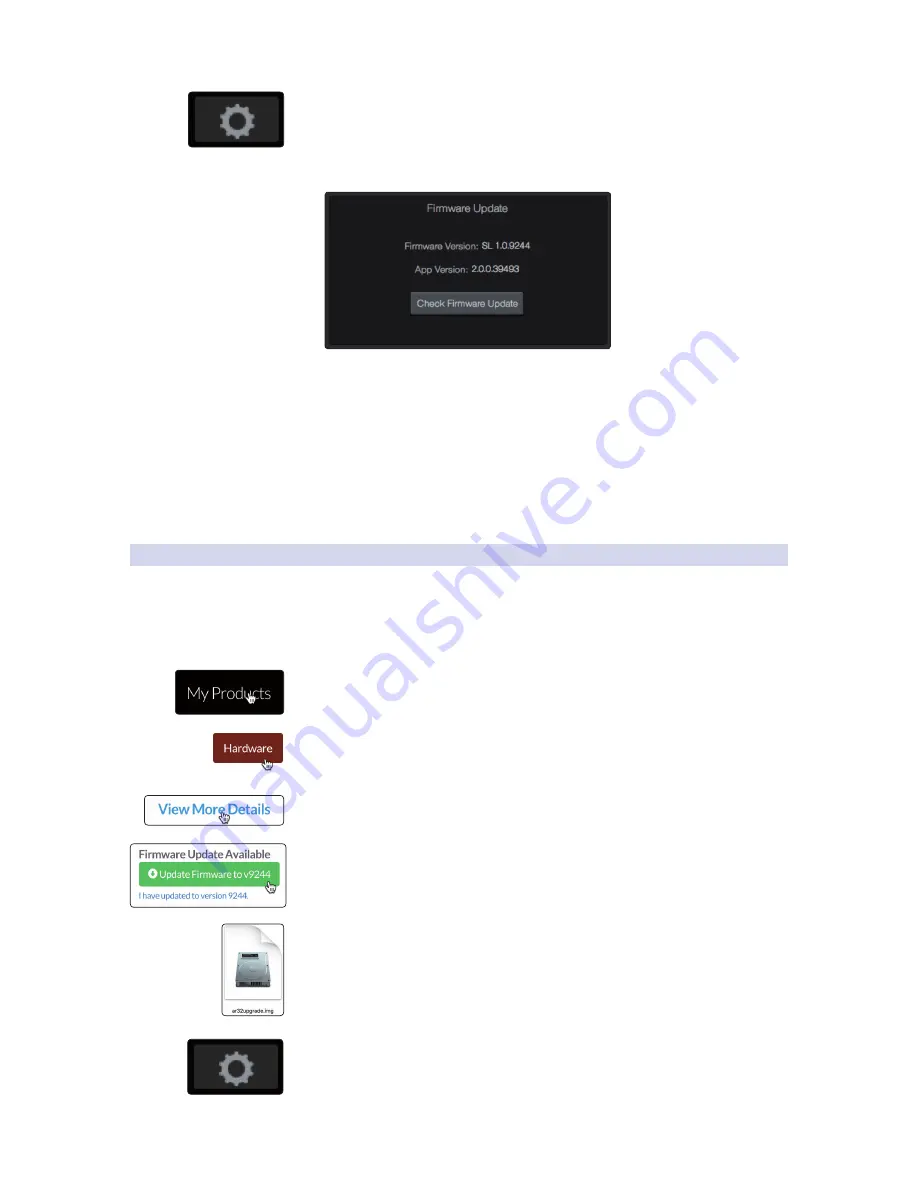
3. Click or touch the Settings icon at the top right of the UC Surface window.
4. On the Device Settings tab, click “Check Firmware Update.”
5. You will be asked if you would like to proceed
with the firmware update. Click “OK.”
6. A progress bar will be shown in UC Surface during the first part of
the firmware update. Once it is complete, UC Surface will inform you
that it is finished and will ask you to power-cycle the mixer.
7. When you restart your mixer, verify that the last four digits of the firmware
version on it are the same as the firmware files you downloaded.
For more information,
see the StudioLive Software Library Reference Manual
.
2.3.2
Manual Firmware Updates
To manually update your mixer’s firmware, you will need a computer
with Internet access and a method to transfer the file from one
computer to another (USB Thumb drive, SD card, etc.).
1. Log in to your my.presonus.com account.
2. Once you have logged in, click the My Products button at the top of the page.
3. Click on the Hardware tab to view your registered hardware products.
4. Find your mixer model on the page and click the View More Details link.
5. Click on the update Firmware button to download the files to your computer.
6. When the download completes, open your Downloads folder. Depending on
your computer’s system preferences, the firmware .zip archive file might not
automatically decompress. If it doesn’t, double-click the file, and it will
decompress. You will find a single .img file inside. Drag it to your
removable media.
7. On the computer connected to your mixer, launch UC Surface and click on the
Settings page button.


