www.premiermounts.com | North America 800.368.9700 | Interna1-714-632-7100
2620 Palisades Drive, Corona, CA 92882 USA
9500360 v1.2
publ. 04/01/20
SERIES: BAR-XT
INSTALLATION GUIDE
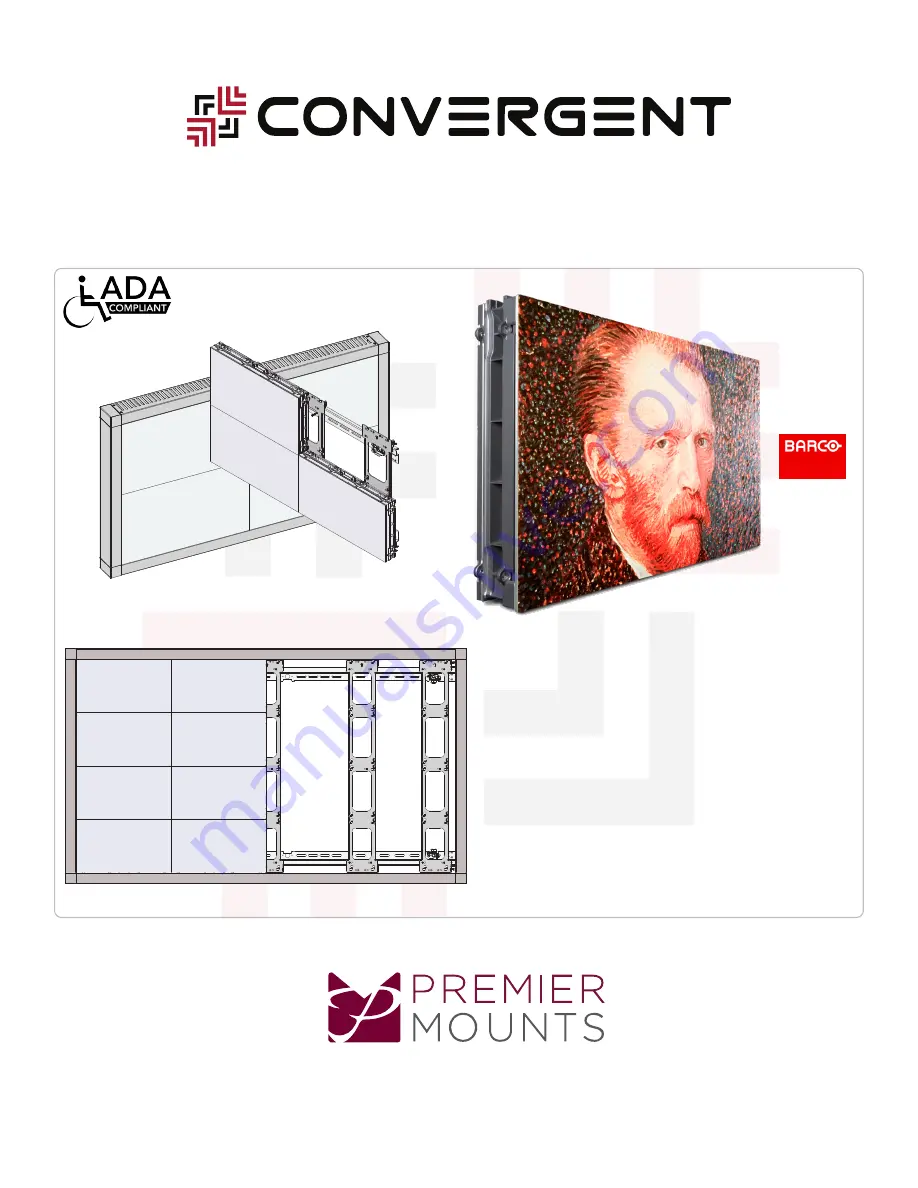
Convergent Series Video Wall Mount
For Barco XT (16:9) LED Cabinets
Page 1: ...North America 800 368 9700 International 1 714 632 7100 2620 Palisades Drive Corona CA 92882 USA 9500360 v1 2 publ 04 01 20 SERIES BAR XT INSTALLATION GUIDE Convergent Series Video Wall Mount For Barc...
Page 2: ...UL INSTALLATION ANY QUESTIONS CALL PREMIER MOUNTS 2 INSTALLATION MUST MEETS THE REQUIREMENTS APPROVED BY THE STRUCTURAL ENGINEER 3 MOUNTING SURFACE REQUIREMENTS SOLID AND CONTINUOUS PLYWOOD BACKING WI...
Page 3: ...verall dimensions of any video wall array can be calculated by using the table within this page The desired array size is a combination of available sizes Add the available sizes together to find the...
Page 4: ...07 033 LX Vertical Rail 3V 6 4000 307 034 LX Vertical Rail 4V 7 4000 307 035 LX Vertical Rail 5V 8 4000 307 036 LX Vertical Rail 6V ITEM PART NO DESCRIPTION 1 4000 307 042 LX Horizontal Rail 2H 2 4000...
Page 5: ...nt 2 Re position the bracket to the respective hole and anchor using the 5 16 Hex Lag screw shown in sequential step The socket head screw must be twist in to stabilize the Horizontal Rail if the flat...
Page 6: ...ead shown using 2X2 configuration Install the Vertical and Horizontal Rails together using 4 M5x 6mm Flat Head Screw per 1 Determine the desired location by calculating the height of the pre mounting...
Page 7: ...cation by sliding a Wall Anchor Plate behind the mount and fasten using 5 16 x 3 Hex Lag and 5 16 Washer 3 Maintain a 1 8 minimum gap from the anchor plate and the rail when anchoring 4 Install the re...
Page 8: ...by sliding a Wall Anchor Plate behind the mount and fasten using 5 16 x 3 Hex Lag and 5 16 Washer 4 Maintain a 1 8 minimum gap from the anchor plate and the rail when anchoring 5 Level Square Plumb 6...
Page 9: ...LOWER SECTION OF THE MOUNT Support Screws Install a few support screws commercially available hardware to temporary hold the lower section in place prior to final mounting location This allows the low...
Page 10: ...Connector Bracket behind the horizontal rails and fasten together using 4 M5 x 6mm Flat Head Screw for each rail 4 Install the Vertical Rail end at a shifted location using 4 M5 x 6mm Flat Head Screw...
Page 11: ...t to each other 2 Join the units together using multiple Connector Brackets per rail and fasten using 4 M5 x 6mm Flat Head Screw per To extend the height of the unit follow the steps below To extend h...
Page 12: ...nstallation Guide BARCO XT www premiermounts com North America 800 368 9700 International 1 714 632 7100 6 Page 12 Inspect each bracket using a Square and Level tool LASER LEVEL SQUARE AND LEVEL 00 0...
Page 13: ...ailable on 4 to 6 High Verticals and on 2 Wide Horizontal Shown using 3 High Vertical Rail FINETUNE THE RAIL FOR FLATNESS 1 Install wherever possible 2 Use drywall or wood screws to pull the brackets...
Page 14: ...te and verify the diagonal measurements 3 Proceed only if the two measurements are equivalent 4 Secure the lower mounting location by sliding a Wall Anchor Plate behind the mount and fasten using 5 16...
Page 15: ...specially for large video wall array 3 Inspect for any gaps between the brackets and the string 4 Adjust any neccessary mounting location FINAL ALIGMENT AND ADJUSTMENT Figure 2 Figure 1 Convergent Bra...
Page 16: ...el to the wall vertically and horizontally Must use shims commercially available on every slots being used to fill the void between the wall and the frame Avoid over tightening the screws as this woul...
Page 17: ...ed professional Improper installation may cause damage to the LEDs 1 Mount the LED Cabinets starting from bottom to upper row then left to right column 2 Guide the Quick Release Button through the key...
Page 18: ...air or replace such products determined by Premier Mounts to be defective RETURNING THE PRODUCT TO PREMIER MOUNTS PDS 1 Products must be packed securely to insure no further damage upon arrival at Pre...