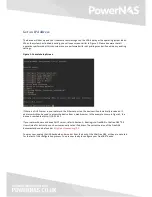
6. Miscellaneous Settings
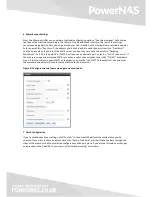
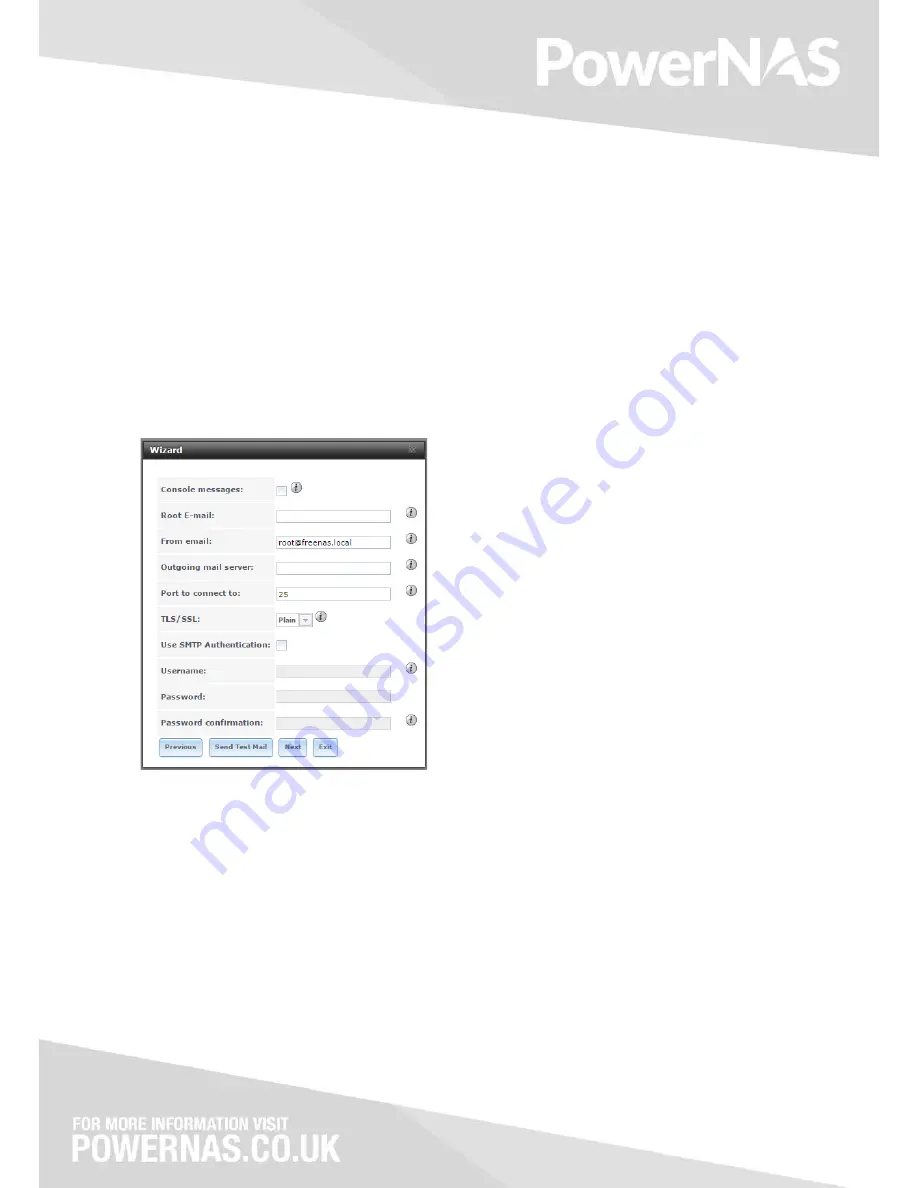
Next, the Wizard will offer you a number of optional configuration options. “Console messages” will enable a
live feed of the FreeNAS console log in the footer of the FreeNAS Web Interface. The rest of the settings
concern sending emails to alert you of issues with your Mini FreeNAS, such as failed disks or available updates.
Enter an email into “Root Email”, the address you’d like FreeNAS to send the alerts from into “From Email”,
and the hostname or IP address of the SMTP server you want to use to send the emails in “Outgoing
Mail Server”. Port 25 is the default for SMTP, but if you use an alternate port, enter it in “Port to connect to”. If
the mail server supports encrypted SMTP connections, select the encryption type in the “TLS/SSL” drop-down
menu. If the mail server supports SMTP authentication, check the “Use SMTP Authentication” box and enter
the username and password used for authentication to the mail server.
Figure 8: Configure console footer messages and email alerts.
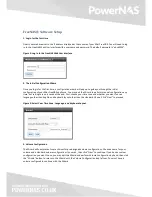
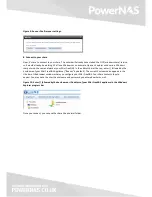
7. Finish Configuration
If you’re sure about all your settings, click “Confirm” to have FreeNAS perform the configuration you’ve
selected. If you want to check one more time, click “Return to Wizard”, which will take you back through the
steps of the wizard with all your selected configurations already in place. If you’d rather discard your changes
and proceed to the FreeNAS UI, you may click “Exit without saving” at this time.
Summary of Contents for MIni FreeNAS
Page 1: ......

