8724973
Compact Metal Detector
V4.0
6
For technical questions call 1-800-665-8685
4. Turn the volume control counterclockwise until beeping is heard. Turn the
knob slowly clockwise until the detector stops beeping. Your detector is
now tuned to search for metals.
5. Test the detector by waving it over a piece of metal. The detector is
calibrated when the beeping stops when moved away from the metal. If the
detector continues beeping when moving the coil away from the metal you
will need to repeat steps 2 to 5.
DETECTING OBJECTS
1. Slowly sweep the search coil (F) about 1 inch
above the ground. The LCD detection dial will
spin and the word SEARCH will appear above it.
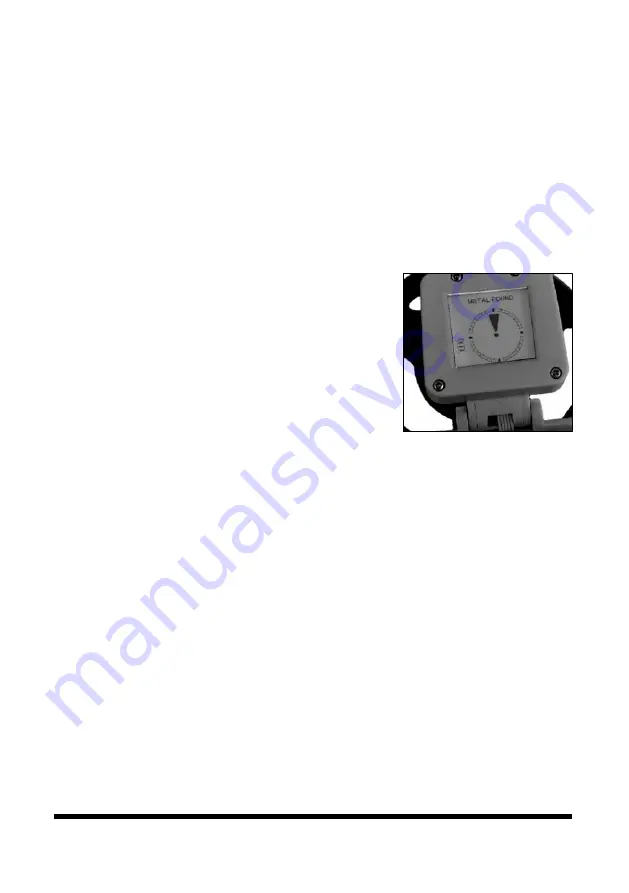
2. The detector will emit a tone when metal is
detected. The detector dial will stop spinning
and point in the direction of the metal
objection. The message will change to METAL
FOUND (Fig. 2).
BATTERY INDICATOR ICON
1. Indicates the condition of the battery. There are three levels (segments)
that will indicate the condition of the battery.
2. All three segments indicates the battery is in good condition.
3. One segment is the minimum power at which the detector can be operated.
When the indicator reaches this level, it is time to replace the battery.
CARE & MAINTENANCE
1. Maintain the tool with care. A tool in good condition is efficient, easier to
control and will have fewer problems.
2. Inspect the tool components periodically. Repair or replace damaged or
worn components. Only use identical replacement parts when servicing.
3. Keep the tool handles clean, dry and free from oil/grease at all times.
4. Maintain the tool’s labels and name plates. These carry important information.
If unreadable or missing, contact Princess Auto Ltd. for replacements.
WARNING! Only qualified service personnel should repair the tool. An
Fig. 2


