


06
Charging indicator status
0%~25%
25%~50%
50%~75%
75%~100%
Fully charged
LED 1
LED 2
LED 3
LED 4
Current battery level
Flash state
Off state
Note: When hearing a "click" sound, the battery is successfully installed in place.
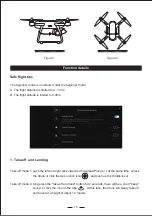
Installation and removal of battery
Figure 1
Figure 2
Insert the battery in the right direction as shown in Figure 1.
Press the left and right sides of the battery and pull out the battery as shown in Figure 2.
2. Remote control charging
Connect the Micro USB interface of the remote control to the commonly used maximum 5V/2A
charger. It takes about 2 hours to be fully charged.
Summary of Contents for Dreamer 4K
Page 4: ...Product diagram 02 5 6 4 2 3 1 7 8 12 9 11 10...
Page 28: ......