


19
STEP 6: Scan Data into Your Application
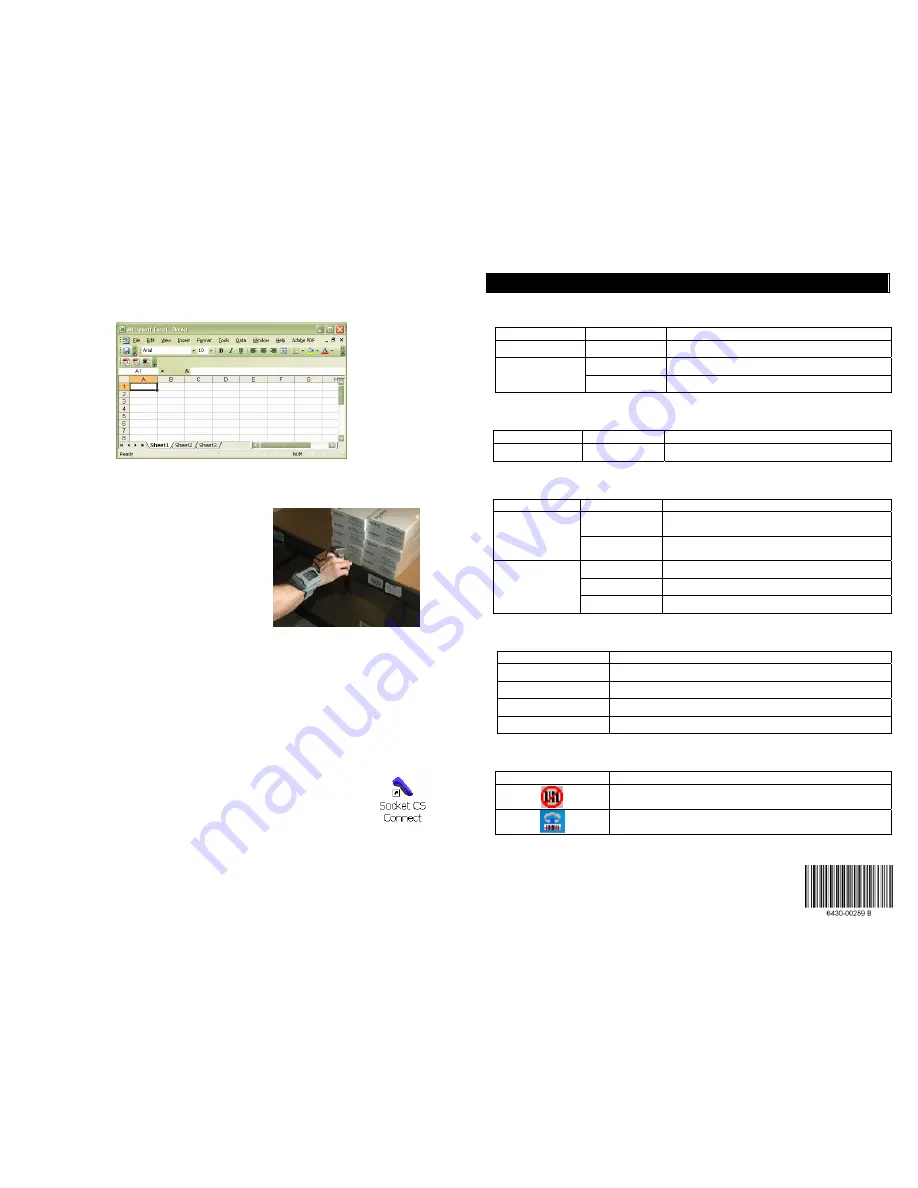
1.
Start the Windows application that you want to enter scanned data into (e.g.,
Excel, Notepad, etc.). Make sure a document or spreadsheet is open.
2.
Place the cursor where you want data from the next scan to be entered.
3.
Press the trigger button and aim your finger
at the bar code. The red laser beam should
cover the entire width of the bar code. See the
User’s Guide
for scanning tips.
When data is read and sent to the
mobile
computing device
, the laser will turn off.
Depending on your scanner settings, the
scanner may beep and/or the ring scanner’s
LED may flash green to indicate a good read.
If no data is read in a few seconds, the laser will turn off, and you must try again.
4.
After a successful scan, data should appear in your document. By default, the
cursor automatically advances to the next cell or line, ready for the next scan.
Wait for the “Good Scan” indication before you scan another bar code. If you try
to scan too fast, the device can lock up until you stop scanning.
If your computer suspends or the CRS is moved out of range, the
connection will be lost. After the computer turns on again or returns
in range, SocketScan will try to re-connect according to the “auto
re-connect” settings you chose in SocketScan. After the time limit
for re-connection attempts has passed, you can click on the Socket
CS Connect icon on the desktop to manually initiate re-connection.
To end the connection, click on the SocketScan icon and click
Disconnect CS
.
To turn off the CRS, press the power button on the wrist unit for at least 2
seconds, until you hear 2 beeps.
© Socket Communications, Inc.
5/2006
Printed in U.S.A.
H
ARDWARE AND
S
OFTWARE
I
NDICATORS
Battery Charger LEDs
LED LED
Activity
Meaning
Power
Red
Plugged into valid power source
Yellow Charging
Charging
Green
Battery is fully charged
Scanner LED
LED LED
Activity
Meaning
Good Read
Green
Data successfully scanned and sent to host device
Wrist Unit LEDs
LED LED
Activity
Meaning
Blinking blue
every second
Bluetooth
radio is on, no connection
Bluetooth
Status
Blinking blue,
every 5 seconds
Bluetooth
connection
Blinking Red
20% battery capacity remaining
Solid Red
10% battery capacity remaining
Battery Status
Off
Off or Good Battery status
Wrist Unit Beeps
Beep Pattern
Meaning
1 beep
Bluetooth
connection to host device has begun or power on
2 beeps
Bluetooth
connection to host device has ended or power off
1 beep
(optional setting)
Data successfully scanned and sent to host device
3 beeps
Cable disconnected from wrist unit
SocketScan Icon
For Pocket PCs, it appears at the bottom of the Today screen.
Icon Meaning
The CRS is not connected to the host device
The CRS is connected to the host device


