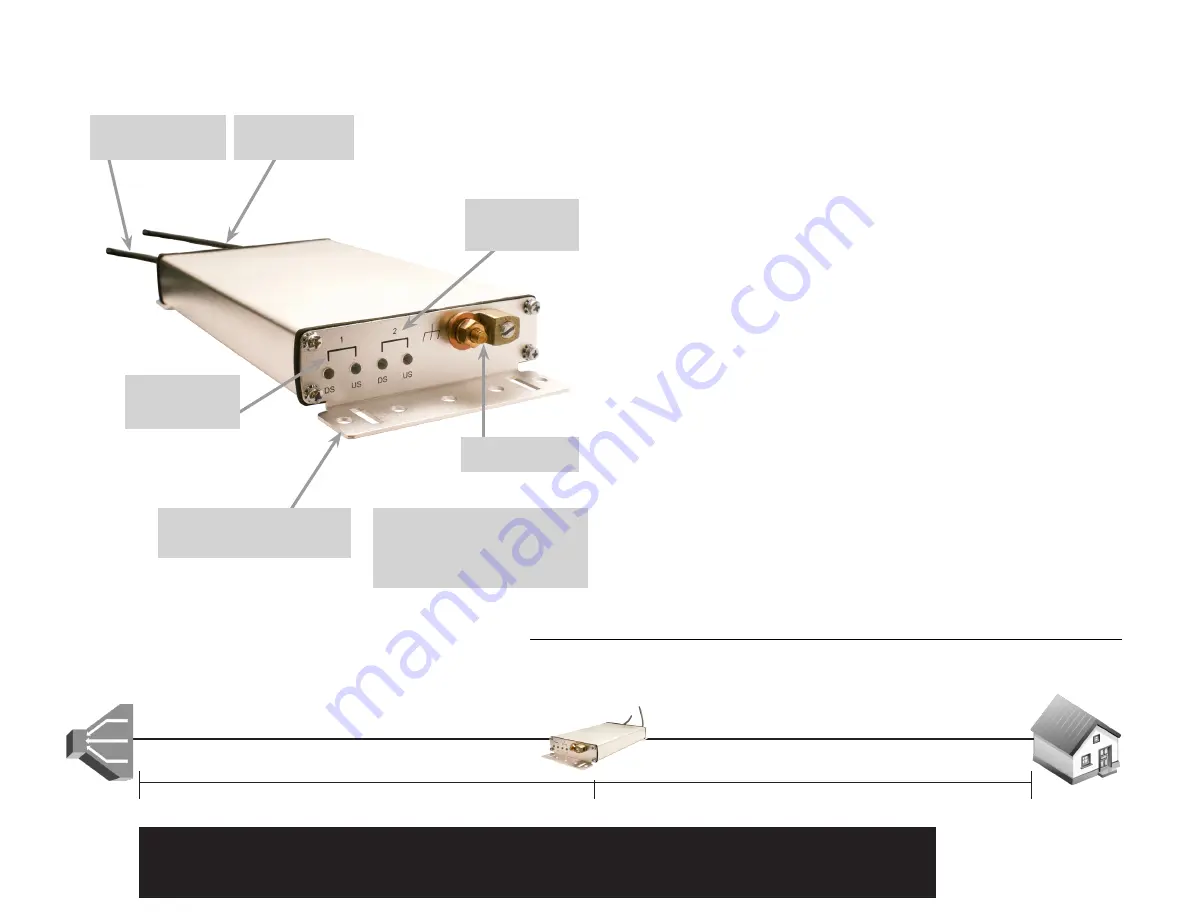
BRX-VDSL2-2 (2 pairs)
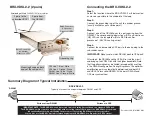
Summary Diagram of Typical Installation
DSLAM
BRX-VDSL2-2
Typically at or near the midpoint between DSLAM and CPE
L1
Distance from DSLAM
L2
Distance to CPE
Connecting the BRX-VDSL2-2
2 pairs from
the DSLAM
2 pairs to the
subscriber (CPE)
Shielded gel-filled 24 AWG/ 0.51mm cables
Grounding Lug
CPE Line 1 Blue / White
CPE Line 2 Orange / White
DSLAM Line 1 Blue / White
DSLAM
Line 2 Orange / White
Step 1:
Select the location where the BRX-VDSL2-2 will be inserted
as close as possible to the midpoint of the loop.
Step 2:
Connect the grounding lug of the unit to a proper ground
(usually available near a splice point).
Step 3:
Connect one of the DSLAM pairs to a pair coming from the
DSLAM. The corresponding downstream (DS) and upstream
(US) LEDs on the faceplate will turn RED to confirm
presence of -48 VDC sealing current.
Step 4:
Connect the corresponding CPE pair to the pair going to the
subscriber home.
IMPORTANT:
Make sure to match DSLAM pair# to CPE pair#.
After step 4, the DSLAM and the CPE will re-train the circuit
and bring up the VDSL2 link with the higher bandwidth. Note
that the performance may be limited (or capped) by a setting
in the DSLAM configuration. During this process, the optimum
amplification gain is automatically determined and both DS
and US LEDs turn solid GREEN. At this point, DSLAM and
CPE are synchronized.
Document 180-0161-001 R02
Pair 1
Dowstream
& Upstream
Diagnostic LEDs
Pair 2
Dowstream
& Upstream
Diagnostic LEDs
Mounting flange on both
ends of the sealed unit
IMPORTANT NOTE: The BRX-VDSL2-2 unit is powered from the Sealing Current found on a standard POTS pair.
The BRX-VDSL2-2 will not work on a dry pair (line with no sealing current). Each pair of the BRX-VDSL2-2 is powered
independently with each pair requiring the presence of the sealing DC Voltage for proper operation.
You can also use the BRX Power Injector when deploying the BRX-VDSL2-2 on dry pairs (no POTS service).


