


Wireless Powder Checker
probes:
The
PosiTector
PC
wireless probe connects to all Advanced
PosiTector bodies. See
Powder Probes
(pg 27) for connection details.
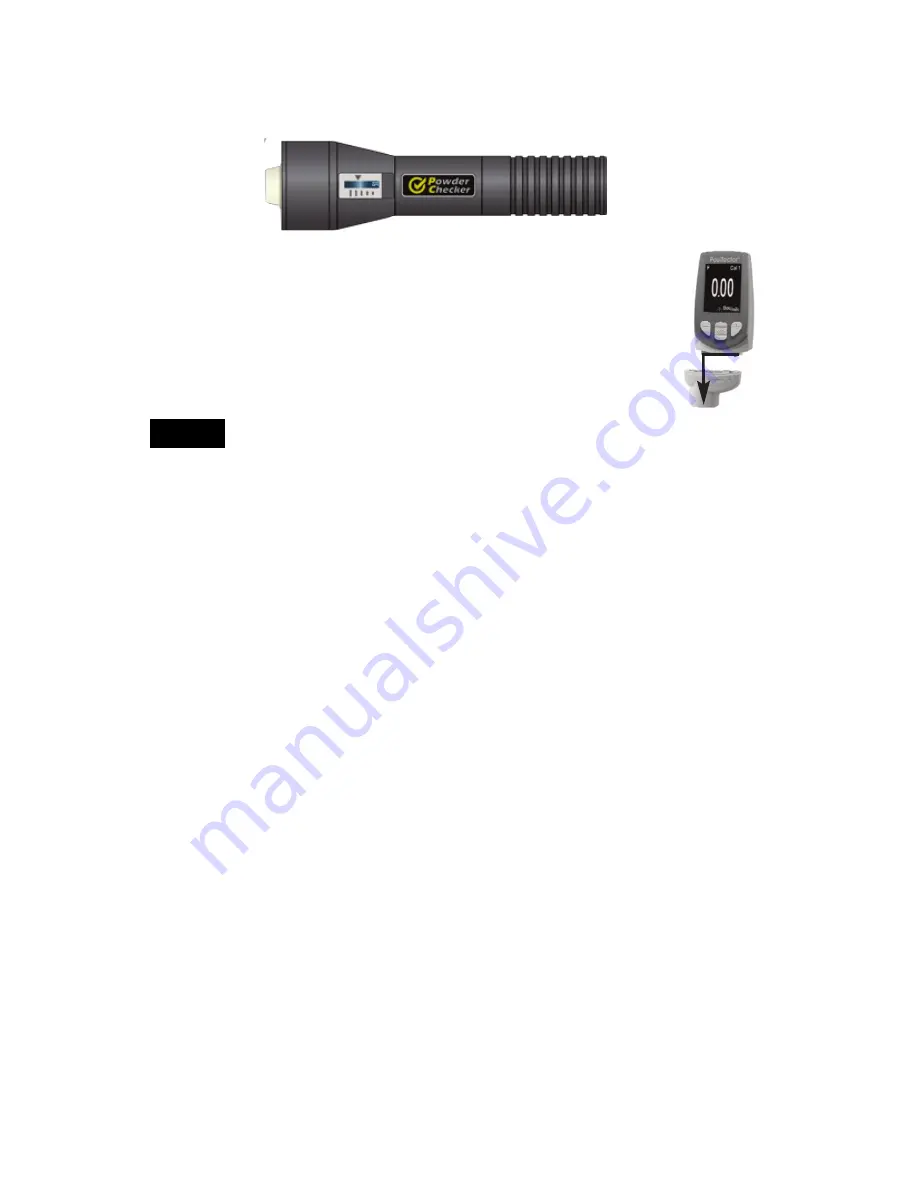
Physically connected PosiTector probes:
To disconnect a probe from a PosiTector body, slide the
plastic probe connector horizontally (in the direction of the
arrow) away from the PosiTector body. Reverse these steps
to attach a new probe.
The
PosiTector
automatically determines what type of probe
is attached and does a self-check.
4
Maintenance
The screen at the measuring end of the
PC
probe can be unscrewed
for cleaning. Accumulated powder should be carefully removed from
the screen by no more than 0.2 MPa (20 - 30 psi) of compressed air.
Do not blow air directly into the probe. Replacement screens are
available.
During power-up a physically connected probe is recognized
when a
PC
probe is not available (powered-off).
To reconnect to a
PC
wireless probe (after power-up), select
Connect
,
within the
Connect > Powder Probes
menu. (pg 27)
The PosiTector body will automatically connect to an active wireless
NOTE:
If a thickness result does not appear after 5 seconds, release the
measurement button and try again. Wait 1 to 2 seconds between
readings.
Small, erratically swinging parts may present measurement
challenges. Steady the part whenever possible. If erroneous readings
continually result, change the measurement strategy by rotating the
probe, altering its alignment to the part, or by measuring a different
location on the part.
For best results use
Statistics
mode (pg 14) to generate averages.
The average of a series of measurements is often a more meaningful
prediction of cured thickness than a single reading.
Measurement Notes
Measurement Notes
Summary of Contents for Powder Checker
Page 1: ...v 2 1 ...