Version v1.01
Date: 08/08/2006
5
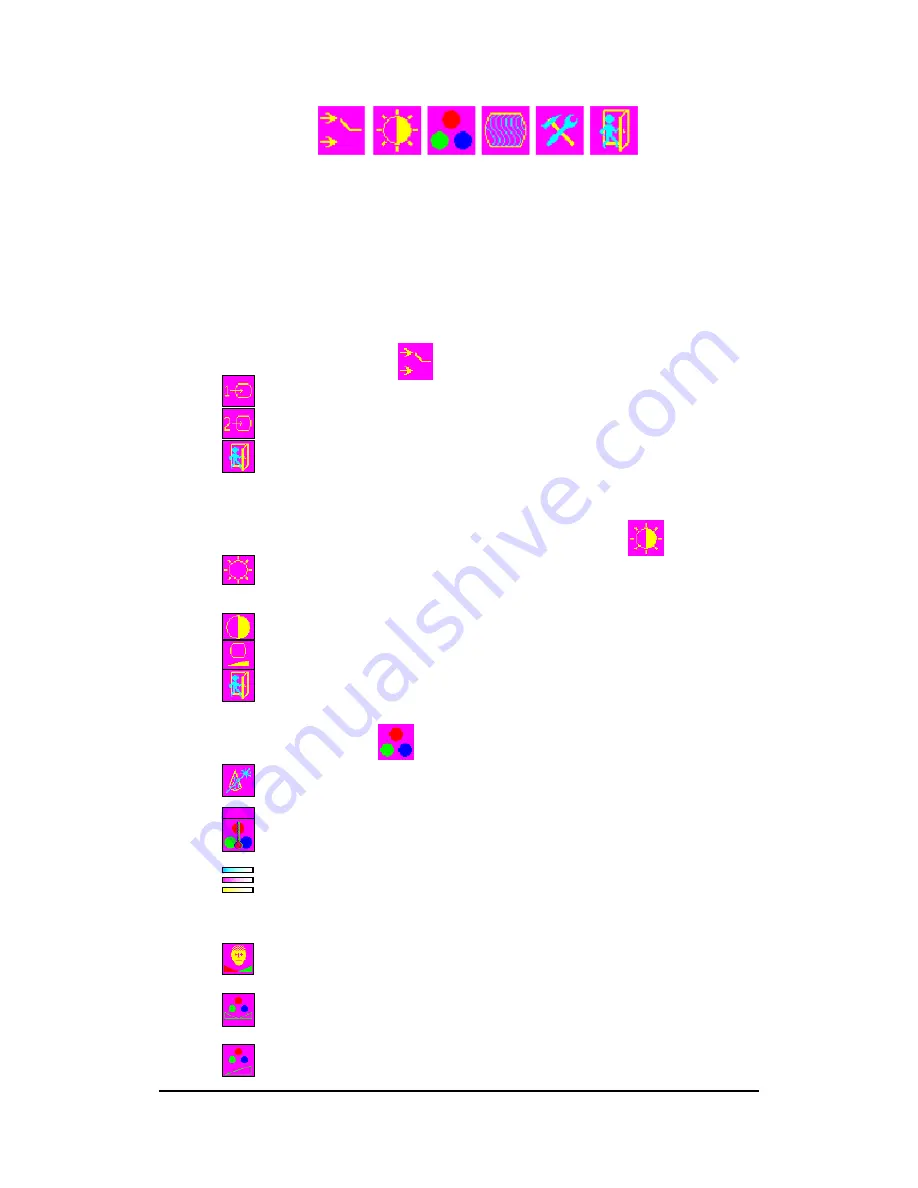
4. OSD Function
(1) Press “menu” button to start OSD menu shown above and press
“
▲
” button to go to each function described in following
paragraphs.
(2)
After you select the function, press “menu” button to enter
submenu and press “
▲
” &
▼
”” button to select function you would
like to adjust. Then, press “menu” button to enter to adjust details.
4.1 Input Interface Setting
¾
Analog
Input
¾
Digital Input (Reserved)
¾
Exit
4.2 Adjustment of Brightness / Contrast / Back Level
¾
Brightness : Press “
▲
” & ”
▼
” button to adjust.
¾
Contrast : Press “
▲
” & ”
▼
” button to adjust.
¾
Black Level : Press “
▲
” & ”
▼
” button to adjust.
¾
Exit
4.3 Adjustment of Color
¾
Auto Color Setup : Press “menu” button for auto color setup.
¾
sRGB : Press “menu” button to adjust standard color.
¾
Color Temperature : Press “
▲
” & ”
▼
” button to select color
temperature or adjust R.G.B. color depth.
¾
CMY : Press “
▲
” & ”
▼
” button to adjust RGB color and press
“menu” button to select R,G,B. If you want to leave,
press “menu” button to go back to prior menu.
¾
Skin Tone : Press “
▲
” & ”
▼
” button to adjust. When finished,
press “
▲
” button to go back to prior menu.
¾
Hue : Press “
▲
” & ”
▼
” button to adjust hue of R,G,B. When
finish, press “menu” button to go back to prior menu.
¾
Saturation : Press “
▲
” & ”
▼
” button to adjust saturation of


