DESEMPAQUE Y CONFIGURACIÓN
BATERÍA Y CARGA
PRECAUCIÓN:
El cargador de este producto debe estar protegido por un dispositivo de
corriente de fuga (con una capacidad nominal de 30 mA o menos).
La batería se enviará en una condición de carga baja, y requiere carga antes de su uso. Permita varios ciclos de carga y descarga
(mediante el uso de la herramienta) para que la batería alcance su rendimiento/ tiempo de funcionamiento óptimo.
Carga de su Batería de Iones de Litio
La batería está equipada con
un indicador medidor de batería
para mostrar el estado de la
carga. Presione el botón
indicador y observe que LED
se ilumina.
Rojo (Iluminado), la batería requiere carga
inmediata.
Verde (Iluminado), bajo estado de carga,
requiere carga pronto.
Verde (Iluminado), estado medio de carga.
Verde (Iluminado), estado de carga completo.
Nota:
La batería necesita ser removida de la herramienta para
verificar el estado de carga.
VERDE
Mantenida (no se ha insertado la batería)
ROJO (iluminado)
La batería se está cargando (carga baja)
VERDE (iluminado)
La batería está completamente cargada
VERDE (iluminado)
Error de batería o cargador (Si está cargando
una batería parcialmente descargada, el
indicador LED del cargador no podría
cambiar de verde a rojo.)
Indicador LED
Situación
Indicador LED del cargador (en la base de carga)
Medidor de Batería
1. Conecte el adaptador de carga
de AC / DC a la toma de corriente.
2. El LED del cargador se
iluminará en verde para indicar
que se está suministrando
energía al cargador.
3. Con la batería sobre una
superficie plana, alinee las
guías levantadas de la batería
con el rebaje en la base de
carga y deslícela sobre la
batería para asegurar una
conexión firme.
4. El LED del cargador se
iluminará en rojo, lo que
significa que la batería se está
cargando.
5. Al retirar la base de carga de
la batería, primero presione el
botón de liberación de la
batería, luego deslice la base
de carga desde su posición.
UNPACK AND SET-UP ( CONT.)
CONTROLS
INSTALLING/REMOVING BATTERY PACK
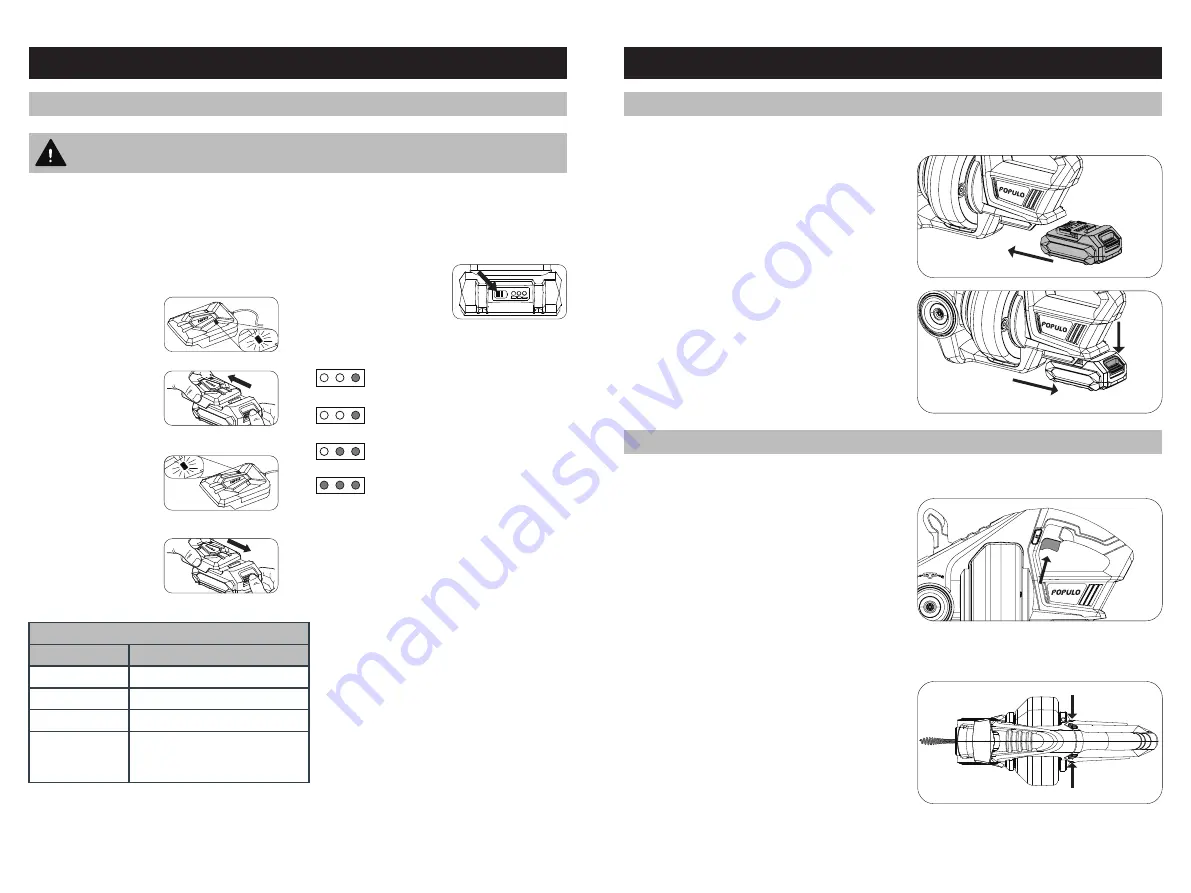
Installing the Battery Pack
Slide the battery into the drill
base until it clicks into place.
Removing the Battery Pack
1. Hold down the battery pack
and release button.
2. Slide the battery pack out.
Variable Speed Switch Trigger
The variable speed switch trigger delivers higher speed with
increased trigger pressure and lower speed with decreased trigger
pressure.
To turn the tool ON, depress the switch trigger.
To turn it OFF, release the switch trigger and allow the cable to come
to a complete stop.
NOTICE:
To prevent gear damage, always allow the cable to come to a
complete stop before changing the direction of rotation.
L
R
Direction of Forward/Reverse Lever
(Forward/Reverse/Center Lock)
Position the direction of forward/reverse lever to the left of the switch
trigger (press the L) for forward operation.
Position the direction of forward/reverse lever to the right of the
switch trigger (press the R) to reverse the direction.
Set the forward/reverse lever in the middle then the switch is locked
(center lock).
Position the lock the switch trigger and help prevent accidental
starting when not in use.


