background image


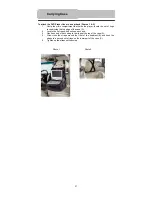
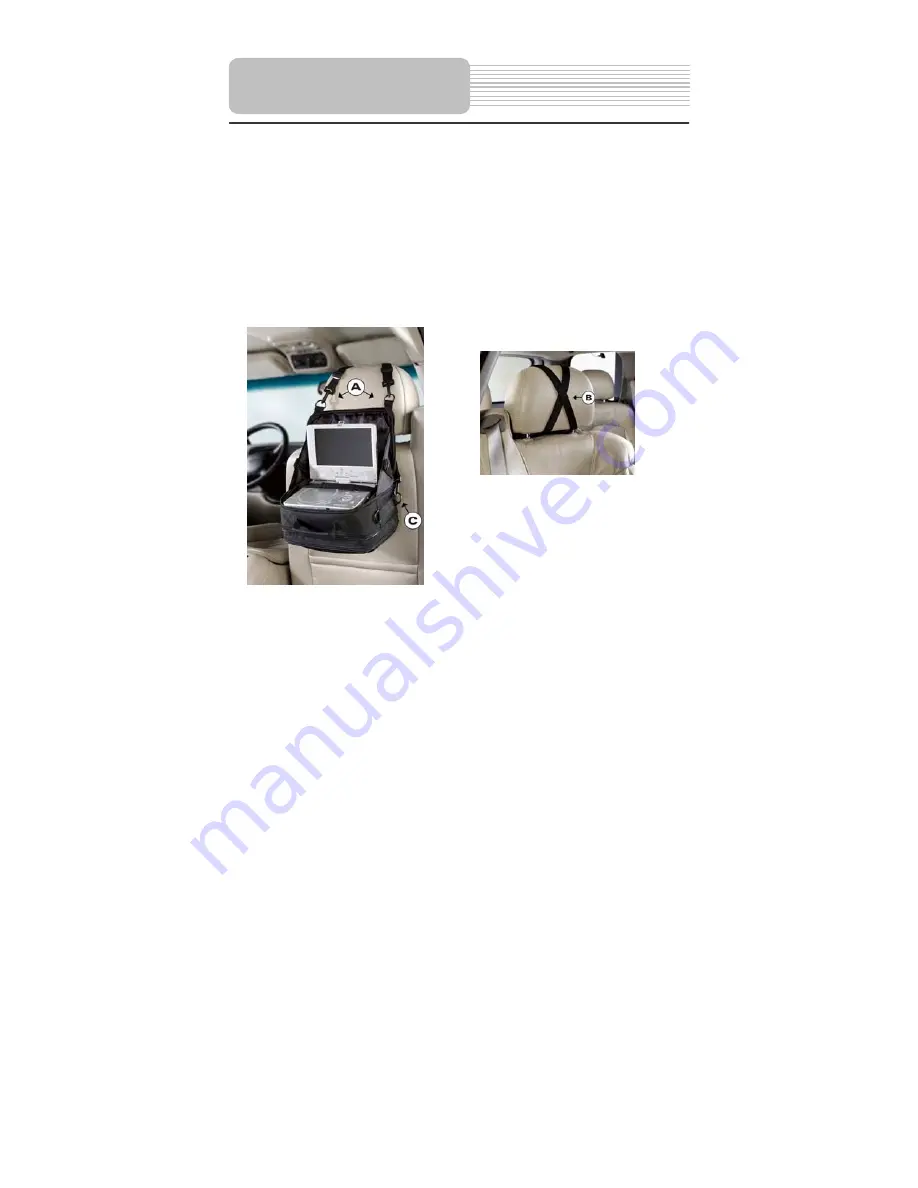
To attach the DVD Player Case to a seat back (Photos 1 & 2): 

1. 

Unzip the main compartment that holds the player; locate the set of rings 
tucked inside the top edge of the case (A).     

2. 

Locate the 2 straps with hooks on each end. 

3. 

Hook one end of each strap to the rings at the top of the case (A). 

4. 

Criss-cross the straps around the front of the headrest (B) and hook the 
straps to a second set of rings on the lower part of the case (C). 

5. 

Tighten up the straps until secured.   


Photo 1                                                  Photo 2 


Carrying Case   

37

Summary of Contents for PDX-0075

Page 1: ...7 Portable DVD Player PDX 0075 User s Manual 20060620 1 ...

Page 2: ... CAUTION TO REDUCE THE RISK OF ELECTRIC SHOCK DO NOT REMOVE COVER OR BACK NO USE SERVICEABLE PARTS INSIDE REFER SERVICING TO QUALIFIED SERVICE PERSONNEL The lightning flash with arrowhead symbol within an equilateral triangle is intended to alert the user to the presence of uninsulated dangerous voltage within the product s enclosure that may be of sufficient magnitude to constitute a risk of elec...

Page 3: ...ong is provided for your safety If the provided plug does not fit into your outlet consult an electrician for replacement of the obsolete outlet 10 Protect the power cord from being walked on or pinched particularly at plugs convenience receptacles and the point where they exit from the apparatus 11 Only use attachments accessories specified by the manufacturer 12 Use only with the cart stand trip...

Page 4: ...hibited Region code information DVD players and discs are coded by region If the region number described on the DVD disc does not correspond to the region number of this product this product cannot play the disc The region code of this unit is 1 IMPORTANT FOR LASER PRODUCTS 1 CLASS 1 LASER PRODUCT 2 DANGER Visible laser radiation when open and interlock failed or defeated Avoid direct exposure to ...

Page 5: ...ar Performance Multi speed fast forward fast backward slow playback and repeated playback Search by Time Search for a certain track of a disk by selected time Last Memory Playback Memorizes the stopped playback track and continues playing the disk from this spot when the power is kept to supplied Only available for DVD and CD disc Special Functions Supports screen multi angle viewing zooming funct...

Page 6: ...ry 1 Power Supply Cord with AC Adapter 1 Rechargeable Battery Pack 1 DC Adapter Car Adapter 1 Audio Video Cable 1 Headphone 1 Carrying Case 1 Operation Manual 1 NOTE Accessories and their parts numbers are subject to change without prior notice Accessories 6 ...

Page 7: ...back Troubleshooting Specifications System Setup Definition Important Safety Instructions Features Notes on Discs Playback Operation Remote Control Power Supply Preparation Rechargeable Battery System Connections Accessories View of Front Panel View of Side Panels View of Bottom Panel Carrying Case 7 ...

Page 8: ...akers output high quality sound 3 IN OUT Button Press to play disc or output AV signal or input external Audio Video signal 4 TITLE Button Press to display title menu if it exits in the disc 5 DISPLAY MODE button Press to change the aspect ratio among 16 9 4 3 View of Front Panel 8 ...

Page 9: ...on Press to select different items Press and hold it for several seconds to search backward fast Press to the previous list track chapter 14 Button Press to select different items Press and hold it for several seconds to search forward fast Press to go to next list track chapter 15 ENT PLAY button ENT Press to confirm selection PLAY Press to start playback 16 SLOW Button Press to select different ...

Page 10: ...UTPUT INPUT button on the front panel to switch to input status it is AUDIO input Jack while switch to output status it is AUDIO output Jack 4 Video Input Output Jack Press OUTPUT INPUT button on the front panel to switch to input status it is VIDEO input Jack while switch to output status it is VIDEO output Jack Left Side View 1 DC 9 5 12V Input Jack Used to connect the DC 9 5 12V adaptor 2 Power...

Page 11: ...1 Rechargeable Battery Contacts For connecting the rechargeable battery pack View of Bottom Panel 11 ...

Page 12: ...ess the button again to remove information from screen 3 TITLE button Press to display title menu if the titles are coded in the disc 4 Direction button Press to select menu items 5 ENTER button Press to confirm your selection 6 SETUP button Press to access the DVD player s setup menu Remote Control 12 ...

Page 13: ...around the screen 14 REP button Press to repeat a chapter track title or the entire disc 15 MENU button Display the actual DVD Disc Menu on screen in playback mode 16 PAUSE button Press to pause playback Press the PLAY button to resume normal playback 17 STOP button Press once to stop playback Press the PLAY button to resume normal playback Press the button twice to stop playback completely 18 PLA...

Page 14: ...the remote control unit to the remote sensor within the range of 16 feet and angles of 60 degree and without obstacles between remote control and remote sensor Remote Control Note Improper use of the battery may cause overheating explosion or ignition which can result in an injury or a fire Battery leakage may damage the remote control Do not expose the remote control unit to direct sunlight Do no...

Page 15: ...at you observe the color coding when connecting audio and video cables Connecting to TV Follow the drawing below to connect the DVD player to TV s Audio Video input with Audio Video cable Connecting to An Amplifier Refer to your audio equipment s manual before connection Follow the drawing below to connect the DVD player to AV amplifier System Connections 15 ...

Page 16: ...g press the OUTPUT INPUT button to enter AV Input statement NOTE Noise may occur in speakers when there is an external audio signal input while playing a DVD disc Unplug the audio cord to clear the noise Connecting to the Headphones Connect the headphones to the headphone jack on either side of the player When headphone is connected the speakers will automatically turn off System Connections 16 ...

Page 17: ...w video software while driving a vehicle Place the unit in a proper position for viewing Detach battery pack when using the AC or car adapter as power source Disconnect the player from the Car Adapter when starting the vehicle 1 Connect AC adapter to the left side of the DVD player in the jack marked DC 9 5 12V IN as shown on the right 2 Plug the two prong end of the power cord into a grounded ele...

Page 18: ...not expose the battery to high temperature or store in hot sunny place Maintain well ventilated conditions around the product to avoid overheating Don t put the product on a bed sofa or anything that may block ventilation to the product Do not short the battery terminals Do not open the battery Detach the battery after charging is complete When charging the battery pack the charge light will turn ...

Page 19: ...the Battery Pack until you hear it click and lock into place Charging the Battery Pack The battery pack must be attached to the DVD player to charge it by using the supplied AC Power Adapter 1 Attach the battery pack to the DVD player 2 Plug the supplied AC Power Adapter into the player s power jack marked with DC 9 5 12V IN which is located on right side of the DVD Player 3 Plug the other end of ...

Page 20: ... for long periods of time the battery pack should be detached Make sure the power is turned off before detaching the Battery Pack 1 Press and hold the Battery Release Tab in the direction of the arrow as shown in Fig 1 below 2 Slide the Battery Pack gently towards the direction of the arrow as shown in Fig 1 below 3 Carefully remove the Battery Pack from your player Rechargeable Battery 20 ...

Page 21: ...f Discs Holding Discs Cleaning When loading or removing discs try not to touch their playing surfaces as the right figure Fingerprints or stain on the disc may affect the quality of sound and picture To clean your discs use a soft clean cloth to wipe them If necessary moisten a soft cloth with diluted neutral detergent to remove heavy dirt or fingerprints Do not wipe in a circular direction as the...

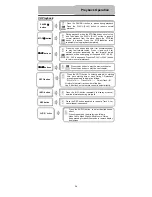
Page 22: ...ME control on the right panel to the desired level 6 To turn the player off switch the POWER ON OFF on the left panel to OFF Basic Operation Playback Operation LCD MODE button Press the MODE button and then press the button or button to adjust brightness contrast and color of the screen Press the MODE button and hold it for several seconds to change the aspect ratio among 16 9 4 3 ZOOM button For ...

Page 23: ...ou want to play and press the ENTER ENT button to confirm PAUSE button Press the PAUSE button to pause during playback and press the PLAY PLAY button to resume normal playback STOP button During playback press the STOP button once to stop playback and then press the PLAY PLAY button to resume normal playback from the place where the STOP button is pressed Press the STOP button twice repeatedly to ...

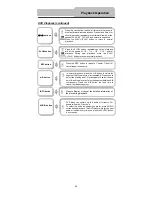
Page 24: ... every time you press the AUDIO button in succession REP button Press the REP button to repeat a Chapter Title All or cancel repeat in sequence INFO button Press to display or cancel the detailed information of the disc during playback In normal playback press the A B button to select the segment that you want to play repeatedly Press once to select the starting point A press again to select the e...

Page 25: ...E button repeatedly to view different angle NOTE This function is only available for the DVD disc that coded with multi angle ANGLE button Press the buttons to move the yellow light bar to the item you prefer then press the ENTER button or ENT button on the front panel to confirm The corresponding item is highlighted just for Title Chapter Angle Tt Time Total Time Ch Time Chapter Time use 0 9 butt...

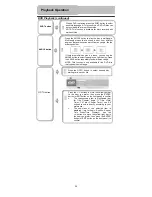
Page 26: ...ay fast forward rewind Press it and hold it for several seconds repeatedly the fast forward rewind playback will be undergoing at the speed of 2X 4X 8X 16X 32X in sequence Press the PLAY PLAY button to return to normal playback buttons Press the button to play the previous chapter Press the button to play the next chapter GOTO button Press the GOTO button to select desired disc starting time track...

Page 27: ...4 Press the button to return to previous folder or directory Playback Operation INFO button Press the INFO button for detailed information on the disc playing Press it again to remove information from screen This function is only available under folder mode STOP button Press the STOP on the remote control or on the front panel button to preview the pictures after currently playing picture in the w...

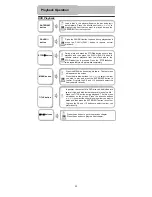
Page 28: ... or ENT on the front panel to resume normal playback Press the REP button to repeat a file folder in sequence Press it repeatedly to display as follows Shuffle Random Single Repeat One Repeat All Repeat Off Shuffle refers to repeat files of current folder randomly without obeying the original order Random refers to play the files of current folder discretionarily without obeying the original order...

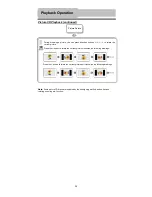
Page 29: ...otating zooming etc function Picture Rotate During browsing a picture you can press direction buttons to rotate the current picture Press the button to rotate the current picture clockwise as following drawings Press the button to rotate the current picture anti clockwise as following drawings Playback Operation 29 ...

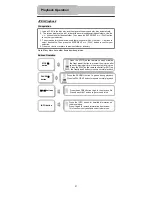
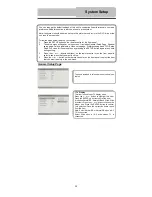
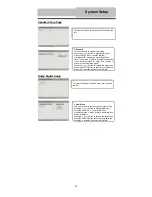
Page 30: ...formance to your own preference Read this section to learn how to set up the system Note the system should better be set up in the state that no disc is in the DVD drive or the unit is on the stop mode Follow the steps below to set up your system 1 Press the SETUP button on the remote control or the front panel 2 The setup menu will appear on the screen It includes General Setup Page Speaker setup...

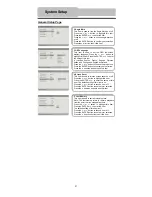
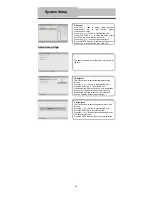
Page 31: ...he ENTER button to confirm your selection Press the direction to exit this item 3 OSD Language This item is used to set the OSD on screen display language Press the or button to highlight this item Press the ENTER or to enter the setup of this item It includes English French Spanish German Italian and Portuguese English by Default Press the or button to choose the proper one Press the ENTER button...

Page 32: ... to output stereo signal Press the or button to choose the proper one Press the ENTER button to confirm your selection Press the direction button to exit this item The items included in this sub menu are shown as the left 1 Dual Mono This item is used to set the channel output mode Press the or button to highlight this item Press the ENTER or to enter the item It includes stereo L Mono R Mono and ...

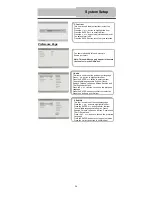
Page 33: ... are shown as the left 1 Sharpness This item is used to adjust the sharpness of the Screen Press the or button to highlight this item Press the ENTER or to enter the item It included High Medium and Low Low by default Press or button to choose the proper one Press ENTER button to confirm your selection Press direction button to exit this item 2 Brightness This item is used to adjust brightness lev...

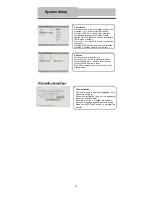
Page 34: ...nd Thai Off by default Press the or button to choose the preferred Language Press the ENTER button to confirm your selection Press the direction button to exit this item 1 Audio This item is used to set the audio output language Press or button to highlight this item Press the ENTER or button to enter the item The available languages are English French Spanish Chinese Japanese Korean Russian and T...

Page 35: ...ess the direction button to exit this item 4 Default This item is used to reset the unit Press the or button to highlight this item Press the ENTER or button to enter this item Press the ENTER button to reset Then all the settings of your unit will return to the Original status TVG Activation This item is used to filter foul language in the disc during playback Obtain your activation code via the ...

Page 36: ... Do not install or use this product in the front seat of a vehicle 3 To reduce the chance of injury in case of collision or a sudden stop Always keep the DVD player strapped securely inside its case while the vehicle is moving Always keep the DVD player Case securely attached inside the vehicle while the vehicle is moving Your DVD player can be securely attached in one of the following ways to vie...

Page 37: ...the top edge of the case A 2 Locate the 2 straps with hooks on each end 3 Hook one end of each strap to the rings at the top of the case A 4 Criss cross the straps around the front of the headrest B and hook the straps to a second set of rings on the lower part of the case C 5 Tighten up the straps until secured Photo 1 Photo 2 Carrying Case 37 ...
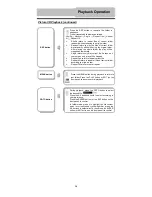
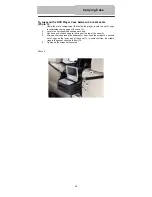
Page 38: ...he case A 2 Locate the 2 straps with hooks on each end 3 Hook one end of each strap to the rings at the top of the case A 4 Wrap each strap around the headrest or seat hook the straps to a second set of rings on the lower part of the case C in some vehicles the middle rings in the gusset might work best D 5 Tighten up the straps until secured Photo 3 Carrying Case 38 ...

Page 39: ... some small sections chapters Each section is numbered these numbers are called Title number or Chapter number Title 1 Title 2 Chapter1 Chapter 1 Chapter2 Track CD CDs are divided into some sections tracks Each section is numbered these numbers are called Track number Track 1 Track 2 Track 3 JPEG JPEG is a common picture format that has small file size and low quality loss rate of picture Hundreds...

Page 40: ... be put in in the right way Put the disc in with the label side up The disc may be dirty or warped Clean or change the disc The player s region code may not as the same as the region code of DVD disc Make sure the player s region code is the same as the region code of DVD disc There may be water on the lens Remove the disc and keep the player being powered off for at least two hours There is no so...

Page 41: ...nnection may be not correct Connect the system correctly The unit may be not in AV out mode Switch AV IN OUT on the right panel to OUT Poor AV performance The disc may be dirty or warped Clean or change the disc The remote control does not work There may be some obstructions between the remote control and the player Remove the obstruction between the remote control and the player The remote contro...

Page 42: ...alanced Negative Power AC100 240V 50Hz 60Hz Dimensions 205mm x 153mm x 41mm Weight Approximate 1 12 Kg DESIGN AND SPECIFICATIONS ARE SUBJECT TO CHANGE WITHOUT NOTICE For service support and warranty information visit www polaroid com Polaroid and Polaroid and Pixel are trademarks of Polaroid Corporation Waltham MA USA Manufactured under license from Dolby Laboratories Dolby and the double D symbol...

Reviews: