background image


1.  Turn the camera on and turn the dial to Auto mode.   

2.  Make sure your lens is attached to the camera and the lens cover is removed.   

3.  Press the Shutter button once to activate the camera.   

4.  Press and hold the Shutter button half way down to focus on the subject. When the subject 

is in focus you will hear a beeping sound - now push the button all the way down to take 

the picture. 


1.  Turn the Camera Dial to the Video Mode and press the Shutter button once to record video. 

2.  When the video is being recorded you will notice a flashing red circle and REC icon with 

the video record time on the bottom right.   

3.  Press the Shutter button again to stop recording. 


1.  Touch on the Image Viewer icon 

  to view all the media files that you have recorded. 

2.  You will see a thumbnail of all the media files. 

3.  Select the file that you want. 

 
To learn more about the other camera modes and features, please refer to the full user manual which is 

available by clicking the GET MANUAL button after installing the 

‘Polaroid Instant Memories’ software. You 

can also access manual form the Android Mode by clicking on the HELP app. 

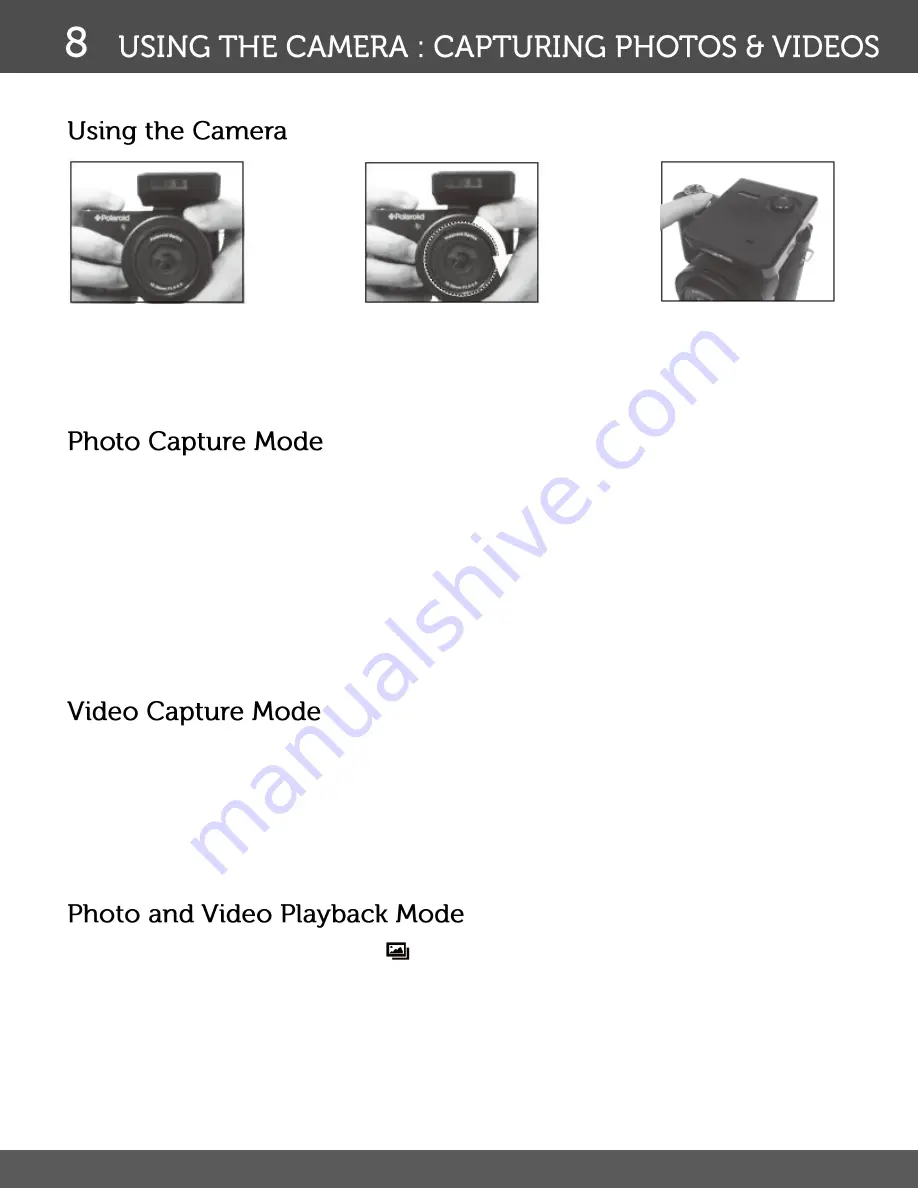
Hold the camera securely. 

Turn the ring on the lens 
clockwise or counter clockwise to 
zoom in and zoom out. 

Lightly press the Shutter 
button halfway to focus on 
the subject, and then press 
the Shutter button fully to 
take a picture. 

Summary of Contents for iM1836

Page 1: ...IMPORTANT Install the Polaroid Instant Memories Software and click on GET MANUAL for the full User Manual ...

Page 2: ...ithium Battery 4 Shoulder Strap 5 AC Charger 6 Polaroid Instant Memories Software Installation CD 7 Flash 8 4GB Micro SD Card Installed in the Micro SD Memory Card slot of your camera Note 2 AAA batteries required for Flash not included ...

Page 3: ...g 7 Lens Attachment Ring 8 Lens Release Button 9 AF Assist Lamp 10 Strap ring 11 Battery Cover 12 Tripod Socket 13 Memory Card Slot 14 LCD Monitor 15 Back Button 16 Editor Mode 17 Android Application Mode 18 Camera Mode 19 Android Manual 20 Mode Dial 21 Microphone 22 LED Indicator 23 Shutter Button ...

Page 4: ...lap 2 Insert the Micro SD Card as shown above 3 This camera can support up to 32GB Micro SD Card IMPORTANT We highly recommend that you format the Micro SD card the first time before using You must use a Class 10 Micro SD Card or higher only Attaching the Lens 1 Attach the lens to the camera Aligning the red dots of the camera and the lens 1 and 4 2 Hold the base of the camera securely and turn th...

Page 5: ...ash Pin 4 in the Flash Pin Receptor 1 till it goes all the way in Tighten the connection by turning the ash screw head in a clockwise direction Make sure the ash screw head is tightened properly 1 Flash Pin Receptor 2 Flash Screw Receptor 3 Flash Screw 4 Flash Pin 5 Flash Screw Head ...

Page 6: ...ra icon will open the Camera Mode 1 Press the Power button to turn on the camera 2 You will see the Polaroid welcome screen once the camera is turned on 3 Your camera will be in the Android Mode by default 4 To turn on the Camera Mode use one of the following options Select the camera icon on the left tool bar of the screen Click on the Shutter button Click the Polaroidcam APP in Android Mode ...

Page 7: ...e settings so you can capture images with ease 3 Shutter Priority You can choose a shutter speed while the aperture value is automatically determined by the lighting condition of the subject 4 Aperture Priority You can choose an aperture value while the shutter speed is automatically determined by the lighting condition of the subject 5 Manual Lets you set both aperture and shutter speed manually ...

Page 8: ...era Mode 3 Home Go to Android Home 4 Image Editor Mode View edit your media files from the Image Editor APP 5 Back Go back to the previous screen 1 Your camera has pre default shortcuts on the left tool bar of the screen 2 Touching any of these icons to open that respective mode ...

Page 9: ... video record time on the bottom right 3 Press the Shutter button again to stop recording 1 Touch on the Image Viewer icon to view all the media files that you have recorded 2 You will see a thumbnail of all the media files 3 Select the file that you want To learn more about the other camera modes and features please refer to the full user manual which is available by clicking the GET MANUAL butto...

Page 10: ...e left of the screen you will see an X delete icon in red 3 Drag the App shortcut icon to the X symbol to delete NOTE This will not uninstall the App but just remove the shortcut from the Home screen or the Shortcut Bar You can access these Apps by touching on the App View icon 1 Touch the Setting icon 2 Touch to turn the Wifi position to On position 3 Select the WiFi option 4 Choose your network ...

Page 11: ...folder 5 Transfer files from here to your local folder on your computer 1 Install the Polaroid Instant Memories software 2 Use the USB cable supplied to connect the camera to the computer 3 Click Get Images from the Main Menu screen of the software 4 Transfer files from your camera to your local computer folder 1 From Image Editor touch and image to select it from the gallery 2 This will open the ...

Page 12: ... parties tampering modification or accident Call 877 408 0033 UK call 0800 917 4831 or visit our website at www polaroid com To receive Warranty service along with the name and address of an authorized product service center the original consumer purchaser must contact us for problem determination and service procedures Proof of purchase in the form of a bill of sale or receipted invoice evidencin...

Page 13: ...ES SHALL APPLY NOTWITHSTANDING THE FOREGOING CONSUMER S RECOVERY AGAINST DISTRIBUTOR SHALL NOT EXCEED THE PURCHASE PRICE OF THE PRODUCT SOLD BY DISTRIBUTOR THIS WARRANTY SHALL NOT EXTEND TO ANYONE OTHER THAN THE ORIGINAL CONSUMER WHO PURCHASED THE PRODUCT AND IS NOT TRANSFERABLE Some countries states or provinces do not allow the exclusion or limitation of incidental or consequential damages or al...

Page 14: ...g indicates that this can not be disposed of as household waste You must dispose of your waste equipment and or battery by handling it over to the applicable take back scheme for the recycling of electrical and electronic equipment and or battery For more information about recycling of this equipment and or battery please contact your city office the shop where you purchased the equipment or your ...

Page 15: ...lies with the part 15 of the FCC rules Operation is subject to the following two conditions 1 this device may not cause harmful interference and 2 this device must accept any interference received including interference that may cause undesired operation Caution changes or modifications not expressly approved by the party responsible for compliance could void the user s authority to operate the eq...

Reviews: