background image


1


CAUTION:

 USE OF ANY CONTROLS, ADJUSTMENTS, OR PROCEDURES OTHER 

THAN THOSE SPECIFIED HEREIN MAY RESULT IN HAZARDOUS RADIATION 

EXPOSURE. 

 
POWER SUPPLY

Connect the supplied adapter to the side of the DVD player in the slot marked “Power In”. 
Plug the two-prong end of the power cord to an AC100-120V outlet. If you have difficulty 
inserting the plug, turn it over and reinsert it, if the unit will not the used for a long time, 
disconnect the plug from the outlet.   
 

NOTE: 

Before plugging the power cord into an AC outlet, make sure that all the connections 

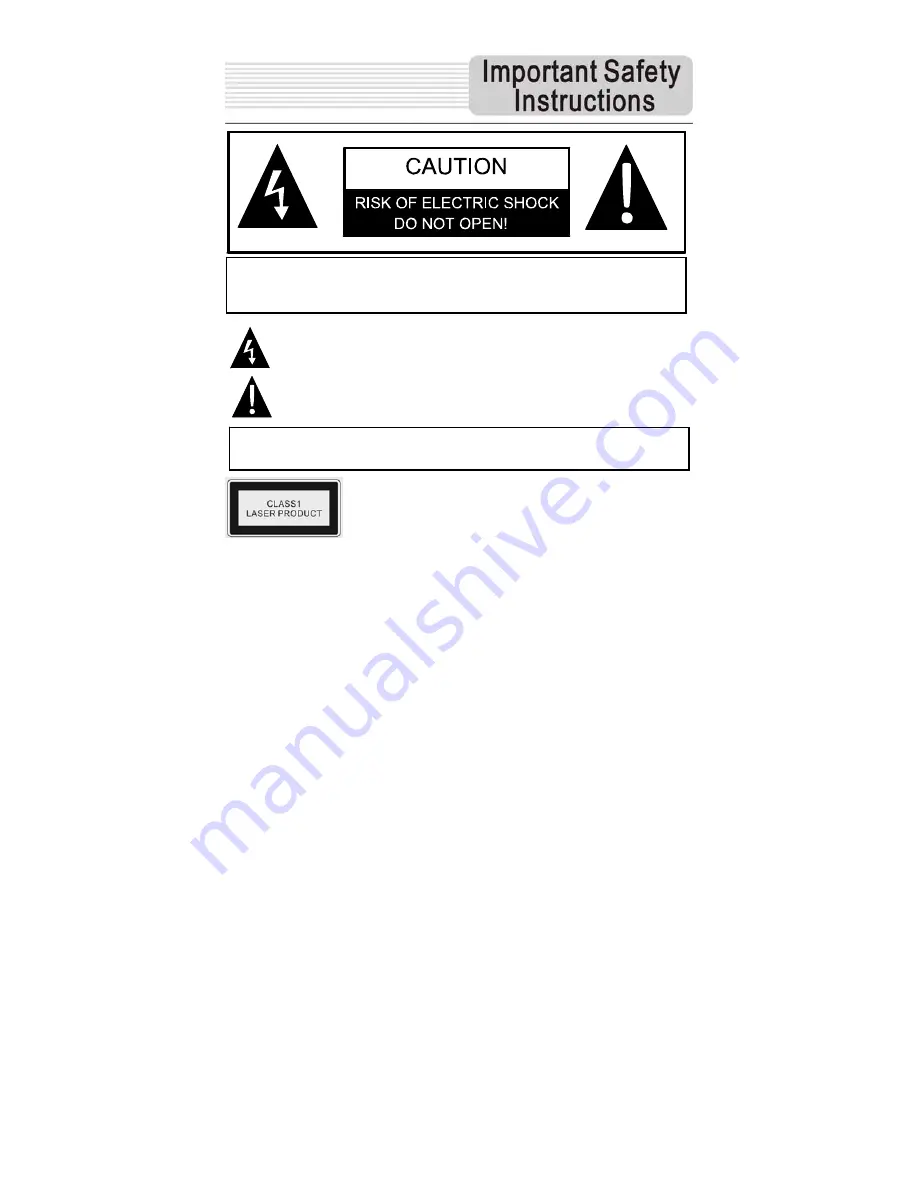
CAUTION:

 TO REDUCE THE RISK OF ELECTRIC SHOCK, DO NOT 

REMOVE COVER (OR BACK). NO USE-SERVICEABLE PARTS 
INSIDE. REFER SERVICING TO QUALIFIED SERVICE PERSONNEL. 

The lightning flash with arrowhead symbol, within an equilateral triangle, is 
intended to alert the user to the presence of uninsulated “dangerous 
voltage” within the product’s enclosure that may be of sufficient magnitude 
to constitute a risk of electric to persons.
The exclamation point within an equilateral triangle is intended to alert the 
user to the presence of important operating and maintenance (servicing) 
instructions in the literature accompanying the appliance.

WARNING: 

TO REDUCE THE RISK OF FIRE OR ELECTRIC SHOCK, 

DO NOT EXPOSE THIS APPLIANCE TO RAIN OF MOISTURE.


CAUTION

: Laser radiation when open. Do not stare into beam. 

Summary of Contents for DPA-00710S

Page 1: ...7 Swivel Screen Portable DVD Player DPA 00710S User s Manual 20070105...

Page 2: ...E RISK OF ELECTRIC SHOCK DO NOT REMOVE COVER OR BACK NO USE SERVICEABLE PARTS INSIDE REFER SERVICING TO QUALIFIED SERVICE PERSONNEL The lightning flash with arrowhead symbol within an equilateral tria...

Page 3: ...third grounding prong The wide blade or the third prong is provided for your safety If the provided plug does not fit into your outlet consult an electrician for replacement of the obsolete outlet 10...

Page 4: ...sion Reverse engineering or disassembly is prohibited Region code information DVD players and discs are coded by region If the region number described on the DVD disc does not correspond to the region...

Page 5: ...DVD CD CD R CD RW and Picture CD Particular Performance Multi speed fast forward fast backward and slow forward Search by Time Search for a certain track of a disk by selected time Last Memory Playbac...

Page 6: ...M NAME QTY User s Manual 1 Rechargeable Battery 1 Audio Video Cable 1 Power Adapter 1 Car Adapter 1 NOTE Accessories and their parts numbers are subject to modification without prior notice due to imp...

Page 7: ...nts Important Safety Instructions Features Definitions Troubleshooting System Setup View of Side Panels View of Main Unit Bottom Power Supply Preparation About the Rechargeable Battery Notes on Discs...

Page 8: ...d color 5 ZOOM button Press to realize various zoom effects 6 Setup button Press to enter the player s system setup 7 MENU button Press to display or cancel the menu 8 TITLE button Press to display th...

Page 9: ...SLOW button Press to activate the slow playback function 16 Stop button Press to stop playback Then press PLAY button to resume playback from the stopped spot Press this button twice to stop playback...

Page 10: ...will be turned off automatically 3 Audio Output Jack Used for audio output 4 Video Output Jack Use for connecting to an external monitor or video source 5 AV IN DVD Switch Switch to AV IN to input the...

Page 11: ...panded functions Docking Station is a set of electrical connection interface that enables a portable DVD to effectively serve as a desktop DVD It typically integrated with connectors for peripheral de...

Page 12: ...rtical to the operation panel B 2 Revolving the screen horizontally around it s axis in the clockwise only The maximum revolving degree is 180 position C If you want to return to initial position A pl...

Page 13: ...erve the color coding when connecting audio and video cables Connecting to TV Audio Video connections Follow the drawings below to connect the DVD player to TV s Audio Video inputs with Audio Video ca...

Page 14: ...video cable to connect the player and the external AV signal source After connecting switch the AV IN DVD switch to AV IN Ensure that you observe the color coding when connecting audio and video cabl...

Page 15: ...wing Detach battery pack when using the AC or car adapter as power source Disconnect the player from the Car Adapter when starting the vehicle Your portable DVD player comes with a rechargeable lithiu...

Page 16: ...attery in fire or water Do not expose the battery to high temperatures or store in hot sunny places Maintain well ventilated conditions around the product to avoid overheating Don t put the product on...

Page 17: ...layer and push the battery pack into the DVD Player 3 Slide the Battery Pack until you hear it click Charging the Battery Pack The battery pack must be attached to the DVD player to be charged by usin...

Page 18: ...ming some power in STANDBY mode This will eventually discharge the battery Make sure the power is turned OFF and the AC or car adapter is disconnected before detaching the Battery Pack To detach the B...

Page 19: ...cs Holding Discs Cleaning Notes on Discs When loading or removing discs do not touch their playing surfaces as the right figure Fingerprints or stain on the disc may affect the quality of sound and pi...

Page 20: ...y with printed side facing up Close the disc cover See below 4 The player will search disc and enter the disc searching status 5 Adjust the volume with the VOLUME control on the right panel to the des...

Page 21: ...opped point Press it twice repeatedly to stop playback completely Then when you press button the player will play from the beginning Playback Operation Zoom button Press ZOOM button repeatedly to shif...

Page 22: ...the speed of 1 2 1 4 1 8 1 16 and normal playback in sequence Press button to resume normal playback Press button to play fast forward Press it repeatedly the fast forward playback will be under goin...

Page 23: ...yback in sequence Press button on the remote control to return to normal playback buttons Playback Operation During playback press button once to pause the playback then press it again to resume playb...

Page 24: ...selection 3 The screen enters the selected subfolder with several pictures Use buttons to select the desired picture Then press ENT button on the front panel to confirm your selection 4 Press button...

Page 25: ...nt picture Press button to rotate the current picture clockwise as following drawings Press button to rotate the current picture anti clockwise as following drawings Press button to rotate the current...

Page 26: ...guage setup and preferences You can exit from the setup menu by pressing SETUP button again at any time during the setting 2 Press or direction buttons to select a sub menu that you want to set up 3 P...

Page 27: ...tle language Press or button to highlight this item Press to enter the setup of this item There are several languages for you to choose Off by default Press or button to choose the preferred Language...

Page 28: ...viewing angles are available Off There will no angle icon appear on the screen Press or button to select on or off Press ENT to confirm your selection Press to exit from this item 1 TV DISPLAY This i...

Page 29: ...gin playing from where you are left off Press or button to highlight this item Press to enter the setup of this item The default setting of this item is ON Press or button to choose on or off Press EN...

Page 30: ...r some small sections chapters Each section is numbered these numbers are called Title number or Chapter number Title 1 Title 2 Chapter1 Chapter 1 Chapter2 Track CD CDs are divided into some sections...

Page 31: ...isc in to the DVD drive The disc may not be put in with the right way Put the disc in with the label side up The disc may be dirty or warped Clean or change the disc The player s region code may not a...

Page 32: ...ower supply and consult your service center or the qualified technician PROBLEM POSSIBLE CAUSE POSSIBLE SOLUTION There is no picture The LCD may be off or not be in correct video mode Turn on the LCD...

Page 33: ...e Rate 85dB Audio distortion noise 70dB 1kHz Channel Separation 70dB 1kHz Dynamic Range 80dB 1kHz Audio Out Analog Audio Out Output Level 1 5V 0 2 1 0 Load 10K Video Out Video Out Output Level 1VP P 0...

Reviews: