background image

c

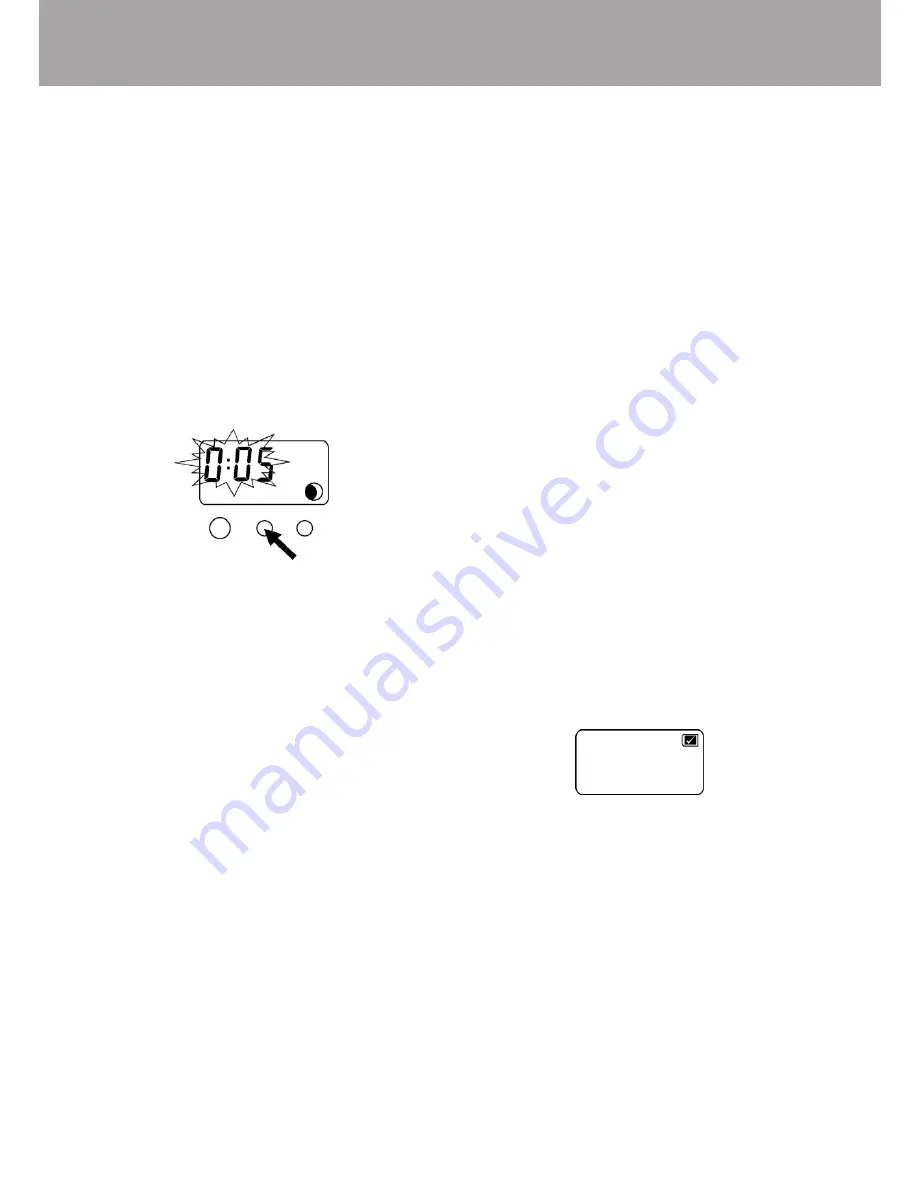
If you wish to manually switch
off the timer, press the mode
button at this point and the
display will power down.
Alternatively, to change the
time out period, press the
scroll button to toggle through
the auto off settings.  The
timer can be set to power
down after 1, 5, 15, 30
minutes or 1 hour. if no user
intervention occurs

d

Press the mode button to
save the auto off time.

10  LCD Backlight

The timer comes with an LCD
backlight to operate this
press and hold the blue
button (1k) below the display.
When the button is not
depressed the backlight will
go off. 

11 Loading the film
a

Move the control arm to (2).

b

Hold the envelope as shown
(3) and insert the metal clip
end into the holder.  Be sure
that the side marked THIS
SIDE TOWARD LENS faces
the lens. Do not hold the
envelope by the end when
first inserting it into the
holder, as you may buckle
the envelope (4) and damage
the film.  Do not press on the
area marked DO NOT
PRESS HERE where the pod
of developer chemicals is
located.

c

Push the envelope in halfway
(5), then shift your grip to the
end, and push it in the rest of
the way (6). When the
envelope is fully inserted the
timer will display a film

engaged symbol in the top
right corner.
If this is not displayed, the
film is not engaged correctly.
Remove the film from the
holder and repeat the
process.  Note that if film is 
loaded and no user
intervention of the timer
occurs for more than 4 hours,
the engaged symbol will
disappear from the display.

English     7

Summary of Contents for 545 PRO

Page 1: ...User Guide 545 Pro Film Holder ...

Page 2: ... Displaying the exposure compensation value 8 Displaying the film processing time 9 Changing the auto off option 10 LCD display 11 Loading the film 12 Making the exposure 13 Processing more than one film 14 Timing more than one film 15 Removing film for later processing 16 Changing the batteries 17 Cleaning the rollers 18 Troubleshooting 19 Warranty 19 Caution ...

Page 3: ...ve the control arm at P as shown in illustration 1 The numbers throughout the text refer to the illustrations at the end of the book 2 Film holder Illustration 1 a Focal plane b Steel processing rollers c Rubber light seal roller d Hinged roller cover e Roller hooks f Film slot g Film processing timer h Control arm i Film release lever j Timer code table k LCD backlight button l Scroll button m Mo...

Page 4: ...t panchromatic black and white film Black and white medium contrast coated film for professional photographic proofing Panchromatic black and white film that produces both a positive print and a recoverable negative A medium contrast sepia tone film for creative professional photography Panchromatic black and white high speed medium contrast coated film Polacolor ER Extended Range colour print fil...

Page 5: ...e which can be found on the film packaging on the film holder or in the table on the previous page This timer code has to be entered manually into the timer a Press the mode button until the film timer code icon is displayed b Pressing the scroll button will cause the left digit to flash c Pushing the scroll button again will rotate the numbers from 0 to 9 d When you have reached the desired numbe...

Page 6: ...re and film type a Press the mode button until the exposure compensation icon is displayed b Adjust the camera by the number of stops shown 8 Displaying the film processing time a Press the mode button until the processing time icon is displayed Film processing time is dependent on film type film timer code and ambient temperature When the film is removed from the film holder this mode is selected...

Page 7: ...as shown 3 and insert the metal clip end into the holder Be sure that the side marked THIS SIDE TOWARD LENS faces the lens Do not hold the envelope by the end when first inserting it into the holder as you may buckle the envelope 4 and damage the film Do not press on the area marked DO NOT PRESS HERE where the pod of developer chemicals is located c Push the envelope in halfway 5 then shift your g...

Page 8: ... the envelope will not slide in all the way withdraw it slightly and try again The exposed film is now ready to be processed 13 Processing the film a Move the control arm to P 9 b Grip the envelope firmly and pull it straight all the way out of the holder 10 Pull smoothly at medium speed without slowing down or stopping You will feel a slight resistance when the metal cap reaches the rollers but c...

Page 9: ...from the print and discard the mask Complete instructions on removing the negative from the envelope and preparing it for enlargement are in the film instructions 14 Timing more than one film The film processing timer has the ability to time up to three Polaroid Instant films simultaneously The display indicates the timer countdown of the first processed film by displaying the digit 1 to the right...

Page 10: ...a few seconds as shown Always re enter the film timer code and reset the Auto off function after changing the batteries NOTE It is recommended that the SR 54 batteries are used as LR 54 batteries will require to be replaced more often 17 Cleaning the rollers Dirt on the two steel processing rollers can cause repeated spots on the print and poor colours Check regularly to see that the rollers are c...

Page 11: ... the film Missing corners With black and white film this can be caused by pulling too fast with colour film it can be caused by pulling either too fast or too slowly Pull straight at medium speed without hesitation Spots Deposits of dirt or foreign matter on the steel rollers will cause evenly spaced spots or marks across the length of the picture Inspect and clean the rollers regularly Streaks If...

Page 12: ...lope and the metal clip may become misaligned 24 If the metal clip and tape on the back of the envelope are not parallel tap the length of the cap lightly against a flat solid surface 19 Warranty Your Polaroid 545 Pro Film Holder has been thoroughly tested and inspected before shipment All parts are guaranteed against defects in materials and workmanship for one full year from the date of original...

Page 13: ......

Page 14: ......

Page 15: ......

Page 16: ......

Reviews: