To maximize the screen
Click on the “Full Screen” button
to maximize the camera window.
Press the Alt + Esc buttons on the keyboard to exit the full screen.
To control the camera viewer
6
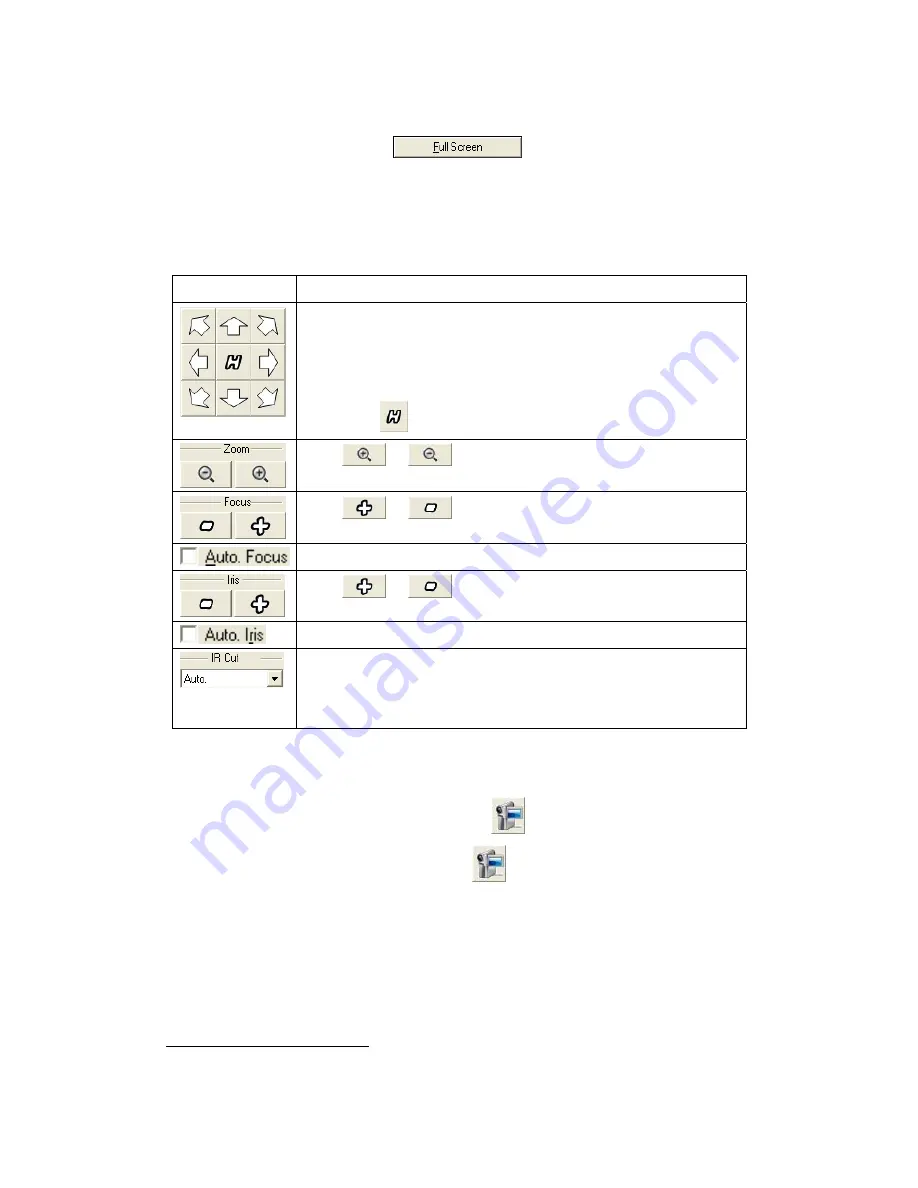
The buttons and their respective functions are shown in the following table:
Button Function
If you are using a PTZ network camera, the PTZ Setting button
will be activated. Click on the button to make PTZ adjustment
of the camera. By PTZ control, you may focus the network
camera to a desired position.
Click these arrow buttons to adjust the direction of the camera
lens. Click
to reset the camera to its home position.
Click
or
to zoom in or zoom out.
Click
or
to adjust lens focus.
Tick this checkbox to enable auto lens focus.
Click
or
to adjust Iris levels.
Tick this checkbox to enable auto Iris.
If you set the
“IR Cut”
to “off”, the image is displayed in black &
white. If you set the
“IR Cut”
to “Auto”, the camera will turn the
filter off automatically when the surrounding light falls below
the specific requirement.
To manually record a video
1. Press down on the “Manual Record” button
to start the recording process.
2. Press up on the “Manual Record” button
again to stop the recording process.
3. The recorded video will be saved, and you may enter the “Record View” page by
selecting “Record View” from the drop-down list to play the recorded video.
6
The following functions are available only when the connected IP Camera is built with
related functions.
25


