APPLICATIONS
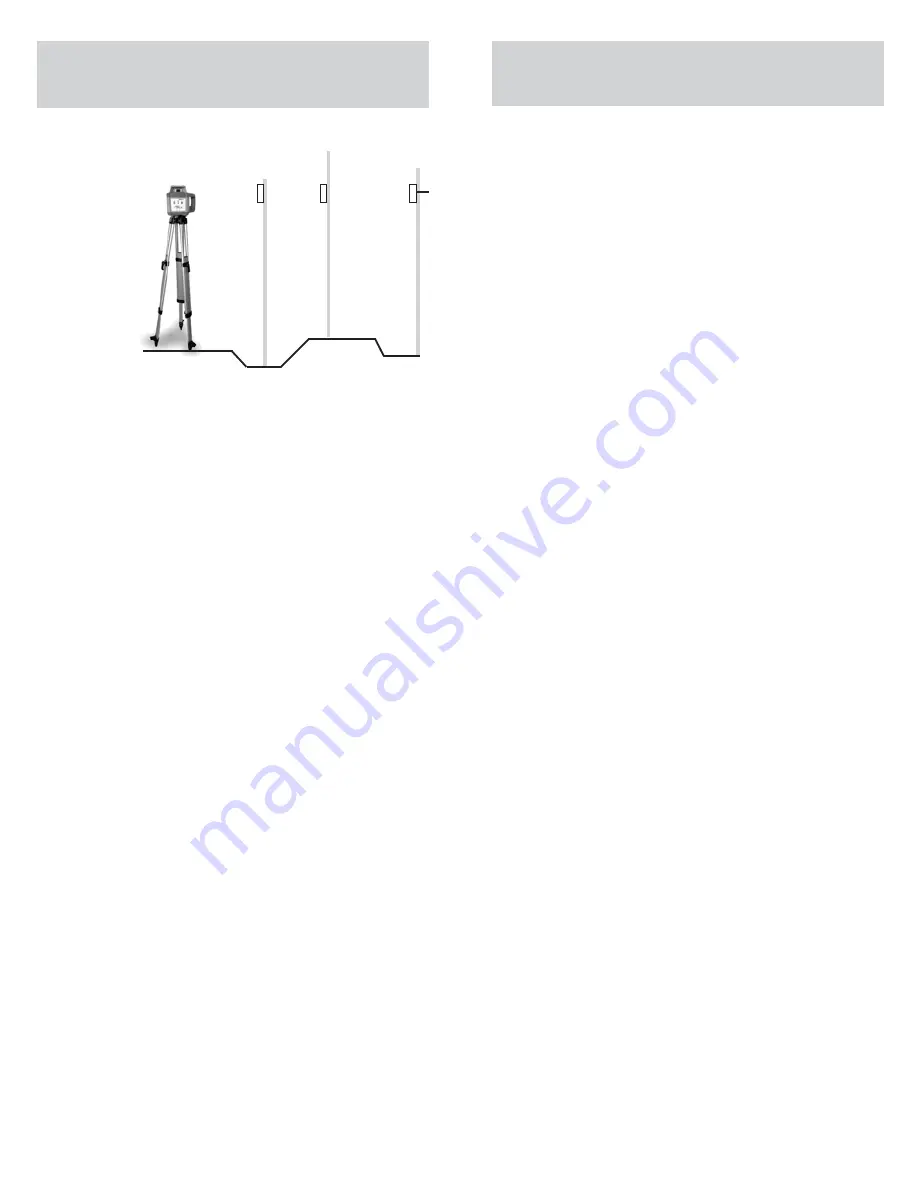
Turn the
instrument
on. The
leveling
LED is flashing and the instrument
is self leveling. If the LED lights continuously
the rotary head starts and the laser beam will
be turned on. Attach the PLS HVD 505R
Detector at this reference point on a rod and
move this height to zero. Now the respective
difference in levels to the reference height
can be measured on the ground. It is useful
to use a flexible rod to measure positive and
negative values simply.
6
CHECKING CALIBRATION
7
Height
Transfer
(Leveling)
..................................................
The PLS HR 1000 should be checked, like
all measuring instruments, before use. Set
the PLS HR 1000 on a stable surface. Turn
the laser on and let it level. Mount the PLS
HVD 505R Detector at a fixed distance, e.g.
at 90 feet, and move it onto the laser plane.
Now turn the instrument around to each 90°
point and let the instrument level. In each
case, measure the difference to the first
height. If the deviation is smaller than 3/32
inch, the instrument is within the specifica-
tion. In the case of larger deviations the
instrument has to be calibrated.


