


NOTE:
The following section is only for PC users who need to install a SCSI
interface board, or a soundboard with a built-in SCSI interface, in their
computer. If you plan to use a parallel-to-SCSI, or PCMCIA-to-SCSI
interface, you can skip to Chapter 9. If you are a Mac user with an external
drive, you can laugh at how easy life is and skip to page 30. Otherwise,
proceed to page 25.
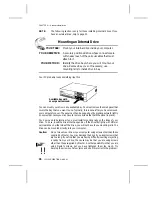
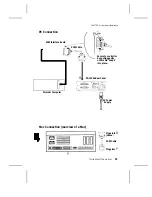
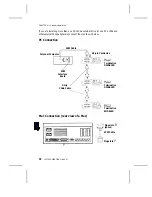
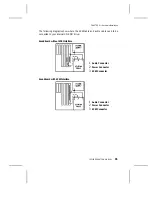
Board Installation
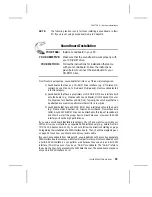
YOUR TASK:
Install a SCSI interface board, or a soundboard with
a built-in SCSI interface, in your computer.
YOUR OBJECTIVE:
Provide the hardware link needed to enable your
CD-ROM drive to communicate with your
computer.
YOUR METHOD:
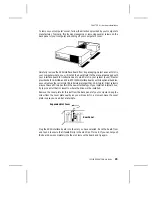
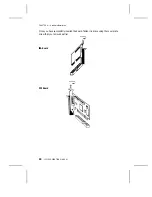
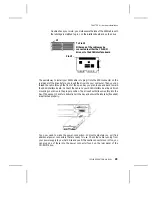
Remove your computer’s case. Install board and
attach necessary cables.
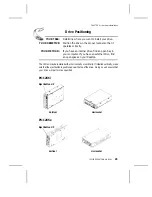
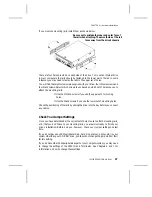
Let us point out that this is a CD-ROM drive installation and operation manual----it is
not a SCSI interface board or soundboard installation and operation manual. Unless
you purchased a SCSI interface board or soundboard (and its accompanying manual)
bundled in the same box with a 12PleX drive, we have no way of knowing which type
of board you elect to use. There are dozens of SCSI interface boards and soundboards
on the market. Each one is installed somewhat differently. Therefore, our instructions
for this section should only be considered as guidelines. For more detailed instructions
on how to properly install your SCSI interface board/soundboard, you should refer to
the installation/operation manual that you received when you purchased the board.
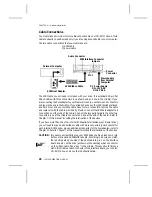
Caution:
If static electricity may be present in the room where you are working,
discharge any you may have on your body by touching a grounded object
before you remove the host adapter from its packaging.
Static electricity is a silent killer. Just a small jolt to one of the chips on
your interface board may render it useless with no apparent damage
visible. Positioning your computer in a location without a carpet under-
foot is one method of guarding against static electricity damage. Using
common sense, such as not walking on a carpeted floor in stocking feet
just before you install your drive, is another.
Before proceeding, make sure the power to your computer and any
external peripherals is OFF and your computer is UNPLUGGED from its
power source.
CHAPTER 8 ---- Hardware Installation
22
12PLEX OPERATION MANUAL


