6
NOTE: This side plate is heavy, so be prepared when the screws are removed that you are holding it. It
could fall and damage the telescope or worse damage you.
Step 7:
The telescope is shipped with a locking clamp on the azimuth bearing engaged. This is for shipping
safety. If you plan on lifting the telescope off of the bearing, it is a
good idea to engage the locking clamp.
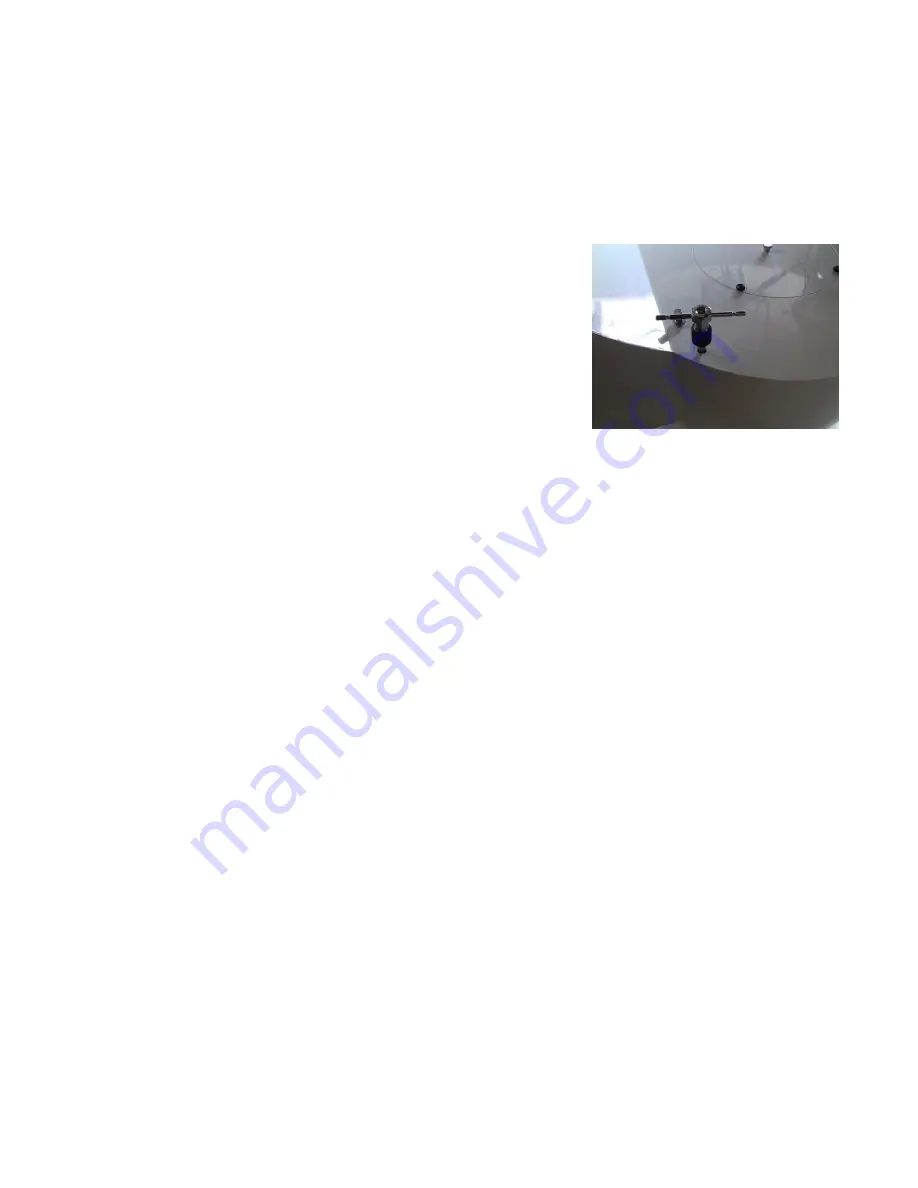
To disengage the clamp, use the long Allen wrench provided with the
telescope as seen in the picture on the right. Turn the T handle
counter clockwise to loosen. All you have to do is turn it about 1 to
1.5 turns to fully disengage the clamp. This is done in four places at
the holes near the base of the fork arm. When you are done, the
telescope should move freely in azimuth.
For crate 2, you will just need to remove one of the side panels to remove the upper cage. Pick a side
panel whose base is accessible to a forklift like you did for crate 1. There are two bracing 2x4’s that will
also need to be removed in order to remove the upper cage.
For crate 3, you need to remove the top cover by removing the wood screws along the perimeter of the
cover and then remove the 2x4 braces.
Telescope Installation
The CDK700 as two major components that need installation. The first is the telescope and the second
is the Telescope Control Box. And there are several issues to think about prior to installing the
telescope. One is a cabling plan, another is the pier or mounting surface for the telescope and another
is the mounting wall for the Control Box. Other things to consider are the height of the telescope in the
observatory. If you are in a dome and the dome has high walls you may need to raise the telescope up
on a pier so the walls are not blocking too much of your sky. And you will need to prepare either bolts
with the correct orientation to North in the pier or mounting surface for the telescope.
Mounting Bolt Pattern
There are a couple ways of physically attaching to its pier or mounting floor. One is to have bolts come
out of the surface of the pier and then to put nuts and washers above and below the telescope base as
show in the picture below. In Appendix A we have a template for putting the bolt pattern in concrete.


