3) Once you have configured your PCs to obtain an IP address automatically, the router’s DHCP
server will automatically give your LAN clients an IP address. By default XRT-412’s DHCP
server is enabled so that you can obtain an IP address automatically. To see if you have
obtained an IP address, see Appendix A.
Note
: Please make sure that XRT-412’s DHCP server is the only DHCP server available on
your LAN. If there is another DHCP on your network, then you’ll need to switch one of the
DHCP servers off. (To disable XRT-412’s DHCP server see chapter 2 LAN Port)
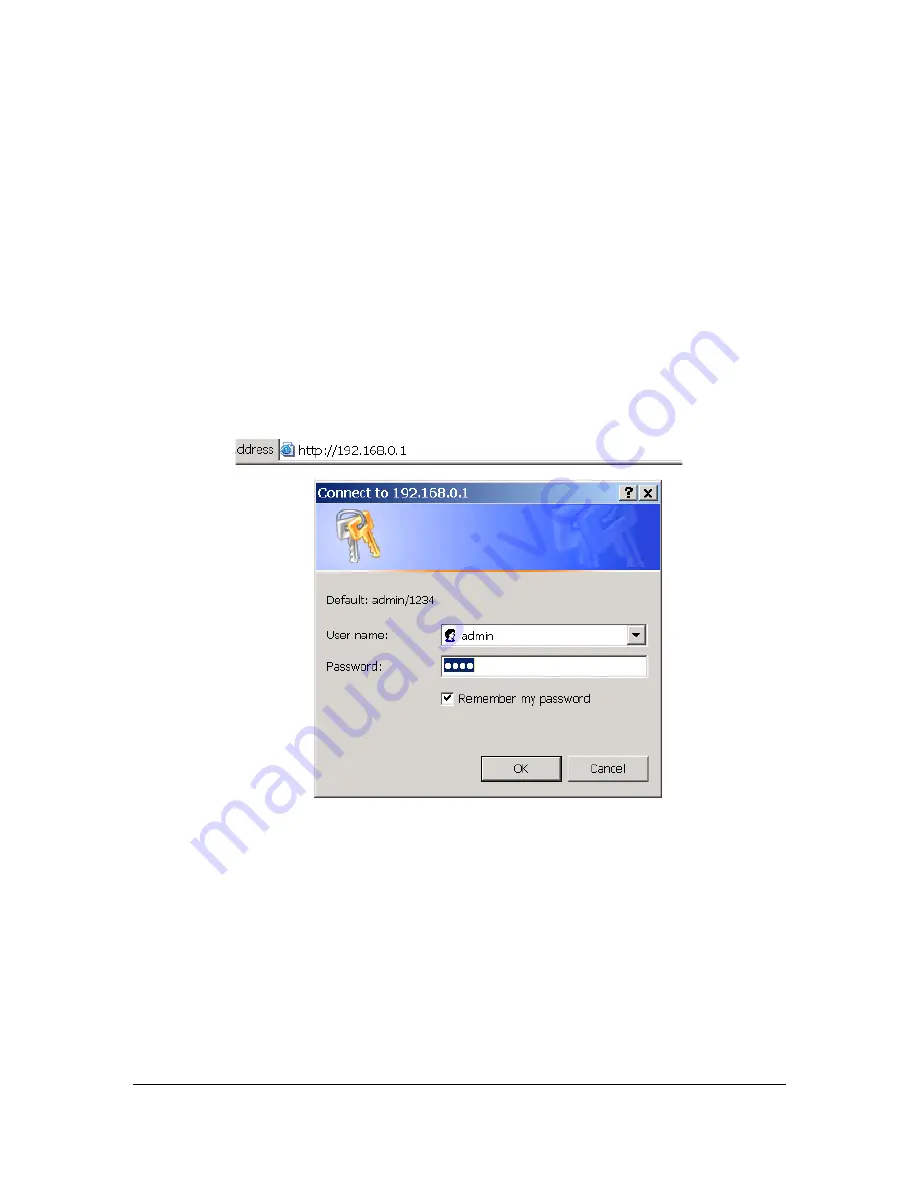
4) Once your PC has obtained an IP address from your router, enter the default IP
address
192.168.0.1
(broadband router’s IP address) into your PC’s web browser and press <enter>
5) The login screen below will appear. Enter the “User Name” and “Password” and then click
<OK> to login.
Note:
By default the user name is “
admin
” and the password is “
1234
”. For security
reasons it is recommended that you change the password as soon as possible (in
General setup/system/password, see chapter 2)
6) The
HOME
page screen below will appear. The
Home
Page is divided into four sections,
Quick Setup Wizard
,
General Setup
,
Status Information
and
Tools.
Quick Setup Wizard (Chapter 2)
If you only want to start using XRT-412 as an Internet Access device then you ONLY need to
configure the screens in the Quick Setup Wizard section.
General Setup (Chapter 3)
If you want to use more advanced features that XRT-412 has to offer, then you’ll need to
configure the Quick Setup Wizard and the General Setup section. Alternatively, you can just
configure the General Setup section, since the General Setup/WAN and the Quick Setup
Wizard contain the same configurations.
Status Information
(Chapter 4)
9
Summary of Contents for XRT-412
Page 1: ...Internet Broadband Router XRT 412 User s Manual 1...
Page 28: ...23...


