background image

10

11

Chapter 3

System Configuration

3.1 Power On and Access Configuration Menu

After power on, the LED on the front panel turns red to indicate it have received power.  
The  LED  will  then  turn  green  if  the  Ethernet  network  connection  is  established.    Be 
reminded, the conferencing station should take about 50 seconds to complete the power 
on self-test (POST) and system start up.  In this period, the screen is still blank.  Please 
do not press any button on this period.  

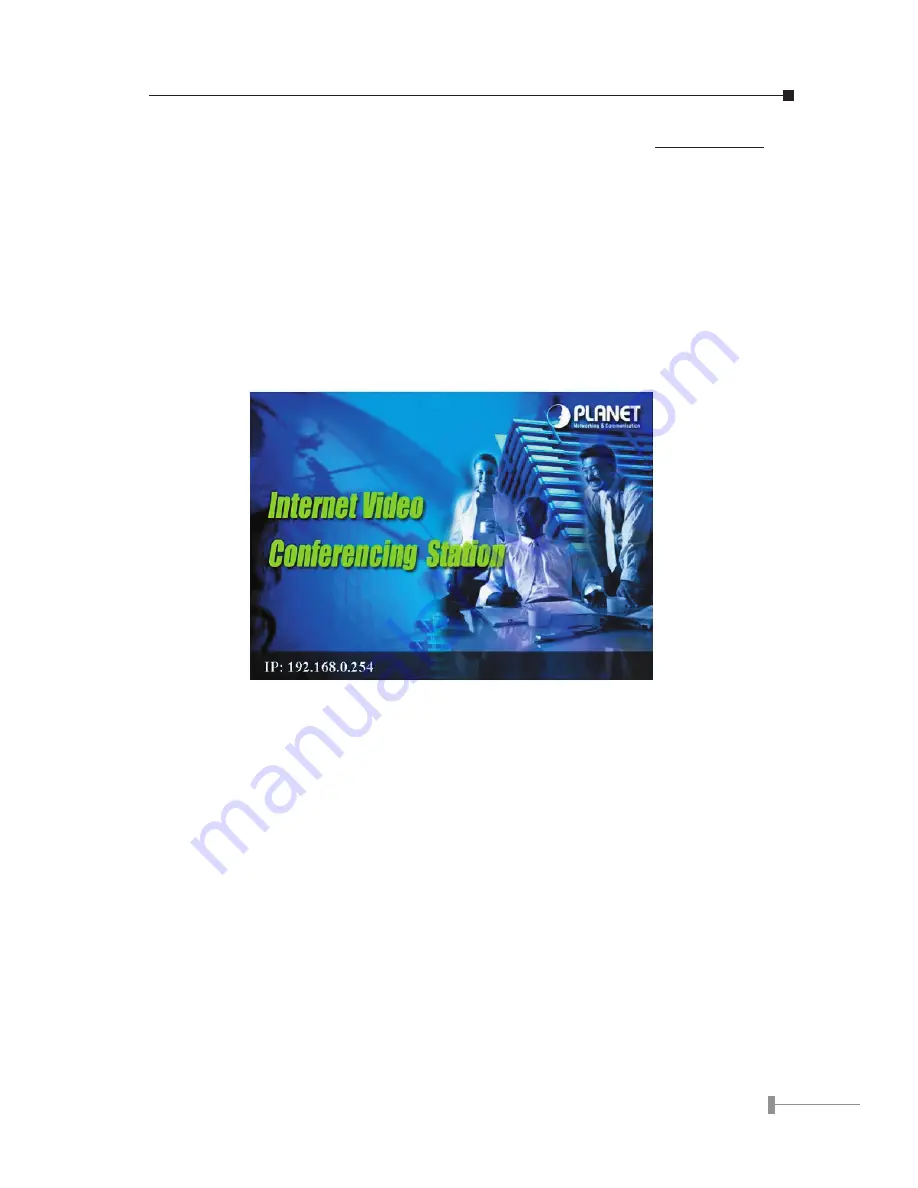
After the booting process is completed, the following page is shown on the screen.


Press [Menu] button, a System Configuration page is shown.  

Please use arrow key,[

p

], [

u

], [

q

] and [

t

] to move the highlight to the function you 

need to configure and [Enter] to enter the function menu.  After the configuration, press 
[Esc] to return to standby-screen as above figure, and save the settings.

Summary of Contents for ICF-1000S

Page 1: ...t to make improvements to this User s Manual and or to the products described in this User s Manual at any time without notice If you find information in this manual that is incorrect mislead ing or i...

Page 2: ...rrester will function and reduce the chance of being shocked Do not connect the grounding wire to a gas or water pipe If possible switch power off and unplug the machine during a thunder storm Do not...

Page 3: ...Settings 12 3 3 Network 16 3 4 H 323 20 3 5 Exit the System Configuration 23 3 6 Phone Book Setup 23 Chapter 4 Getting Started 25 4 1 Making Video Calls 25 4 2 Using the Phone Book 25 4 3 Receiving Vi...

Page 4: ...ive The ICF 1000S have three video inputs which can be used to connect to external cameras for group meetings and or a document camera for showing detailed documents or photographs With up to 30 fps f...

Page 5: ...put for Monitor connection 1 2 Specification Product Internet Video Conferencing Station Model ICF 1000S Hardware LAN 1 x 10 100Mbps RJ 45 port Camera Built in High quality CCD Camera adjustable focus...

Page 6: ...point Control Unit MCU LAN standard IEEE 802 3 Ethernet IEEE 802 3u Fast Ethernet Network and Configuration Connection Type ADSL Cable VPN LAN Access Mode Static IP PPPoE DHCP Bandwidth Usage 128K 256...

Page 7: ...4...

Page 8: ...ntents Check the contents of your package for following parts and quantity 1 ICF 1000S x1 2 Power Adapter AC Cord x1 3 RCA Cable x1 4 Microphone Pod x 1 5 Remote Controller x 1 6 Battery for remote co...

Page 9: ...case there is a need to return it to us for repair 2 2 Front Panel introduction The following show the front panel of ICF 1000S Note 1 Please keep the camera cover in a known place and cap the cover...

Page 10: ...n alternative video output device NOTE Please switch to PAL M and set the bandwidth under 384Kbps to ensure the picture quality MIC Microphone jack SPK Speaker jack Audio Out Output audio to TV Video...

Page 11: ...llation The remote controller is the key device to operate ICF 1000S While using controlling please aim the remote controller at the IR receiver of the ICF 1000S unit Please refer to section 2 2 for t...

Page 12: ...e 8 Status Show the status of Bit Rate Frame Rate and Timer on line 9 Adjust Adjust setting on line 10 Window Switch windows of remote site and local site 11 Video Mute Pause video transmitting from l...

Page 13: ...10...

Page 14: ...complete the power on self test POST and system start up In this period the screen is still blank Please do not press any button on this period After the booting process is completed the following pa...

Page 15: ...e setting you want Enable ICF 1000S automatically answers any incoming calls Disable Incoming calls can be answered only when receiver press Call Receive button on remote control 5 Press Enter key to...

Page 16: ...rm the setting or press Esc key to return the previ ous page NOTE While bandwidth is low low resolution image format QCIF or SQCIF is suggested for getting real time image The following table shows th...

Page 17: ...s idle for a pre set period 1 Press Menu key to enter the Main Menu of System Configuration 2 Press p or q key to select the System Sleep 3 Press Enter key and use number key to input sleep time Up to...

Page 18: ...nu of System Configuration 2 Press p or q key to select the Security 3 Press Enter key to show the choice list 4 Press p or q key to select the setting you want Yes Security function is enabled No Sec...

Page 19: ...ist 4 Press p or q key to select the bandwidth you need ICF 1000S supports the following bandwidth settings No Limit 768k 512k 384k 256k and 128k 5 Press Enter key to confirm the setting or press Esc...

Page 20: ...net Mask Enter the subnet mask for the LAN Please acquire Subnet Mask address from your ISP or your network administrator 1 Press Menu key to enter the Main Menu of System Configuration 2 Press t or u...

Page 21: ...ss Esc key to confirm the setting and to return to the previous page 3 3 7 DDNS Hostname ICF 1000S currently supports the dynamic DNS service from DynDNS org It allows Internet users to connect to you...

Page 22: ...Press Menu key to enter the Main Menu of System Configuration 2 Press t or u key to go to the Network page 3 Press p or q key to select the DDNS User Name 4 Press Enter key to enter the on screen keyb...

Page 23: ...u key to enter the Main Menu of System Configuration 2 Press t or u key to go to the H 323 sheet 3 Press p or q key to select the Gatekeeper Mode 4 Press Enter key to show the choice list 5 Press p or...

Page 24: ...enu of System Configuration 2 Press t or u key to go to the H 323 sheet 3 Press p or q key to select the Phone Number 4 Press Enter key and use number key to input your Phone Number 5 Press Del key fo...

Page 25: ...r key to confirm the setting or press Esc key to return the previ ous page 3 4 6 Audio Format PLANET Video station complies with two audio protocols G 711 and G 723 The audio format can be adjusted to...

Page 26: ...ress Enter key to show the choice list 5 Press p or q key to select the setting you want Disable The Software Keyboard Mode is off Enable The Software Keyboard Mode is on 6 Press Enter key to confirm...

Page 27: ...e entry and switch to the Name column 2 Press Enter key to enter the on screen keyboard to input your Alias name 3 Press Del key for correction 4 Press Esc key to confirm the setting and to return to...

Page 28: ...s set up successfully the video communication starts and the remote site video will be shown on the local screen 4 Use Call Receive key to end the connection 4 2 Using the Phone Book This Phone Book p...

Page 29: ...number keypad 1 3 7 and 9 For example you can press 7 or 9 to jump from 00th to 10th phone book entry 4 3 Receiving Video Calls 4 3 1 Auto Answer Mode When a video call comes in the video station ring...

Page 30: ...shows the Picture quality of the system configuration that you set 1 Press Pic Quality key to show the Picture quality info 2 Press Pic Quality again to hide the picture quality information SQCIF 128...

Page 31: ...increase the TX image quality and decrease the image frame rate 3 Press t key to decrease the TX image quality and increase the image frame rate 5 3 Snapshot The snapshot function captures the remote...

Page 32: ...the sequence as below Remote and local video Remote full screen video Local full screen video 5 5 Switch the Video source ICF 1000S allows you to connect with three external video sources for example...

Page 33: ...e status information TX Transmitting Rate RX Receiving Rate Encode Encoding Rate Decode Decoding Rate 5 7 Adjust on line video and audio quality For getting better video and audio quality you can adju...

Page 34: ...on line adjustment 2 Use p or q key to locate Camera Hue 3 Use u key to increase the video hue from camera input 4 Use t key to decrease the video hue from camera input 5 Press Adjust key again to ex...

Page 35: ...video contrast from camera input 1 Press Adjust key to enter on line adjustment 2 Use p or q key to locate Camera Contrast 3 Use u key to increase the video contrast from camera input 4 Use t key to d...

Page 36: ...amera input 5 Press Adjust key again to exit on line adjustment 5 7 6 Adjust Display Hue The function is to adjust display video hue 1 Press Adjust key to enter on line adjustment 2 Use p or q key to...

Page 37: ...n 4 Use t key to decrease the display video saturation 5 Press Adjust key again to exit on line adjustment 5 7 8 Adjust Display Contrast The function is to adjust display video contrast 1 Press Adjust...

Page 38: ...ghtness 4 Use t key to decrease the display video brightness 5 Press Adjust key again to exit on line adjustment 5 8 Activate Video Mute If you want to temporarily stop video transmission to remote si...

Page 39: ...op audio transmission to remote site during the connection you can use this function to conceal the local audio 1 Press Audio Mute key once to stop transmitting local voice 2 Press Audio Mute key agai...

Page 40: ...etwork and H 323 is correct Please reconfirm the remote IP address or DNS name 3 ICF 1000S can t receive an incoming call automatically Press the Menu key and switch the setting page to General and ch...

Page 41: ...the Audio Mute is on If so please disable it In the remote site please adjust the Speaker Volume and make sure that the AV connector is connected correctly and firmly to the Station 10 The remote cont...

Page 42: ...e For example if you want to dial IP 192 168 0 253 with extension 201 please input 201 192 168 0 253 on the address field 15 How to configure the NAT router if I install the Video conferencing device...

Page 43: ...40...

Page 44: ...41...

Page 45: ...42...

Page 46: ......

Page 47: ...Part No EM ICF1000S...

Reviews: