background image

6.2.


Warning Messages 

Warning messages are displayed when the phone detects a condition that may 
disrupt your phone service. 


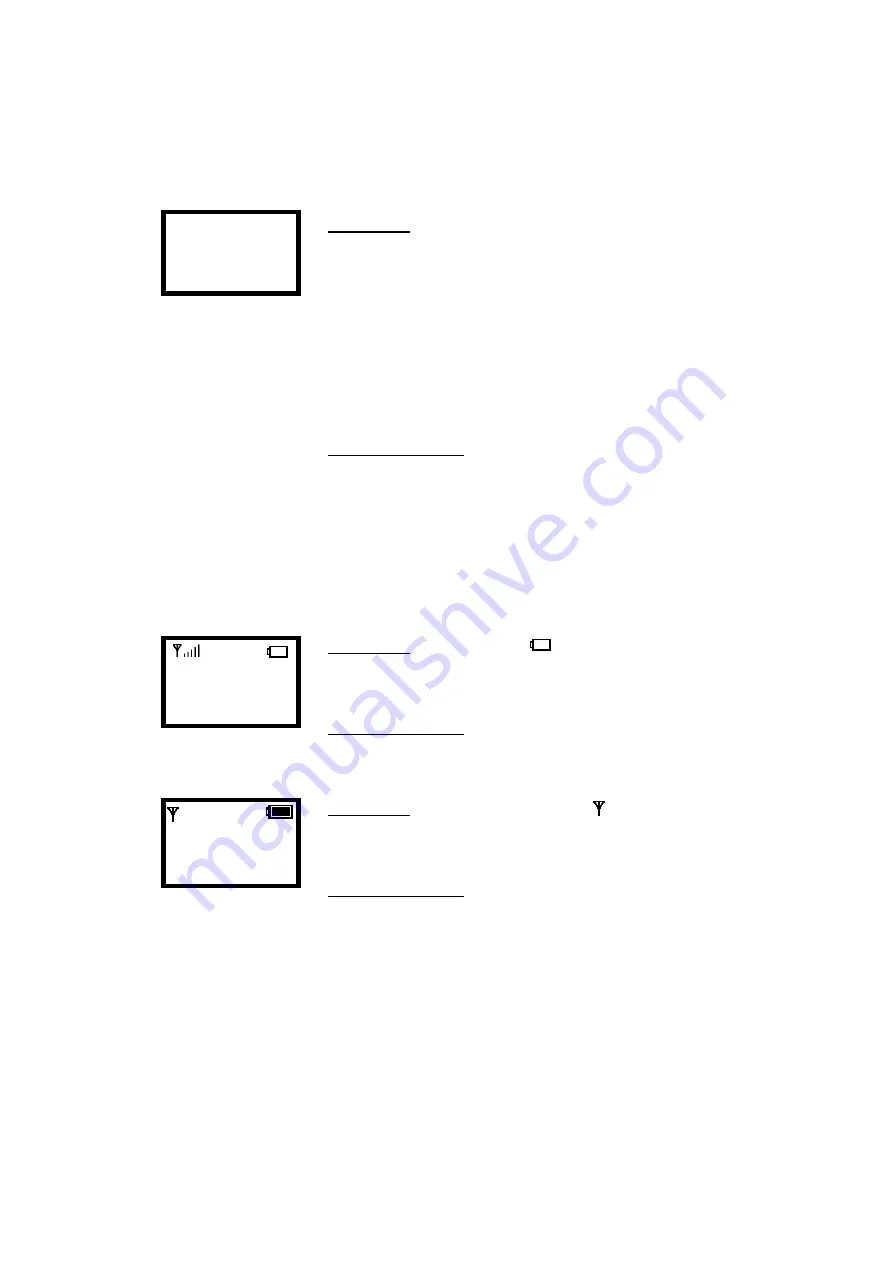
Warning 1: No display when the phone is seated in the 
charger.     
-    Situation 1: The phone is seated in the charger but there is 

no LCD display and back light, even if it has been powered 
on.  

-    Situation 2: The phone is seated in the charger but there is 

no LCD display; the back light is on. 
 

Corrective Action: 

Place the phone in the charger and turn off the power. Keep 
the phone in the charger for approximately 30 seconds. Then 
remove it from the charger briefly, for approximately 2 
seconds. Place the phone back in the charger and it will 
automatically turn on.   
 
Warning 2: Battery Low (

blinking) 

 12:00  


Wi-Fi Phone 

Net Fail! (DHCP) 

Menu          Names


The battery energy level is low. 


Corrective Action:

 Recharge the battery. 


Warning 3: Weak signal detected ( blinking) 

    12:00  


Wi-Fi Phone 

Not Registered 

Menu          Names


The signal quality is low.   
 

Corrective Action: 


Connect to another AP. Move your phone closer to the AP. 
There may be too much radio interference (for example a   
microwave or another AP using the same channel) around   
your wireless network. Relocate or reduce the radio   
interference. 


38

Summary of Contents for VIP-190

Page 1: ...802 11b SIP Wi Fi Phone VIP 190 User s manual ...

Page 2: ...resent a commitment on the part of PLANET PLANET assumes no responsibility for any inaccuracies that may be contained in this User s Manual PLANET makes no commitment to update or keep current the information in this User s Manual and reserves the right to make improvements to this User s Manual and or to the products described in this User s Manual at any time without notice If you find informati...

Page 3: ... Settings 16 3 3 2 Outbound Proxy Settings 17 3 3 3 SIP Proxy Server Settings 18 3 3 4 Setting up the User Account 19 3 4 Using the Phonebook 20 3 4 1 Searching Phonebook Entries Edit Entry 20 3 4 2 Searching Phonebook Entries Erase Entry 21 3 4 3 Searching Phonebook Entries Speed dial Entry 22 3 4 4 Adding a Phonebook Entry 23 3 4 5 Erasing Phonebook Entries One By One 24 3 4 6 Erasing Phonebook ...

Page 4: ...34 4 Web Configuration 35 4 1 Login Password 35 5 Basic Phone Tasks 36 5 1 Dialing a Phone Number 36 5 2 Redialing a Phone Number 36 5 3 Answering a Call 36 6 Display Messages 37 6 1 Error Messages 37 6 2 Warning Messages 38 ...

Page 5: ...up processes are required to make the phone work properly You should at least setup the IP address of Wi Fi Phone and router when DHCP is disabled When DHCP server is available you can skip the process of setting up the Wi Fi Phone IP address Internet ADSL Modem ADSL Modem Wi Fi phone Wi Fi phone Proxy Server Proxy Server Figure 1 1 Network connections for Wi Fi Phone 5 ...

Page 6: ...e following contents in your Wi Fi Phone package Wi Fi Phone x1 Standard battery x1 Wi Fi Phone User s Guide x1 Power Supply AC adapter x1 If any of these items are missing or damaged please contact your distributor or sales representative immediately 2 2 Keypad special keys etc Numerical keys Mono Graphic LCD Soft Key 2 End key Power key Soft Key 1 Load Default IP 192 168 0 6 Talk Key Arrow Keys ...

Page 7: ... to answer a call or make a call End Key Power Key Use this key to end a call reject a call or return to Standby mode Press and hold this key for two seconds to switch off switch on the phone Numerical special keys Use to enter numbers characters or special characters 2 3 Turn On Off the Power To turn on off the power press and hold the key for approximately 2 seconds The phone enters the standby ...

Page 8: ...ypad Follow these steps to lock unlock the keypad 1 In idle state hold the key over 2 seconds or wait over 1 minute The keypad will be locked as shown in Figure 2 6 1 Figure 2 6 1 Keypad Locked 10 20 12 00 X 12 00 WLAN660 user Not Registered Menu Names 2 To release press and hold the key for approximately 2 seconds and the message will appear prompting you to confirm the procedure like Figure 2 6 ...

Page 9: ...sting the Speaker Volume 12 00 12 123456 2 8 Selecting the Character Mode Use the up down arrow keys to select the character mode capital or lowercase characters numbers or special characters A a 1 See Figure 2 8 1 Figure 2 8 1 Selecting the Character Mode Phone Number 100 Ok Aa1 Back 2 9 Erasing the Character When editing press key would erase character See Figure 2 9 1 Figure 2 9 1 Erasing the C...

Page 10: ...Back Ok Subnet Mask 255 255 0 0 6 Ok Aa1 Back OK Select Gateway 172 16 0 1 Ok Aa1 Back Ok Gateway 172 16 0 1 Ok Aa1 Back OK Select Back Back Back S T 4 Net Setting 5 SIP Setting 6 Settings Select Back Back S T 1 Fixed IP 2 DHCP 3 PPPoE Select Back Ok IP Address 192 168 0 6 Ok Aa1 Back OK Select S T 1 Network Mode 2 IP Address 3 Subnet Mask Select Back 1 Fixed IP 2 DHCP oE 3 PPP Select Back OK S T ...

Page 11: ...g IP address dynamically so that addresses can be reused when hosts no longer need them 12 00 Wi Fi Phone Not Registered Menu Names Menu Select Select 2 DHCP 3 PPPoE d IP 1 Fixe Select Back OK Back S T 4 Net Setting 5 SIP Setting 6 Settings Select Back Back Select S T 1 Network Mode 2 IP Address 3 Subnet Mask Select Back S T 2 DHCP 3 PPPoE 1 Fixed IP Select Back 11 ...

Page 12: ...username Ok Aa1 Back Select Ok PPPoE Pwd Ok Aa1 Back Select Ok Back PPPoE Pwd Ok Aa1 Back OK PPPoE Name pppoe_ ame usern Ok Aa1 Back OK Back 12 00 Wi Fi Phone Not Registered Menu Names Menu Select Select Select 3 PPPoE 1 Fix IP P 2 DHC Select Back OK Back Back S T 4 Net Setting 5 SIP Setting 6 Settings Select Back S T 1 Network Mode 2 IP Address 3 Subnet Mask Select Back S T 3 PPPoE 1 Fixed IP 2 D...

Page 13: ...nu Select Select Select Back Back AP1 AP2 AP3 Select Back OK Back Select Select Select Back Select Back Channel 1 Channel 2 l 3 Channe Select Back OK 1 Ad Hoc 2 Infra Select Back OK Back S T 1 Ad Hoc 2 Infra Select Back S T 3 Network Mode 4 Channel 5 Rate Select Back S T 4 Channel 5 Rate 6 WEP Select Select Back S T Channel 1 Channel 2 Channel 3 Select Back Select Back S T SSID PLANET test Ok Aa1 ...

Page 14: ...p Key 4 Ok Aa1 Back Input the wep key 3 Input the wep key 4 Select Select Select Back Back S T 1 None 2 64bit 3 128bit Select Back Select Select Select Back S T 2 64bit 3 128bit 1 None Select Back S T 7 Wireless 8 Restart 1 Information Select Back Input the wep key 2 1 None 2 64bit it 3 128b Select Back OK 2 64bit 3 128bit e 1 Non Select Back OK Back Wep Key 1 Ok Aa1 Back OK Wep Key 3 Ok Aa1 Back ...

Page 15: ...elect Back Select Back 1 AP 2 3 Select Back OK S T 2 Activate 3 Remove 1 Create Select Back S T 3 Remove 1 Create 2 Activate Select Back Select Back Select 1 AP PLANET 2 3 Select Back OK 1 AP PLANET 2 3 Select Back Select Back 1 AP PLANET 2 3 Select Back Select Back Are you sure Ok Back Ok Select Back S T 1 Open System 2 Shared Key Select Back S T 13 Auth type 1 Site Survey 2 SSID Select Back S T ...

Page 16: ...k Select Back Port 5060 Ok Aa1 Back Select Ok Back S T 2 Port 3 Expiry Time 1 Registrar IP Select Back Input the Registrar IP S T 1 Registrar IP 2 Port 3 Expiry Time Select Back Input the Port Expiry Time 3600 Ok Aa1 Back Select Ok Back S T 3 Expiry Time 1 Registrar IP 2 Port Select Back Input the Expiry Time S T 5 SIP Setting 6 Settings 7 Wireless Select Back Registrar IP 192 168 0 3 Ok Aa1 Back ...

Page 17: ...lect Port 5060 Ok Aa1 Back Select Ok Back S T 2 Outbound Proxy 3 Proxy Server 4 User Account Select Back S T 1 Proxy IP 2 Port Select Back S T 2 Port 1 Proxy IP Select Back Input the Proxy IP Input the Port Port 5060 Ok Aa1 Back OK Proxy IP 192 168 0 19 1 Ok Aa1 Back OK Back Back Back S T 5 SIP Setting 6 Settings 7 Wireless Select Back 17 ...

Page 18: ...k Select Port 5060 Ok Aa1 Back Select Ok Back Proxy IP 192 168 0 3 Ok Aa1 Back OK Port 5060 Ok Aa1 Back OK Input the Port Input the Proxy IP S T 3 Proxy Server 4 User Account 1 Registrar Select Back S T 1 Proxy IP 2 Port Select Back Back S T 2 Port 1 Proxy IP Select Back Back S T 5 SIP Setting 6 Settings 7 Wireless Select Back Back 18 ...

Page 19: ... Ok Aa1 Back Select Ok Phone Number 100 Ok Aa1 Back OK Select Back Username David Ok Aa1 Back Select Ok Back Back Username David Ok Aa1 Back OK S T 4 User Account 1 Registrar 2 Outbound Proxy Select Back S T 1 Phone Number 2 Username 3 User Pwd Select Back Back S T 2 Username 3 User Pwd 1 Phone Number Select Back User Pwd Ok Aa1 Back Select Ok User Pwd Ok Aa1 Back OK S T 3 User Pwd 1 Phone Number ...

Page 20: ...6 Ok Aa1 Back Menu Select Back Display Name David Ok Aa1 Back S T 3 Phonebook 4 Net Setting 5 SIP Setting Select Back S T 1 Search 2 Add Entry 3 Erase Select Back Select Back S T David Mark Ken Select Back S T 1 Edit 2 Erase 3 Speed dial Select Back Host IP 172 16 156 123 Ok Aa1 Back Edit the number Edit the IP Select P2P Proxy Select Back OK Selec Ok Ok Ok Ok Select Edit the name 1 Search 2 Add E...

Page 21: ...elect Back Back 12 00 Wi Fi Phone Not Registered Menu Names Menu Select Back Are you sure Ok Back Select Back Select Select S T David Mark Ken Select Back S T 2 Erase 3 Speed dial 1 Edit Select Back Ok Select Are y re ou su Ok Back OK Press key go back menu Back S T 3 Phone book 4 Net Setting 5 SIP Setting Select Back 21 ...

Page 22: ...rase Select Back Select Back Select S T 3 Phonebook 4 Net Setting 5 SIP Setting Select Back S T 1 Search 2 Add Entry 3 Erase Select Back Select S T David Select Back S T 3 Speed dial 1 Edit 2 Erase Select Back Select S T Key 1 David Key 2 Key 3 Select Back Select Key 1 David Key 2 Key 3 Select Back OK Press key go back menu Back Back 22 ...

Page 23: ...k Aa1 Back S T 3 Phonebook 4 Net Setting 5 SIP Setting Select Back S T 2 Add Entry 3 Erase 1 Search Select Back Host IP 123 123 123 123 Ok Aa1 Back Input the name Input the number Input the IP S T P2P Proxy Select Back Port 5060 Ok Aa1 Back Select Ok Ok Select Select Back Menu Back Press key go back menu Back Ok Ok Press key go back menu Back Press key go back menu Back P2P Proxy Select Back OK 23...

Page 24: ... Back Are you sure Ok Back Select S T 1 One By One 2 Erase All Select Back Ok S T 3 Erase 1 Search 2 Add Entry Select Back Select 12 00 Wi Fi Phone Not Registered Menu Names Select Back Select Select Back Back Menu S T 3 Phonebook 4 Net Setting 5 SIP Setting Select Back S T David Select Back Press key go back menu Back Are y re ou su OK Back OK 24 ...

Page 25: ...ure Ok Back Ok Are y re ou su OK Back OK 2 Erase All 1 One By One Select Back S T 2 Erase All 1 One By One Select Back S T 3 Erase 1 Search 2 Add Entry Select Back Select 12 00 Wi Fi Phone Not Registered Menu Names Select Back Select Select Back Back Menu S T 3 Phonebook 4 Net Setting 5 SIP Setting Select Back 25 ...

Page 26: ...1 Missed Call 2 Received Call 3 Dialed Call Select Back Select Back S T David Select Back Select Back Select Back S T 2 Edit Missed 3 Erase Miss 1 Time of Call Select Back Time of Call 20 03 10 20 Ok Back User Info 808 Ok Aa1 Back Ok S T 1 Time of Call 2 Edit Missed 3 Erase Miss Select Back 1 Missed Call 2 Received Call 3 Dialed Call Select Back Back Display Name David Ok Aa1 Back Display Name Dav...

Page 27: ...elect Back Select Back Select Back S T 2 Edit Receive 3 Erase Receive 1 Time of Call Select Back Time of Call 20 03 10 20 Ok Back User Info 808 Ok Aa1 Back Ok S T 1 Time of Call 2 Edit Receive 3 Erase Receive Select Back 2 Received Call 3 Dialed Call 4 Erase Call Select Back Back Display Name David Ok Aa1 Back Display Name David Ok Aa1 Back OK Ok Back S T 3 Erase Receive 1 Time of Call 2 Edit Rece...

Page 28: ...Select Back Select Back S T David Select Back Select Back Select Back S T 2 Edit Dialed 3 Erase Dial 1 Time of Call Select Back Time of Call 20 03 10 20 Ok Back User Info 808 Ok Aa1 Back Ok S T 1 Time of Call 2 Edit Dialed 3 Erase Dial Select Back 3 Dialed Call 4 Erase Call 1 Missed Call Select Back Back Display Name David Ok Aa1 Back OK Ok Back S T 3 Erase Dial 1 Time of Call 2 Edit Dialed Select...

Page 29: ... All Select Back Select Back Are y re ou su Ok Back OK Are y re ou su Ok Back OK Are y re ou su Ok Back OK Select Select Select Are you sure Ok Back Are you sure Ok Back Are you sure Ok Back S T 1 Erase All 2 Erase Miss 3 Erase Receive Select Back Select 12 00 Wi Fi Phone Not Registered Menu Names Menu Select Back S T 2 Call History 3 Phonebook 4 Net Setting Select Back Back Select Back Are you su...

Page 30: ... 1 Setting the Ring Melody 12 00 Wi Fi Phone Not Registered Menu Names Menu Select Back S T 6 Settings 7 Wireless 8 Restart Select Back S T 1 Melody 2 Vibrator 3 Ring Volume Select Back S T Default Melody 1 Melody 2 Select Back Select Back Select Default Melody 1 2 Melody Select Back OK 30 ...

Page 31: ...ttings 7 Wireless 8 Restart Select Back S T 2 Vibrator 3 Ring Volume 4 Edit Time Select Back 3 6 3 Adjusting the Ring Volume Use the left right arrow keys to decrease increase the ring volume 31 12 00 Wi Fi Phone Not Registered Menu Names Menu Select Back Select Back Ring Volume Select Back S T 6 Settings 7 Wireless 8 Restart Select Back S T 3 Ring Volume 4 Edit Time 5 Edit Date Select Back Select...

Page 32: ...Select Back S T 4 Edit Time 5 Edit Date 6 Banner Select Back Select Edit Time 12 00 Ok Back OK 3 6 5 Setting the Date 12 00 Wi Fi Phone Not Registered Menu Names Menu Select Back S T 6 Settings 7 Wireless 8 Restart Select Back S T 5 Edit Date 6 Banner 7 Key Lock Select Back Select Back Select Edit Date 2004 08 04 Ok Back Edit Date 2004 08 04 Ok Back OK 32 ...

Page 33: ...Back S T 6 Banner 7 Key Lock 8 Don t Disturb Select Back 12 00 Wi Fi Phone Not Registered Menu Names Menu 3 6 7 Setting the Key Lock 12 00 Wi Fi Phone Not Registered Menu Names Menu Select Back Select Back Select off on Select Back OK S T off on Select Back S T 6 Settings 7 Wireless 8 Restart Select Back S T 7 Key Lock 8 Don t Disturb 9 Load Default Select Back 33 ...

Page 34: ... Wi Fi Phone Not Registered Menu Names Menu Select Back Select Back Select off on Select Back OK S T off on Select Back S T 6 Settings 7 Wireless 8 Restart Select Back S T 8 Don t Disturb 9 Load Default 1 Melody Select Back 34 ...

Page 35: ...he Go button Wi Fi Phone offers two default accounts 1 the user s account User Name user Password 1111 2 and the administrative account User Name voipadmin Password admin The main web page is divided into several frames each related to a VoIP module It includes information network settings SIP proxy server settings registrar server settings phone book settings voice codec settings voice quality se...

Page 36: ...orrect number press the key to delete it 3 Press the key to connect your call 5 2 Redialing a Phone Number 1 In idle state press the key The list of placed calls is displayed 2 Scroll through the list by using the S or T key Press the key to make the call 5 3 Answering a Call To answer a call press the key To reject a call press the key 36 ...

Page 37: ...k Error 2 Net Fail DHCP The phone failed to obtain the IP address from the DHCP server or failed to authenticate due to a Wep Key error Error 3 Net Fail PPPoE The phone failed to obtain the IP address from your ISP service Error 4 Registering to SIP proxy failed The phone failed to register with the SIP Proxy It could be due to the WEP key or SIP proxy setting error 12 00 Wi Fi Phone Not Registere...

Page 38: ...e in the charger for approximately 30 seconds Then remove it from the charger briefly for approximately 2 seconds Place the phone back in the charger and it will automatically turn on Warning 2 Battery Low blinking 12 00 Wi Fi Phone Net Fail DHCP Menu Names The battery energy level is low Corrective Action Recharge the battery Warning 3 Weak signal detected blinking 12 00 Wi Fi Phone Not Registere...

Reviews: