Planar ContentSmart Media Player MP70 User Manual
Page 1: ...Planar ContentSmart Media Player MP70 User Manual...
Page 2: ...Connections 7 2 2 Basic Settings 8 2 3 Connect the Player to Your Network 9 2 3 1 Wireless connection 9 2 3 2 Static IP manually assign network IP address 10 2 3 3 Wired connection 11 2 3 4 Proxy set...
Page 3: ...17 1 Manual Expansion 34 2 17 2 Auto Expansion 35 2 18 System Configuration Factory Reset 36 2 18 1 Using the reset button 36 2 18 2 Using a USB mouse 36 2 19 System Configuration Power Save 37 3 Cont...
Page 4: ...hanical design versatile open standard HTML5 and SMIL programmability Hardware decoding of MPEG1 2 4 H 264 H 265 and VC 1 media formats 8GB on board flash local storage with Micro SD expansion slot In...
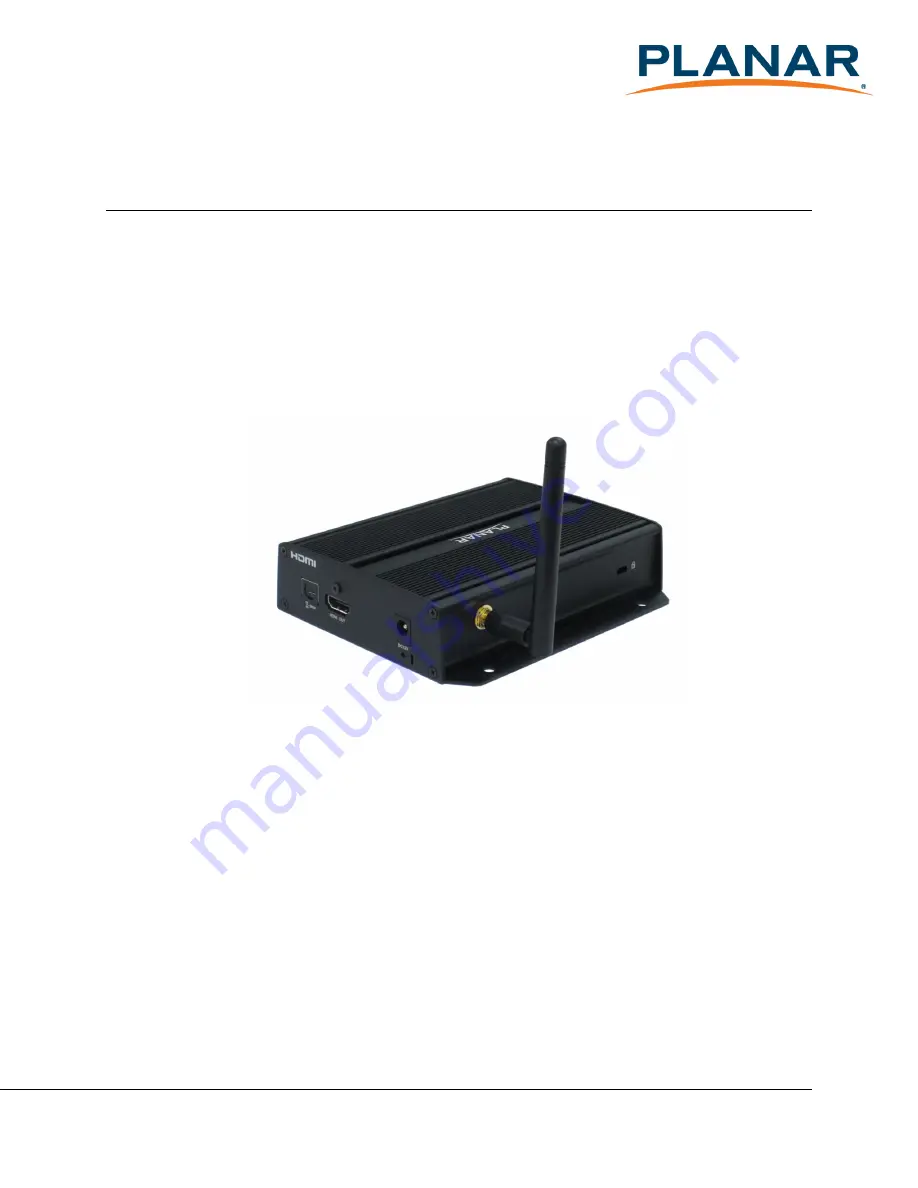
Page 5: ...e is required for system setup 1 3 Installation 1 3 1 Attach wireless antenna Attach the wireless antenna as shown below and then screw antenna clockwise onto the post Media Player Unit HDMI Cable Wi...
Page 6: ...on Attach on the back of the monitor using Velcro Separate the Velcro pads and stick on the bottom of player Stick the other Velcro pads onto the back of monitor then attach the player to it Use HDMI...
Page 7: ...digital video and audio combined output DC input port Wireless antenna post Kensington lock hole Micro USB for ADB Android debug console port Ethernet port for network content update Micro SD card sl...
Page 8: ...HDMI connection audio is sent along with video over the HDMI cable so no additional cables are required Attach the AC power adapter to power on the unit After approximately 15 seconds the booting ani...
Page 9: ...replaced by tap actions Figure 2 2 1 Basic Settings Network Time zone Content Each time the Basic settings menu is entered playback will automatically begin after 15 seconds if content services have b...
Page 10: ...eless connection Click the Wireless LAN setting to launch the wireless configuration UI Figure 2 3 1 Click the ON OFF button as indicated below to turn ON Wireless interface network Figure 2 3 2 The p...
Page 11: ...Figure 2 3 3 Click on the network ID to connect If the network requires authentication you will be asked to provide a password Figure 2 3 4 2 3 2 Static IP manually assign network IP address 1 Check...
Page 12: ...IP settings change DHCP to Static Figure 2 3 6 3 Fill the form and click Connect to complete the setting Scroll down swipe to see the rest of the menu if needed Figure 2 3 7 2 3 3 Wired connection To...
Page 13: ...x If using DHCP no further action is required Figure 2 3 8 Static IP Manually assign network IP address 1 Click Static IP Settings to configure static IP address Figure 3 2 3 4 Proxy settings 1 In Bas...
Page 14: ...r ContentSmart MP70 User Manual 13 Figure 4 10 2 Click Network then click Advanced Figure 2 3 11 3 Proxy setting menu will be launched Input proxy hostname and port then click Done to finish configura...
Page 15: ...the advanced configuration menu will be launched Figure 12 2 Click Network then click Show IP Figure 2 3 13 3 This feature is to control whether the IP address is displayed in the Basic settings menu...
Page 16: ...rt MP70 User Manual 15 2 4 Time Zone Settings 1 In Basic Settings click Time zone Figure 2 4 1 2 Choose the correct time zone from the available options Figure 2 4 2 2 5 Content Settings 1 Click the S...
Page 17: ...tent URL and click Set It will return to Basic Settings automatically Figure 2 5 2 3 The player will check the availability of SMIL HTML5 content URL with the Play button showing Checking The checking...
Page 18: ...e player to reboot if the FailSafe function is not configured Figure 2 5 3 4 If the SMIL HTML5 content URL is available the Play button will change to a 15 second countdown and the playback will start...
Page 19: ...rsion and Player ID 1 Click the Advanced button and the advanced configuration menu will be launched Figure 2 6 1 2 Click on Information The definitions of the Health Status are Green Normal The devic...
Page 20: ...fter the system starts up 1 Click the Advanced button Figure 2 6 1 2 Click on Content then click on AppStart 3 Enter the valid URL of HTML SMIL in AppStart Figure 2 7 1 If you already configured SMIL...
Page 21: ...PP for execution while the system has failed to play the assigned content 1 Click the Advanced button and the advanced configuration menu will be launched Figure 2 6 1 2 Click on Content then click on...
Page 22: ...icro SD card must not be removed When EasyPlay is enabled the player will play content only from the USB drive or MicroSD card If a user wants to play content from the URL server configured via Set co...
Page 23: ...9 1 Configure Photo Mode 1 Click on Photo for choosing photos and music Click on the buttons as marked in red below and select the directories for photos and music from the USB drive 2 Click Set butt...
Page 24: ...elected folders will be played after clicking the Play button in the Basic or Advanced settings menu Figure 2 9 3 EasyPlay Schedule Configuration 1 Click the Advanced button Fig 2 6 1 2 Click on Conte...
Page 25: ...times assigned in the time slots A E are inclusive For example a schedule assigned per the example below Figure 2 9 5 The exact playback time will be the time slots marked in blue as shown in figure...
Page 26: ...ive resolution to avoid image scaling and blur If you are connecting an LCD computer monitor projector or plasma display refer to the device specifications for optimal settings 1 Click the Advanced bu...
Page 27: ...26 Figure 2 10 1 3 Click on Resolution and select suitable resolution from the pop up menu The default configuration is Auto Detect player will auto detect and use the best optimized resolution that...
Page 28: ...80 270 degrees 4 Click the Advanced button and the advanced configuration menu will be launched Fig 2 6 1 5 Click the Display sound button then click on Display The Display Settings page will be launc...
Page 29: ...tton and the advanced configuration menu will be launched Fig 2 6 1 2 Click the Display sound button then click on Sound The Sound Settings page will be launched Figure 2 11 1 3 Click on Volumes and t...
Page 30: ...ayer s name can be specified so the player can be easily recognized in the management software Management software support is required 1 Click the Advanced button and the advanced configuration menu w...
Page 31: ...ion for player access If the password is set a password prompt will appear if a user is trying to enter the Basic settings menu from playback 1 Click the Advanced button and the advanced configuration...
Page 32: ...r synchronize it s time with the web server where the appStart URL hosted based on http response header s time 1 Click the Advanced button and the advanced configuration menu will be launched Fig 2 6...
Page 33: ...save the setting Figure 2 15 1 2 16 System Configuration Firmware Update Firmware updates can be performed by using a USB flash drive Please read the release notes regarding the changes that will be m...
Page 34: ...pdate Figure 2 16 1 6 Plug in the USB drive while the screen shows Scanning USB drives for firmware package Figure 2 16 2 2 17 System Configuration Expansion storage Users may use a MicroSD card for c...
Page 35: ...3 In the Basic settings menu click the Advanced button and the advanced configuration menu will be launched Fig 2 6 1 4 Click on System click on Expansion storage and click Initialize Player will form...
Page 36: ...on In the Basic settings menu click the Advanced button and the advanced configuration menu will be launched Fig 2 6 1 Click on System click on Expansion storage and enable auto format Figure 2 17 4 P...
Page 37: ...tton with a pin RE CONNECT the power cord WAIT until the status LED flashes RELEASE reset button and wait for system to initialize 2 18 2 Using a USB mouse System reset will re initialize the system c...
Page 38: ...while staying at the Basic settings menu without any action taken for 10 minutes 1 Click the Advanced button and the advanced configuration menu will be launched Fig 2 6 1 2 Click on System then clic...
Page 39: ...layback HTML5 content which can contain dynamic information To find out more about using HTML5 for digital signage visit http www digisignage com 5 Working with SMIL The player uses open communication...
Page 40: ...perating system utilizes W3C SMIL as the underlying scripting language which lends well to customization to your project management needs For resources downloads and community support visit www a smil...
Page 41: ...tenna Velcro 2 sets Micro SD card slot bracket screw x1 Power jack bracket screw x1 Power requirement 12V 1 5A DC Power consumption 5W Environmental Operating temperature 0 50 C Humidity 5 85 45 C non...
Page 42: ...ocating the access point further away from the player to improve connection If both Ethernet Wi Fi are connected which one will take precedence If both connections are available Ethernet will be used...
Page 43: ...ys You can set the output resolution in the player s configuration menu to match the native resolution of your display Some JPEG images cannot be played in the media player The media player works best...
Page 44: ...Planar ContentSmart MP70 User Manual 43 Check volume mute settings on monitor...
Page 45: ...2 Contact Planar Visit Planar at www planar com Supportfor operations manuals touchscreen drivers warranty information and access to Planar s Technical Library for online trouble shooting To speak wit...
Page 46: ...866 PLANAR1 866 752 6271 1 503 748 5899 outside the United States Hours 24 hours a day 7 days a week 2015 Planar Systems Inc 9 2015 Planar is a registerd trademark of Planar Systems Inc Other brands a...