10. Confirming the port.
The wizard will return to the Specify Port screen.
Use the vertical scroll bar to view and confirm the new port is
now in the list and select Next.
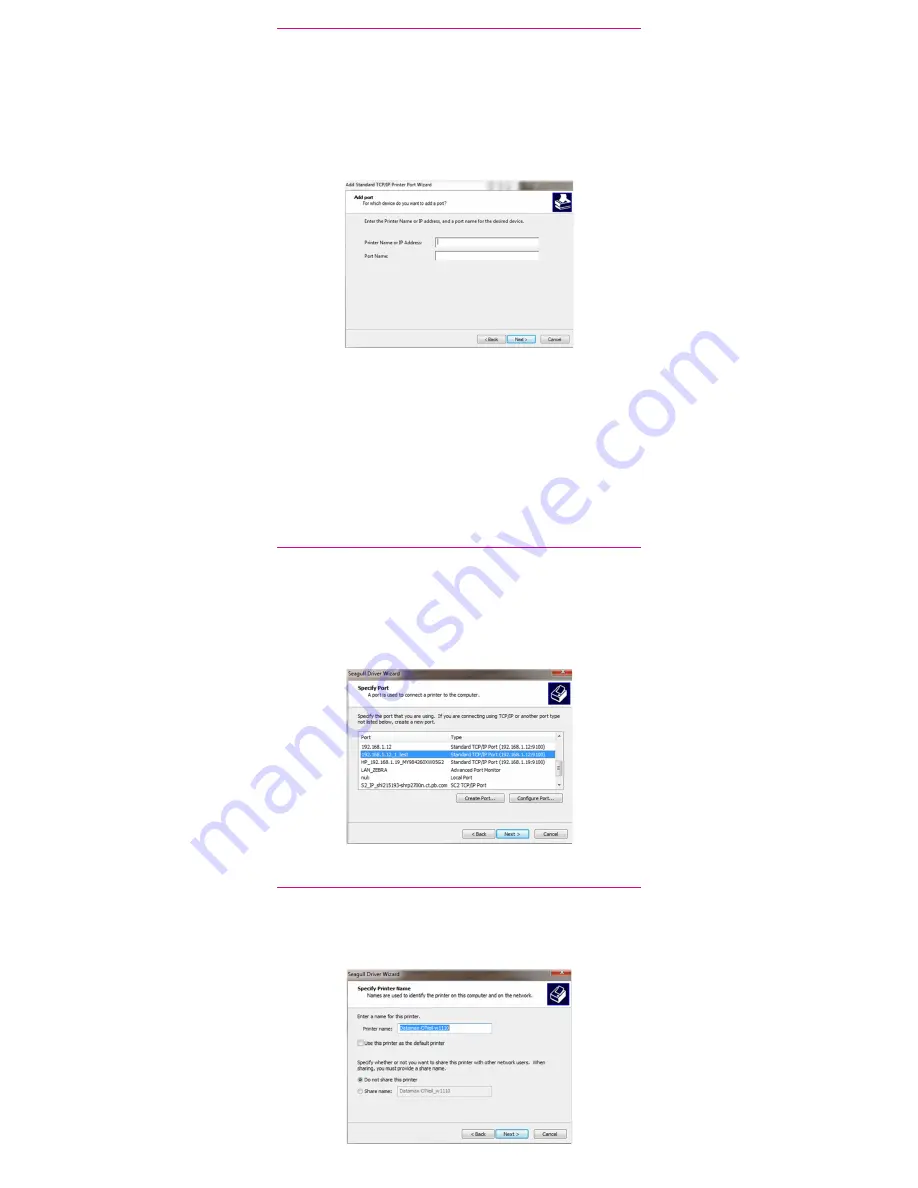
9. Printer port wizard.
Select Next to run the Printer Port Wizard.
Enter the Ethernet IP from the system report printed in step 5
and Select Next.
Note: The Port Name will automatically be populated with a
default value.
Windows Wizard will automatically find the device.
If not found, Select Generic Network Card from the drop
down menu and Select Next.
Select Finish to complete the Printer Port Wizard and to
return to driver installation.
Note: The driver and port name will now show what was
entered in the screen above.
Select Close.
11. Accepting the printer name.
Select Next to accept the default printer name.


