


Program and Mount Motion Sensors:
Prepare Motion Sensor
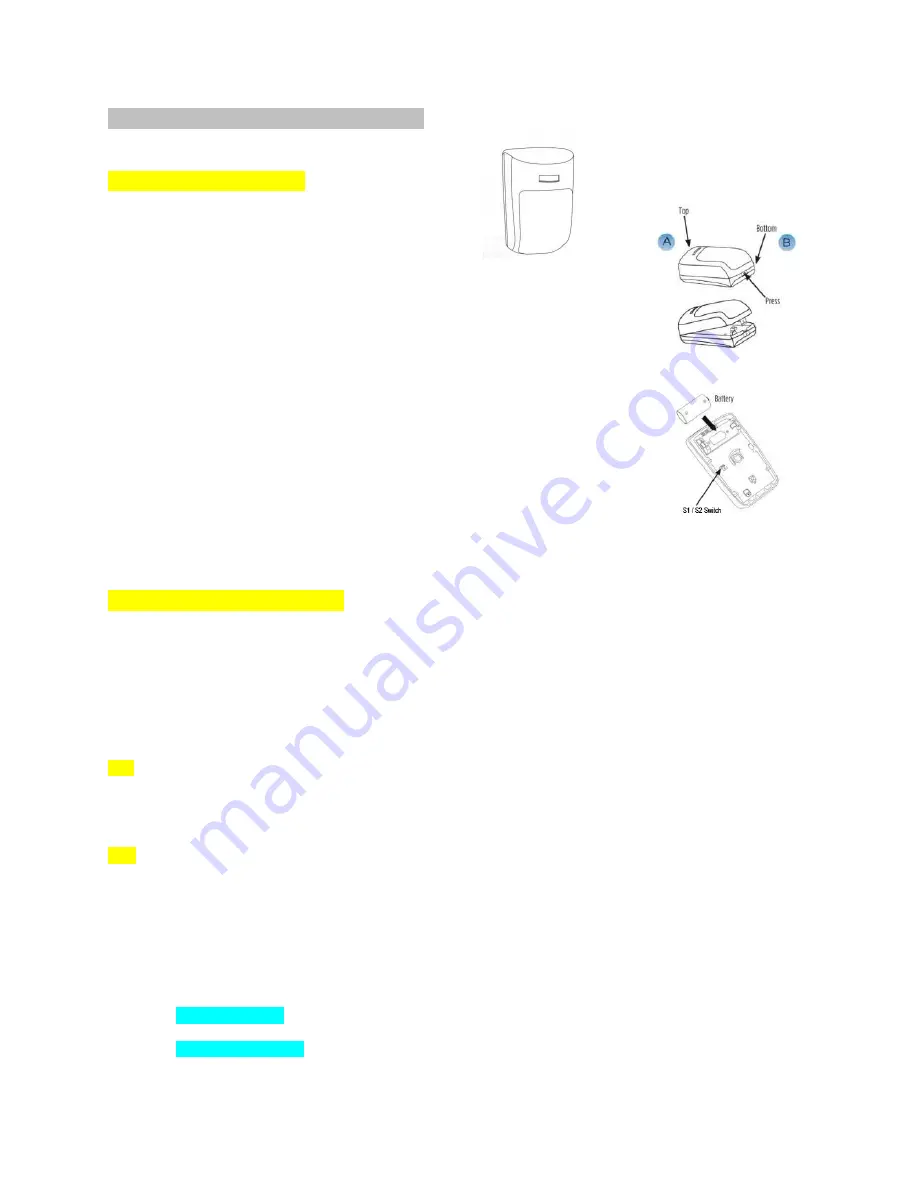
A. Separate the front and back covers of the
Motion Sensor by pressing the tab with your
finger or the top of a pen (Figure A and B).
B.
Remove insulating paper from the battery and CLOSE the cover. The
sensor needs 1-3 minutes to initialize itself. You will see a red indicator
blink once every 3 seconds during initialization. If you don't see the
indicator blink as described during initialization, please open the cover,
remove the battery and reinstall the battery again until you see the
indicator flash as described. The sensor will be ready for use when the
indicator stops blinking. (Note: DO NOT keep the cover open since it may
affect the sensor during initialization and cause the sensor to not work
properly after)
C.
2 switch for LED signal light. The default is set to on, but if you do not
want a flashing light when the sensor detects an intruder, you can turn it
off. When the battery is low, the LED light becomes yellow.
1
switch for battery notification, Default is set to
ON
.
OFF
position
disables the low battery notification.
Program the Motion Sensor( only for DIY kit or add new motion sensor)
If you received a pre-Programed system kit, please ignore this step and do not
program it again.
Before programming any sensor, you need to switch off all your existing sensors and disarm your system.
Press
PROGRAM
button on console and enter the default password
888 888.
Use
Scroll key
to choose
Sensor
then press
Enter
on Console.
Add
press
Enter
you will see
Trigger sensor /Code
, then walking 2-3 steps in front of The Motion Sensor which you
have prepared and you will see nine digits displayed on console screen for 1-2 seconds. This is the unique
address for this sensor. The Console will request you add a Zone Name for this sensor, then press SAVE.
You will see
Record Sensor Name*
.
Edit
select it then press Enter, you can use Auto search or Manual search to find your target sensor and high light it
then press Enter
to Edit Sensor Functions as below list
Note: i
f you don’t know sensor name then choose
Auto Search
, when you
trigger an individual sensor and its
name will be displayed on the panel. Select the sensor name and press
Enter,
then you will see the menu
displays as below: (
MAKE SURE ONLY ONE SENSOR IS TRIGGERED EACHTIME TO AVOID ANY
ACCIDENTAL TRIGGERING OF A DIFFERENT SENSOR. PLEASE KEEP ALL YOUR MOTION SENSORS
IN DIFFERENT ROOMS, AND MAKE SURE THAT ALL WINDOW/DOOR SENSORS MAGNET PARTS ARE
ATTACHED TO LARGER PARTS AS CLOSE STATUS
.)
Edit
Zone
Name
:
Highlight
Edit Zone name,
press
Enter
and you will be able to rename the sensor.
Record
Zone
Name:
Highlight it press Enter, select
“Record”, you are able to record 5 seconds of your
own voice accordingly. If recording a sensor name in your own voice to identify a sensor, when you
receive an alarming call on your cell phone or any other phones, you will hear the sensor name.


