


4. SET DATE MODE
A. Press the [MENU] button to access the settings page.
B. Press the [DOWN] button to access the 3rd line titled “Date
Mode”.
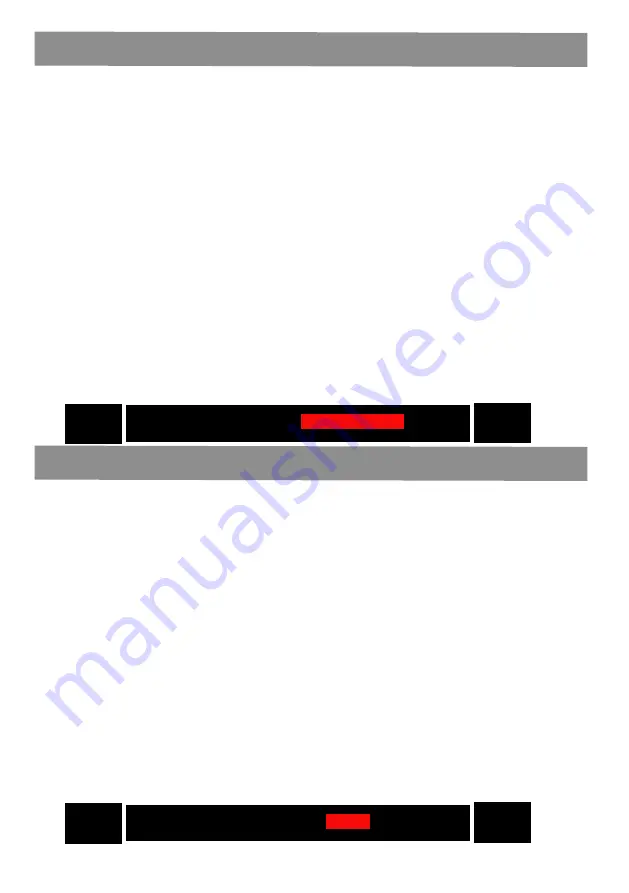
Please note: The function you are in will turn yellow as shown
in the image below. When the fonts of the selected line turn
into yellow, press the [OK] button and the DATE MODE you
selected will be framed in red box as shown in the image
below, then press the [LEFT/RIGHT] button to switch be
-
tween:
Day-Month-Year (Standard European Mode).
Month-Day-Year (Standard U.S. Mode).
C. After the changes are completed, press the [OK] button to
save the settings.
D. Press the [MENU] button to go back to the main display or
press the [UP/DOWN] button to access other settings.
5. SET LANGUAGE
A. Press the [MENU] button to access the settings page.
B. Press the [DOWN] button to access the 5th line titled “Lan
-
guage”.
C. Please note: The function you are in will turn yellow as
shown in the image below. When the fonts of the selected line
turn into yellow, press the [OK] button and the LANGUAGE you
selected will be framed in red box as shown in the image
below, then press [LEFT/RIGHT] button to select a language (8
languages available including English, French, German, Italian,
Polish, Spanish, Dutch, Welsh ).
D. After the changes are completed, press the [OK] button to
save the settings.
E. Press the [MENU] button to go back to the main display or
press the [UP/DOWN] button to access other settings.
05
Date Mode Day-Month-Year
Langeuage < English >


