Controlling the rest of your system
09
69
En
3
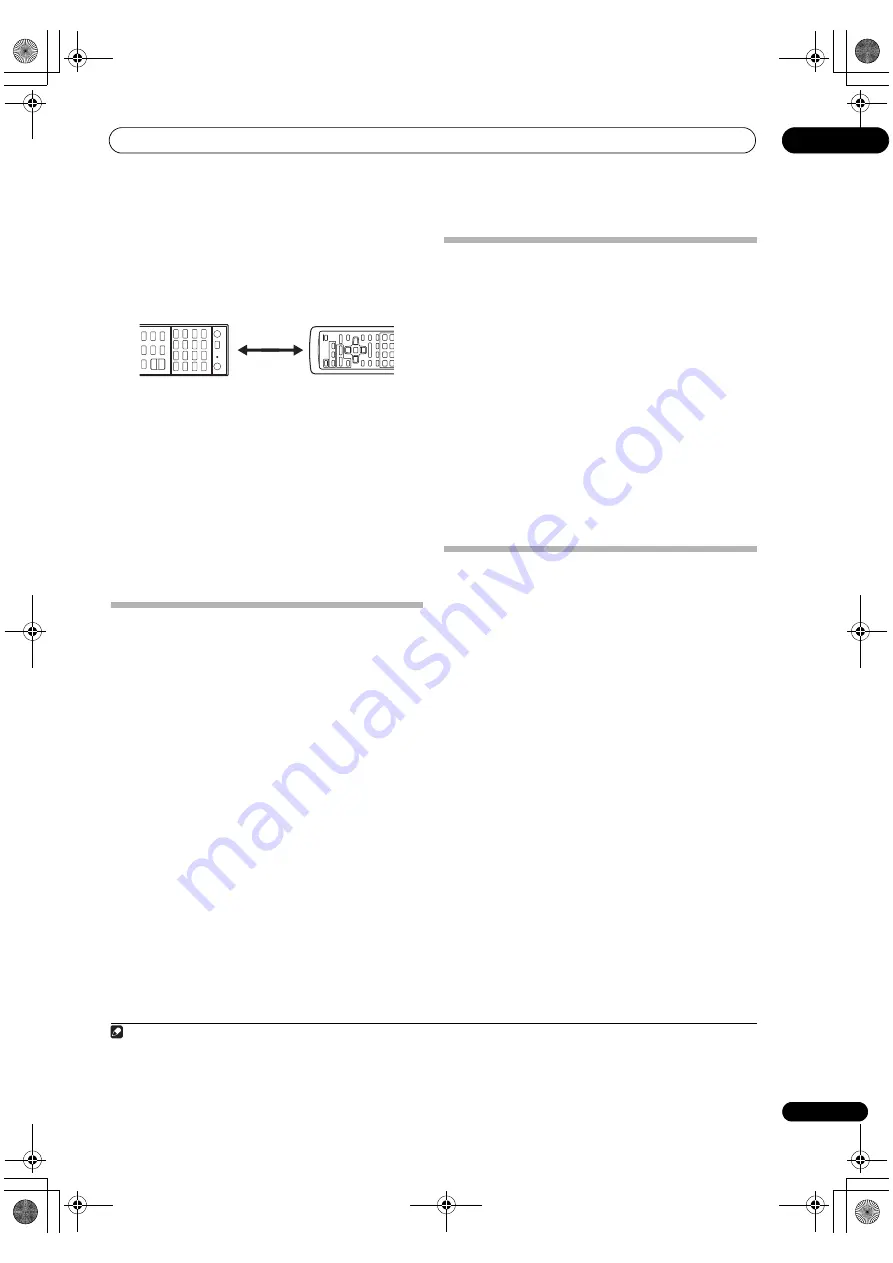
Point the two remote controls towards each other,
then press the button that will be doing the learning on
this receiver’s remote control.
The LED blinks once and flashes continuously.
• The
r
emote cont
r
ols should be 3 cm (1 inch) a
p
a
r
t.
4
Press the corresponding button on the other remote
control that is sending (teaching) the signal to this
receiver’s remote control.
If the LED lights fo
r
one second, the setting has been
successfully com
p
leted.
1
5
To program additional signals for the current
component repeat steps 3 and 4.
To
pr
og
r
am signals fo
r
anothe
r
com
p
onent, exit and
r
e
p
eat ste
p
s 2 th
r
ough 4.
6
Press R.SETUP to exit the programming mode.
Erasing one of the remote control
button settings
This e
r
ases one of the buttons you have
pr
og
r
ammed and
r
esto
r
es the button to the facto
r
y default.
1
Press and hold R.SETUP, then press “7” for three
seconds.
The LED flashes continuously.
• To cancel the
pr
eset setu
p
mode
pr
ess
R.SETUP
.
2
Press the input function button corresponding to
the command to be erased, then press ENTER.
The LED flashes once.
3
Press and hold the button to be erased for three
seconds.
If the LED lights fo
r
one second, the e
r
asing has been
successfully com
p
leted.
4
Repeat step 3 to erase other buttons.
5
Press R.SETUP to exit the erasing mode.
Erasing all learnt settings that are in
one input function
This o
p
e
r
ation e
r
ases all the o
p
e
r
ational settings of othe
r
devices that have been
pr
og
r
ammed in one in
p
ut
function, and
r
esto
r
es the facto
r
y default.
This function is handy fo
r
e
r
asing all data
pr
og
r
ammed
fo
r
devices no longe
r
being used.
1
Press and hold R.SETUP, then press “9” for three
seconds.
The LED flashes continuously.
• To cancel the
pr
eset setu
p
mode
pr
ess
R.SETUP
.
2
Press and hold the input function button
corresponding to the command to be erased for three
seconds.
If the LED lights fo
r
one second, the e
r
asing has been
successfully com
p
leted.
Direct function
• Default setting:
On
You can use the di
r
ect function featu
r
e to cont
r
ol one
com
p
onent using the
r
emote cont
r
ol while at the same
time using you
r
r
eceive
r
to
p
lay a diffe
r
ent com
p
onent.
This could let you, fo
r
exam
p
le, use the
r
emote cont
r
ol to
set u
p
and listen to a CD on the
r
eceive
r
, and then use the
r
emote cont
r
ol to
r
ewind a ta
p
e in you
r
VCR while you
continue to listen to you
r
CD
p
laye
r
.
When di
r
ect function is on, any com
p
onent you select
(using the in
p
ut function buttons) will be selected by both
the
r
eceive
r
and the
r
emote cont
r
ol. When you tu
r
n di
r
ect
function off, you can o
p
e
r
ate the
r
emote cont
r
ol without
affecting the
r
eceive
r
.
1
Press and hold R.SETUP, then press “5” for three
seconds.
The LED flashes continuously.
• To cancel the
pr
eset setu
p
mode
pr
ess
R.SETUP
.
2
Press the input function button for the component
you want to control.
3
Press “1” (On) or “0” (Off) to switch the direct
function mode.
If the LED lights fo
r
one second, the setting has been
successfully com
p
leted.
If the LED flashes th
r
ee times, the setting has failed.
4
Press R.SETUP to exit the setup.
Note
1 • Note that inte
r
fe
r
ence f
r
om TVs o
r
othe
r
devices will sometimes
r
esult in the
r
emote cont
r
ol lea
r
ning the w
r
ong signal.
• Some commands f
r
om othe
r
r
emote cont
r
ols cannot be lea
r
ned, but in most cases the
r
emotes just need to be moved close
r
togethe
r
o
r
fa
r
the
r
a
p
a
r
t.
• If the LED flashes fo
r
five seconds, it means the memo
r
y is full. See
Erasing all learnt settings that are in one input function
on
p
age 69 to
e
r
ase a
pr
og
r
ammed button you’
r
e not using to f
r
ee u
p
mo
r
e memo
r
y (note that some signals may take mo
r
e memo
r
y than othe
r
s).
3 cm
(1 inch)
This
r
eceive
r
’s
r
emote cont
r
ol
Othe
r
r
emote
cont
r
ol
SC-1525_UXJCB.book 69 ページ 2010年4月20日 火曜日 午後7時32分


