25
5
6
7
8
F
E
D
C
B
A
5
6
7
8
PRS-D3000SPL/X1H/EW
7. GENERAL INFORMATION
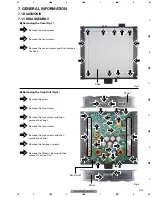
7.1 DIAGNOSIS
7.1.1 DISASSEMBLY
1
1
-
Removing the Case (Fig.1)
-
Removing the Amp Unit (Fig.2)
Remove the two screws.
Remove the screw.
Fig.1
Fig.2
Case
2
Remove the two screws.
3
Remove the two screws and then
remove the Panel.
2
Remove the four screws.
3
3
3
3
2
2
2
2
Amp Unit
3
3
3
3
Remove the seven screws and then remove
the Case.
6
6
7
7
7
7
7
7
7
7
7
1
1
3
3
7
7
7
7
7
5
5
7
2
2
1
4
4
4
Remove the two screws.
5
Remove the two screws and then
remove the Panel.
6
Remove the fourteen screws.
7
Remove the fifteen screws and then
remove the Amp Unit.
Panel
Panel
Summary of Contents for PRS-D3000SPL/X1H/EW
Page 12: ...12 1 2 3 4 1 2 3 4 F E D C B A PRS D3000SPL X1H EW A a A b A a A a A b 1 2 3 4 5 ...
Page 13: ...13 5 6 7 8 F E D C B A 5 6 7 8 PRS D3000SPL X1H EW A a A b A a A a A b 6 7 8 ...
Page 14: ...14 1 2 3 4 1 2 3 4 F E D C B A PRS D3000SPL X1H EW A a A b A b 1 2 3 4 5 A AMP UNIT ...
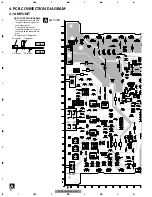
Page 17: ...17 5 6 7 8 F E D C B A 5 6 7 8 PRS D3000SPL X1H EW A SIDE A BFC SWITCH FRONT ...
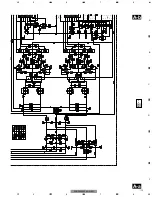
Page 18: ...18 1 2 3 4 1 2 3 4 F E D C B A PRS D3000SPL X1H EW A A AMP UNIT ...
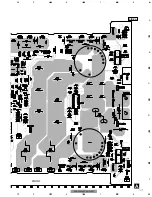
Page 19: ...19 5 6 7 8 F E D C B A 5 6 7 8 PRS D3000SPL X1H EW A SIDE B 1 ...


