46
PDV-LC10
•
Mode
Title 3-6
(Stair step)
•
DVD Test Disc
(GGV1025)
Player
START
VR604
VR603
LCD
MONITOR
Board
• Purpose:
Set the white which becomes a standard for the
color.
• Procedure:
1. Play the Title 3-6 of the DVD test disc.
2. Adjust VR603 (WB/R) and VR604 (WB/B) so that
the whole of LCD screen becomes gray.
3. Adjust the pattern of the gray part of the screen
become uniform when you adjust it by the visual
observation.
DIGITAL OUT (OPTICAL)
PHONES
HOLD
ON/OFF
COLOR
BRIGHT
MONITOR
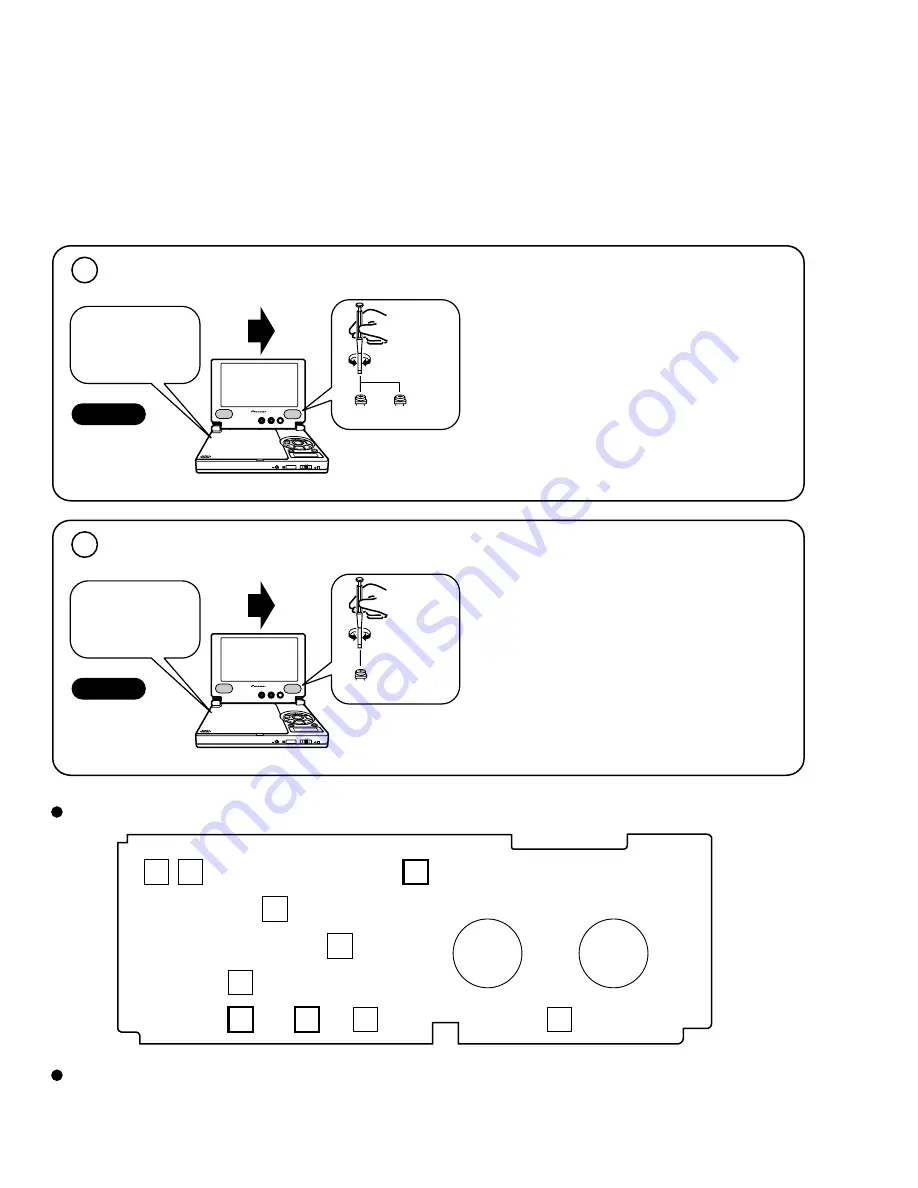
7.1.1.3 Confirmation After Replacing the LCD Display (Reference)
1
White Balance Adjustment
•
Mode
Title 3-6
(Stair step)
•
DVD Test Disc
(GGV1025)
Player
START
VR901
LCD
MONITOR
Board
• Purpose:
Prevent the horizontal line in Zoom from being
conspicuous.
• Procedure:
1. Play the Title 3-6 of the DVD test disc.
2. Set the display mode to Zoom.
3. Adjust VR901 so that the horizontal line of LCD
screen becomes minimum.
4. The horizontal line in the Zoom does not become 0.
DIGITAL OUT (OPTICAL)
PHONES
HOLD
ON/OFF
COLOR
BRIGHT
MONITOR
2
Adjustment at Zoom Mode
• The adjustment is unnecessary if there is no problem even if the test disc or general disc is played back after the LCD display
panel is replaced.
Perform the following adjustment and confirm if the screen seems to be dirty.
• The back light is necessary at the time of the adjustment. Adjust the "BRIGHT" and "COLOR" volumes in the center
screen.
• Play the DVD test disc or general disc, then confirm the color is not abnormal.
VR901
Adjustment Points
VR605
VR608
COLOR
VR803
BRIGHT
VR602
VR801 VR802
VR601
Flicker
LCD MONITOR Board
WB/B
WB/R
VR604
VR607
VR902
VR603
VCO
TINT
BRIGHT
CONT
+ B
fosc
COMAMP
Confirmation After the Adjustment


