- 19 -
- 19 -
En
g
lis
h
NOTES
•
Some functions may be restricted depending on the connection conditions with the application.
•
The 31 Band EQ setting is converted into 13 bands when a music source from this product is engaged.
TIP
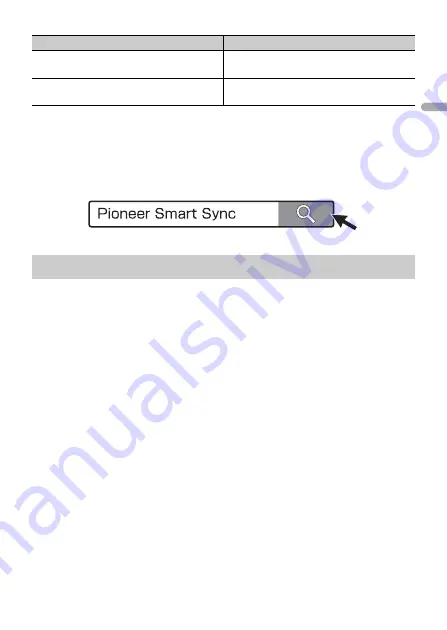
It is recommended to enter the search term "Pioneer Smart Sync" in the search field to search for the
application.
1
Press the
M.C.
dial to display the main menu.
2
Turn the
M.C.
dial to select [SYSTEM], then press to confirm.
3
Turn the
M.C.
dial to select [APP CONTROL], then press to confirm.
4
Turn the
M.C.
dial to select one of the below.
•
Select [WIRED] for the USB connection.
•
Select [BLUETOOTH] for the Bluetooth connection.
5
Turn the
M.C.
dial to select [AUTO APP CONN], then press to confirm.
6
Turn the
M.C.
dial to select [ON], then press to confirm.
7
Connect this unit with the mobile device.
•
iPhone/Android device via USB (page 9)
•
iPhone/Android device via Bluetooth (page 11)
Pioneer Smart Sync on the device starts automatically.
NOTE
Regardless of whether the [AUTO APP CONN] setting is set to [ON] or [OFF], you can
also perform the following to start Pioneer Smart Sync.
•
For devices other than the USB-connected Android device, press
SRC
/
OFF
to select
any source and press and hold the
M.C.
dial.
•
For iPhone, launch Pioneer Smart Sync on the mobile device.
Easy Sound Fit
You can perform the time alignment setting
easily by selecting your vehicle type.
Theme setting
You can set the wall paper and the theme
colour (display/keys/characters) at once.
Making a connection with Pioneer Smart Sync
Menu Item (example)
Description


