background image

On  the top of the player

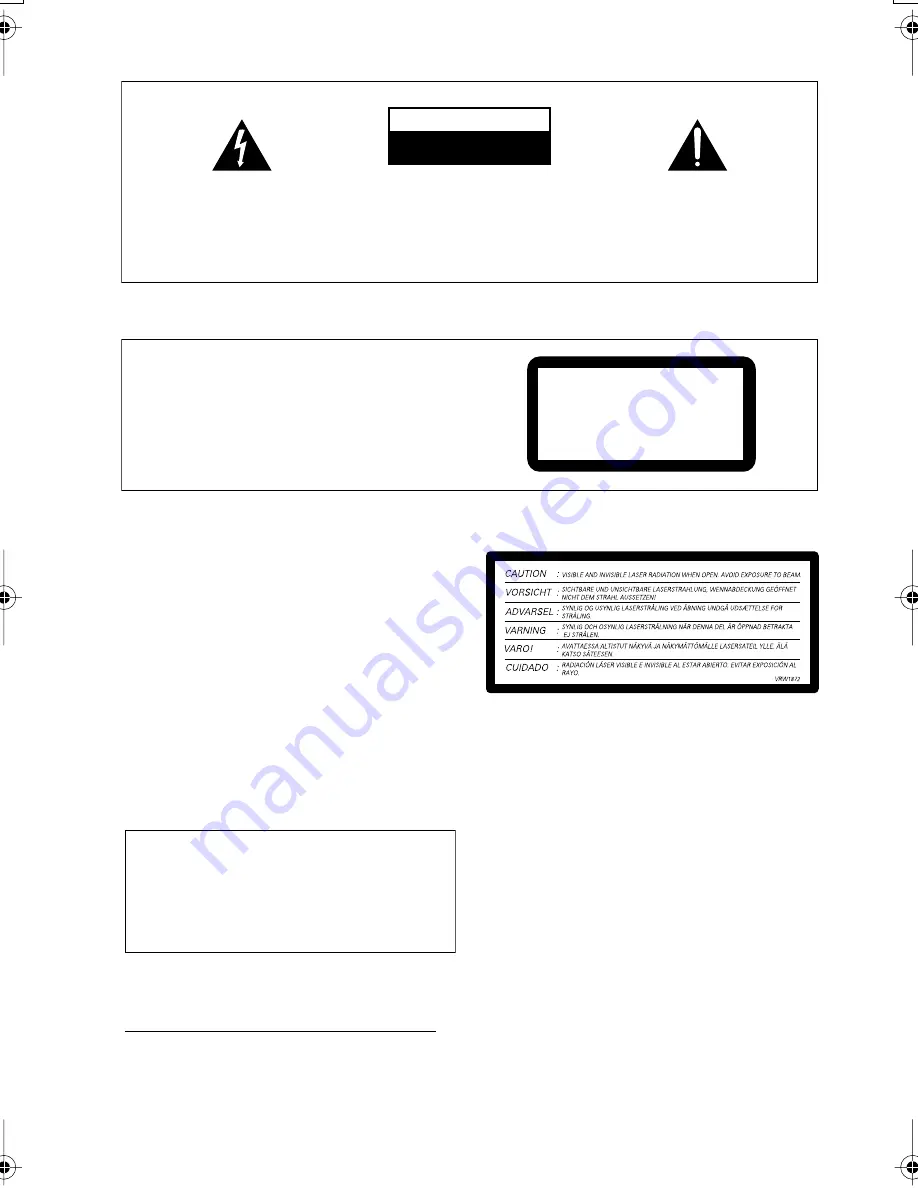
The exclamation point within an equilateral 
triangle is intended to alert the user to the 
presence of important operating and 
maintenance (servicing) instructions in the 
literature accompanying the appliance. 

The lightning flash with arrowhead symbol, 
within an equilateral triangle, is intended to 
alert the user to the presence of uninsulated 
"dangerous voltage" within the product's 
enclosure that may be of sufficient 
magnitude to constitute a risk of electric 
shock to persons.

IMPORTANT

CAUTION:

TO PREVENT THE RISK OF ELECTRIC 
SHOCK, DO NOT REMOVE COVER (OR 
BACK).  NO USER-SERVICEABLE PARTS 
INSIDE.  REFER SERVICING TO QUALIFIED 
SERVICE PERSONNEL.

CAUTION

RISK OF ELECTRIC SHOCK

DO NOT OPEN

D3-4-2-1-1_En

WARNING: 

The apparatus is not waterproofs, to 

prevent fire or shocks hazard, do not expose this 
apparatus to rain or moisture and do not put any 
water source near this apparatus, such as vase, 
flower pot, cosmetics container and medicine 
bottle etc.     

D3-4-2-1-3_En

WARNING: 

BEFORE PLUGGING IN THE UNIT FOR THE FIRST 
TIME, READ THE FOLLOWING SECTION CAREFULLY. 
The voltage of the available power supply differs 
according to country or region. Be sure that the 
power supply voltage of the area where this unit 
will be used meets the required voltage (e.g., 230V 
or 120V) written on the rear panel. 

D3-4-2-1-4_En

WARNING: 

No naked flame sources, such as 

lighted candle, should be placed on the apparatus. 
If naked flame sources accidentally fall down, fire 
spread over the apparatus then may cause fire.


D3-4-2-1-7a_En

CAUTION

This product contains a laser diode of higher class 
than 1. To ensure continued safety, do not remove any 
covers or attempt to gain access to the inside of the 
product.
Refer all servicing to qualified personnel.
The following caution label appears on your unit.

CLASS 1

LASER PRODUCT

D3-4-2-1-8_En

Operating Environment

Operating environment temperature and humidity:
+5 ºC – +35 ºC (+41 ºF – +95 ºF); less than 85 %RH 
(cooling vents not blocked)
Do not install in the following locations
•  Location exposed to direct sunlight or strong artificial 

light

•  Location exposed to high humidity, or poorly 

ventilated location

D3-4-2-1-7c_En

The STANDBY/ON switch is secondary connected 
and therefore, does not separate the unit from mains 
power in STANDBY position. Therefore install the 
unit suitable places easy to disconnect the MAINS 
plug in case of the accident. The MAINS plug of unit 
should be unplugged from the wall socket when left 
unused for a long period of time.

D3-4-2-2-2a_En

WARNING: 

Slot and openings in the cabinet are 

provided for ventilation and to ensure reliable 
operation of the product and to protect it from 
overheating, to prevent fire hazard, the openings 
should never be blocked and covered with items, 
such as newspapers, table-cloths, curtains, etc. Also 
do not put the apparatus on the thick carpet, bed, 
sofa, or fabric having a thick pile. 

D3-4-2-1-7b_En

DV575K_KARAOKE.book 2 ページ 2004年2月26日 木曜日 午後5時18分

Summary of Contents for DV-575K-s

Page 1: ...DVD Player DV 575K s Operating Instructions ...

Page 2: ...flame sources such as lighted candle should be placed on the apparatus If naked flame sources accidentally fall down fire spread over the apparatus then may cause fire D3 4 2 1 7a_En CAUTION This product contains a laser diode of higher class than 1 To ensure continued safety do not remove any covers or attempt to gain access to the inside of the product Refer all servicing to qualified personnel ...

Page 3: ... This product includes FontAvenue fonts licenced by NEC corporation FontAvenue is a registered trademark of NEC Corporation When disposing of used batteries please comply with governmental regulations or environmental public instruction s rules that apply in your country area D3 4 2 3 1_En POWER CORD CAUTION Handle the power cord by the plug Do not pull out the plug by tugging the cord and never t...

Page 4: ...content with the Disc Navigator 23 Browsing WMA MP3 and JPEG files with the Disc Navigator 24 Looping a section of a disc 25 Using repeat play 25 Using random play 26 Creating a program list 27 Searching a disc 28 Switching subtitles 28 Switching audio language channels 28 Zooming the screen 29 Switching camera angles 29 Displaying disc information 29 06 Audio Settings and Video Adjust menus Audio...

Page 5: ...joy extremely stable flicker free images with the same frame refresh rate as the original movie New Disc Navigator with moving pictures The new Disc Navigator enables you play the first few seconds of each title or chapter in a thumbnail image on screen DSP effects for enhanced playback See Audio Settings and Video Adjust menus on page 30 Picture zoom See Zooming the screen on page 29 MP3 and WMA ...

Page 6: ...ly in your country or area Hints on installation We want you to enjoy using this product for years to come so please use the following guidelines when choosing a suitable location Do Use in a well ventilated room Place on a solid flat level surface such as a table shelf or stereo rack Don t Use in a place exposed to high temperatures or humidity including near radiators and other heat generating a...

Page 7: ... Level 1 or 2 compliant CD physical format Mode1 Mode2 XA Form1 Romeo and Joliet file systems are both compatible with this player Multi session playback No Unfinalized disc playback No DVD R RW compatibility Compatible formats DVD Video Video Recording VR Edit points may not play exactly as edited screen may go momentarily blank at edited points Unfinalized playback No WMA MP3 JPEG file playback ...

Page 8: ...mpatible formats Baseline JPEG and EXIF 2 2 still image files up to a resultion of 3072 x 2048 File format used by digital still cameras Progressive JPEG compatible No File extensions jpg must be used for the player to recognize JPEG files do not use for other file types File structure Up to 299 folders up to 648 folders and files combined PC created disc compatibility Discs recorded using a perso...

Page 9: ...t this player to your TV via a VCR using audio video or S video cables as the picture from this player will not appear properly on your TV This player may also not be compatible with some combination TV VCRs for the same reason refer to the manufacturer for more information When connecting to your TV as shown above do not set the Component Out setting see Video Output settings on page 33 to Progre...

Page 10: ...iers and AV receivers Connecting using the S video output If your TV or other equipment has an S video S1 input you can use the S video output on this player instead of the standard composite output for a better quality picture Use an S video cable not supplied to connect the S VIDEO OUT to an S video input on your TV or monitor or AV receiver Line up the small triangle above the jack with the sam...

Page 11: ...ng the supplied video cable see Easy connections on page 9 then switch back to Interlace see below Switching the video output to interlace using the front panel controls Switch the player to standby then using the front panel controls press STANDBY ON while pressing to switch the player back to Interlace Compatibility of this player with progressive scan and high definition TVs This player is comp...

Page 12: ...d For an optical connection use an optical cable not supplied to connect the OPTICAL DIGITAL AUDIO OUT jack to an optical input on your AV receiver For a coaxial connection use a coaxial cable similar to the supplied video cable to connect the COAXIAL DIGITAL AUDIO OUT jack to a coaxial input on your AV receiver 2 Connect the analog AUDIO OUT L R and VIDEO OUT jacks on this player to a set of anal...

Page 13: ...7 6 page 17 7 page 17 8 TOP MENU page 18 9 ENTER cursor buttons page 15 10 MENU page 18 11 RETURN page 15 12 HOME MENU page 15 13 page 17 14 Remote control sensor page 14 15 Display 16 and page 18 17 Karaoke controls page 19 MIC input jacks VOLUME control ECHO control STANDBY ON OPEN CLOSE FL DIMMER TOP MENU MENU HOME MENU RETURN ENTER ECHO VOLUME MIC 2 MIC 1 MIN MAX MIN MAX 1 3 2 4 5 6 7 8 9 10 1...

Page 14: ...ing when using the remote control Make sure that there are no obstacles between the remote and the remote sensor on the unit The remote has a range of about 7m Remote operation may become unreliable if strong sunlight or fluorescent light is shining on the unit s remote sensor Remote controllers for different devices can interfere with each other Avoid using remotes for other equipment located clo...

Page 15: ...tton is pressed for around five minutes the screen saver starts If the disc tray is closed but no disc is playing and no control is pressed for about 30 minutes the player automatically goes into standby Using the on screen displays For ease of use this player makes extensive use of graphical on screen displays OSDs All the screens are navigated in basically the same way using the cursor buttons t...

Page 16: ...etails 4 Press HOME MENU to exit the menu screen Setting the language of this player s on screen displays This sets the language of the player s on screen displays 1 Press HOME MENU and select Initial Settings 2 Select OSD Language from the Display settings 3 Select a language The on screen language will change according to your selection 4 Press HOME MENU to exit the menu screen Playing discs The...

Page 17: ...ing an MP3 WMA disc it may take a few seconds before playback starts Note You may find with some DVD discs that some playback controls don t work in certain parts of the disc This is not a malfunction Basic playback controls The table below shows the basic controls on the remote for playing discs The following chapter covers other playback features in more detail 0 1 2 3 4 5 6 7 8 9 STANDBY ON OPE...

Page 18: ...s such as subtitle and audio language selection or special features such as slideshows See the disc packaging for details Sometimes DVD Video menus are displayed automatically when you start playback others only appear when you press MENU or TOP MENU Skips to the start of the current track or chapter then to previous tracks chapters Skips to the next track or chapter Numbers remote only Use to ent...

Page 19: ...t panel as well as controls for mixing the vocal level and amount of echo effect To use the karaoke function you must have this player connected to your TV or amplifier using the analog outputs See also page 9 12 1 Turn both VOLUME and ECHO counter clockwise to the minimum level To avoid possible damage to your speakers be sure to turn down the volume completely before preceeding to step 2 Button ...

Page 20: ...eeded may differ for different styles of music and for different preferences 7 Adjusting the music to suit your voice Use the key control on the remote control to match the backing music to your vocal range Press HIGH repeatedly to raise the pitch of the backing music Press LOW repeatedly to lower the pitch of the backing music Note You can adjust the HIGH tone in a range of five steps and the LOW...

Page 21: ...your player and discs on page 36 for information on cleaning discs If a disc loaded correctly won t play it s probably an incompatible format or disc type such as DVD ROM See Disc content format playback compatibility on page 7 for more on disc compatibility I have a widescreen TV so why are there black bars at the top and bottom of the screen when I play some discs Some movie formats are such tha...

Page 22: ...uper VCD playing in PBC mode or a WMA MP3 track playback automatically resumes at the end or beginning of the track Depending on the disc normal playback may automatically resume when a new chapter is reached on a DVD disc Playing in slow motion You can play DVDs at four different slow motion speeds forwards and backwards Video CD Super VCDs can be played at four different forward slow motion spee...

Page 23: ...or from the on screen menu 2 Select a view option The options available depend on the kind of disc loaded and whether the disc is playing or not but include Title Titles from a DVD Video disc Chapter Chapters from the current title of a DVD Video disc Track Tracks from a Video CD Super VCD disc Time Thumbnails from a Video CD Super VCD disc at 10 minute intervals Original Title Original titles fro...

Page 24: ...MENU and select Disc Navigator from the on screen menu 2 Use the cursor buttons and ENTER to navigate Use the cursor up down buttons to move up and down the folder file list Use the cursor left button to return to the parent folder Use ENTER or cursor right to open a highlighted folder You can also return to the parent folder by going to the top of the list to the folder then pressing ENTER When a...

Page 25: ...arious repeat play options depending on the kind of disc loaded It s also possible to use repeat play together with program play to repeat the tracks chapters in the program list see Creating a program list on page 27 Important You can t use Repeat play with Video CD Super VCDs in PBC mode or with WMA MP3 discs You can t use repeat and random play at the same time 1 During playback press HOME MENU...

Page 26: ...th program or repeat play 1 During playback press HOME MENU and select PLAY MODE from the on screen menu 2 Select Random from the list of func tions on the left 3 Select a random play option The random play options available depend on the kind of disc loaded For example for DVD discs you can select Random Title or Random Chapter or Random Off For CDs and Video CD Super VCDs select On or Off to swi...

Page 27: ...rt steps into the middle of a program list by just highlighting the position where you want the new step to appear and entering a title chapter track number To delete a step highlight it and press CLEAR 6 To play the program list press play Program play remains active until you turn off program play see below erase the program list see below eject the disc or switch off the player Tip Use the foll...

Page 28: ...econds press 8 0 3 0 5 Press ENTER to start playback Switching subtitles Some DVD discs have subtitles in one or more languages the disc box will usually tell you which subtitle languages are available You can switch subtitle language during playback 1 Press SUBTITLE repeatedly to select a subtitle option Note Some discs only allow you to change subtitle language from the disc menu Press TOP MENU ...

Page 29: ...oomed area You can change the zoom factor and the zoomed area freely during playback If the navigation square at the top of the screen disappears press ZOOM again to display it Switching camera angles Some DVD discs feature scenes shot from two or more angles check the disc box for details When a multi angle scene is playing a icon appears on screen to let you know that other angles are available ...

Page 30: ...ctive with Dolby Digital audio sources Audio DRC is only effective through the digital output when Digital Out is set to On and Dolby Digital Out is set to Dolby Digital PCM see Digital Audio Out settings on page 32 The effect of Audio DRC also depends on your speakers and AV receiver settings Virtual Surround Settings On Off default Switch on Virtual Surround to enjoy realistic surround sound eff...

Page 31: ...djust from the on screen display 2 Make settings using the cursor buttons and ENTER You can adjust the following picture quality settings Sharpness Adjusts the sharpness of edges in the picture Fine Standard default Soft Brightness Adjusts the overall brightness 20 to 20 Contrast Adjusts the contrast between light and dark 16 to 16 Gamma Adjusts the warmth of the picture High Medium Low Off defaul...

Page 32: ...equipment Check the operating instructions supplied with your other equipment to see which digital audio formats it s compatible with Some settings such as TV Screen Audio Language and Subtitle Language may be overridden by the DVD disc Often these settings can also be made from the DVD disc menu Digital Audio Out settings Initial Settings Setting Option What it means Digital Out On Digital audio ...

Page 33: ...can video see your TV s instruction manual for details See also Switching the video output to interlace using the front panel controls on page 11 Note that progressive scan video is only output from the component video jacks and that there is no output from the composite and S video jacks when this setting is selected Setting Option What it means Setting Option What it means Audio Language English...

Page 34: ... page 39 Subtitle Display On Subtitles are displayed according to your selected subtitle language see above Off Subtitles are always off by default when you play a DVD disc note that some discs override this setting Setting Option What it means Setting Option What it means OSD Language English On screen displays of the player are in English Languages as displayed On screen displays are shown in th...

Page 35: ...r password confirm your existing password then enter a new one 1 Select Password Change 2 Use the number buttons to enter your existing password then press ENTER 3 Enter a new password and press ENTER This registers the new password and you will return to the Options menu screen Setting changing the Parental Lock 1 Select Level Change 2 Use number buttons to enter your password then press ENTER 3 ...

Page 36: ...used only with conventional fully circular discs Do not use shaped discs Pioneer disclaims all liability arising in connection with the use of shaped discs Cleaning discs Fingerprints and dist on discs can affect playback performance Clean using a soft dry cloth wiping the disc lightly from the center to the outside edge as shown below If necessary use a cloth soaked in alcohol or a commercially a...

Page 37: ...deo discs come in several different screen aspect ratios ranging from TV programs which are generally 4 3 to CinemaScope widescreen movies with an aspect ratio of up to about 7 3 Televisions too come in different aspect ratios standard 4 3 and widescreen 16 9 Widescreen TV users If you have a widescreen TV the TV Screen setting page 33 of this player should be set to 16 9 Wide When you watch discs...

Page 38: ...BY ON to switch the TV system The TV system changes as follows AUTO NTSC NTSC PAL PAL AUTO Note You have to switch the player into standby press STANDBY ON before each change Resetting the player Use this procedure to reset all the player s settings to the factory default 1 Switch the player into standby 2 Using the front panel buttons hold down the stop button and press STANDBY ON to switch the p...

Page 39: ...gram below shows the various DVD regions of the world Selecting languages using the language code list Some of the language options such as DVD Language in the Setup Navigator allow you to set your prefered language from any of the 136 languages listed in the language code list on page 40 1 Select Other Language 2 Use the cursor left right buttons to select either a code letter or a code number 3 ...

Page 40: ... 1307 Maori mi 1309 Macedonian mk 1311 Malayalam ml 1312 Mongolian mn 1314 Moldavian mo 1315 Marathi mr 1318 Malay ms 1319 Maltese mt 1320 Burmese my 1325 Nauru na 1401 Nepali ne 1405 Norwegian no 1415 Occitan oc 1503 Oromo om 1513 Oriya or 1518 Panjabi pa 1601 Polish pl 1612 Pashto Pushto ps 1619 Quechua qu 1721 Rhaeto Romance rm 1813 Kirundi rn 1814 Romanian ro 1815 Kinyarwanda rw 1823 Sanskrit ...

Page 41: ...e time and thumbnail information as well as the picture data File extension A tag added to the end of a filename to indicate the type of file For example mp3 indicates an MP3 file ISO 9660 format International standard for the volume and file structure of CD ROM discs JPEG A standard file format used for still images JPEG files are identified by the file extension jpg MP3 MP3 MPEG1 audio layer 3 i...

Page 42: ...t Output level 1 Vp p 75 Ω Jack RCA Audio output 1 stereo pair Output level During audio output 200 mVrms 1 kHz 20 dB Number of channels 2 Jacks RCA Digital audio characteristics Frequency response 4 Hz to 44 kHz DVD fs 96 kHz S N ratio 115 dB Dynamic range 101 dB Total harmonic distortion 0 0020 Wow and flutter Limit of measurement 0 001 W PEAK or lower Digital output Coaxial digital output jack ...

Page 43: ...n 1 B 9120 Melsele Belgium TEL 03 570 05 11 PIONEER ELECTRONICS ASIACENTRE PTE LTD 253 Alexandra Road 04 01 Singapore 159936 TEL 656 472 1111 PIONEER ELECTRONICS AUSTRALIA PTY LTD 178 184 Boundary Road Braeside Victoria 3195 Australia TEL 03 9586 6300 PIONEER ELECTRONICS DE MEXICO S A DE C V Blvd Manuel Avila Camacho 138 10 piso Col Lomas de Chapultepec Mexico D F 11000 TEL 55 9178 4270 K002_En TP...

Reviews: