48
F80BT
Hides the touch panel keys.
To display again the keys, touch
anywhere on the screen.
p
A High Speed HDMI
®
Cable (sold separately) is required for
connection.
Refer to the Installation Manual.
p
You can set the screen size for the video image.
Refer to
Changing the wide screen mode
on page 63
CAUTION
For safety reasons, video images cannot be viewed while your
vehicle is in motion. To view video images, stop in a safe place
and apply the handbrake.
Starting procedure
1 Display the AV source selection screen.
2 Touch [
HDMI
].
HDMI source
p
You cannot adjust the volume of the main sound on the
screen. Press the
VOL
(
+
/
–
) button to adjust the volume of
the main sound.
3
Adjusts the guidance volume and alert sound volume.
p
Each touch of [
+
] or [
–
] increases or decreases the volume
level.
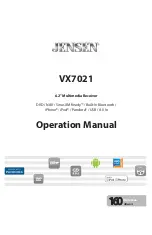
Playback screen 1
Skips files forward or backward.
Plays files in random order.
Playback screen 2
Sets a repeat play range.
Switches between playback
and pause.
Selects a file from the list.
Refer to
Selecting files from the file name list
on
p
Depending on the Bluetooth audio player connected to this
product, the available operations with this product may be
limited to the following two levels:
— A2DP (Advanced Audio Distribution Profile): Only playing
back songs on your audio player is possible.
— A2DP and AVRCP (Audio/Video Remote Control Profile):
Playing back, pausing, selecting songs, etc., are possible.
p
Depending on the Bluetooth audio player connected to this
product, some functions may not be available.
p
While you are listening to songs on your Bluetooth device,
please refrain from operating the phone function as much as
possible. If you try operating, the signal may cause noise for
song playback.
p
When you are talking on the Bluetooth device connected to
this product via Bluetooth, it may pause playback.
p
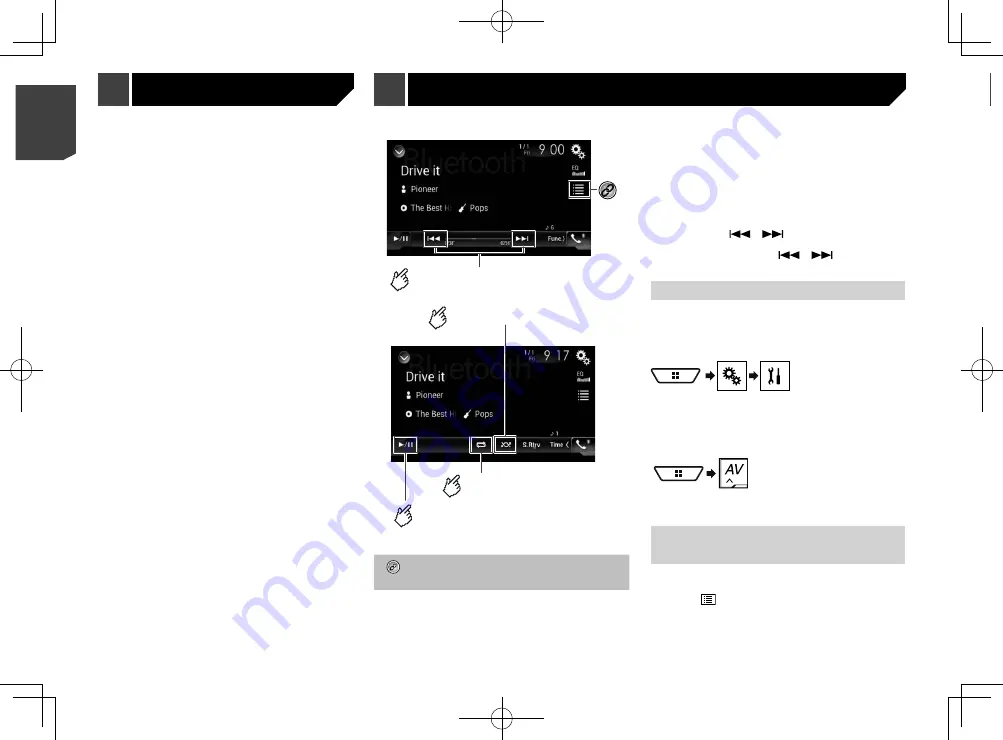
By pressing the
or
button, you can also skip files
forwards or backwards.
p
By pressing and holding the
or
button, you can
also perform fast reverse or fast forwards.
Starting procedure
p
Before using the Bluetooth audio player, register and con-
nect the device to this product.
Refer to
Registering your Bluetooth devices
on page 29
1 Display the “
System
” setting screen.
2 Touch [
AV Source Settings
].
3 Confirm that “
Bluetooth Audio
” is turned on.
4 Display the AV source selection screen.
5 Touch [
Bluetooth Audio
].
Selecting files from the file
name list
p
This function is available only when the AVRCP version of the
Bluetooth device is 1.4 or higher.
1 Touch
.
2 Touch a file or a folder on the list to play back.
Bluetooth audio player
48
< CRB4783-A >
< CRB4783-A >
Android Auto
™
Bluetooth audio player
HDMI source