14
En
Using TIME WARP
The Time Warp function can be used to automatically loop record the
output from the unit so that you can call patterns previously played.
1 Press the
[TIME WARP]
button.
The
[TIME WARP]
button changes from a dim white light to a bright
white light.
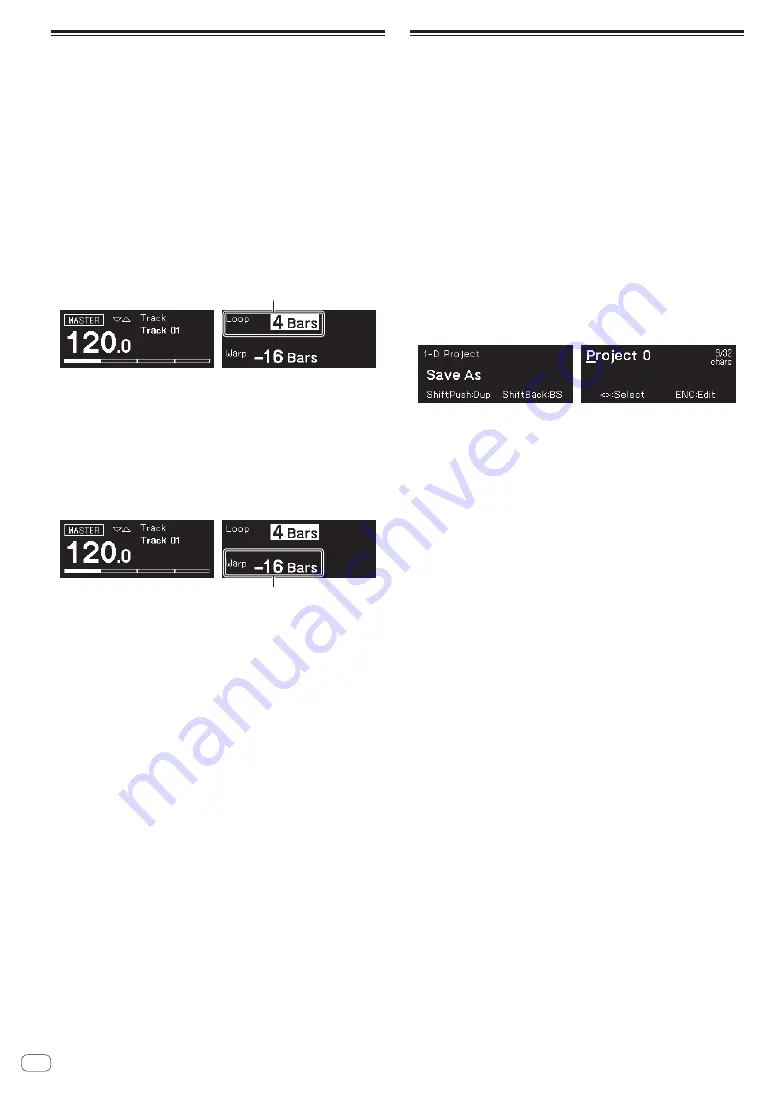
The display shows the length of the pattern to be previewed.
!
If the
[TIME WARP]
button is pressed during pattern playback,
the unit plays back to the fourth beat indicator (the
[TIME WARP]
button flashes), and then enters Time Warp mode (the
[TIME
WARP]
button lights up).
!
The pattern cannot be changed while in Time Warp mode.
2 Turn the rotary selector.
The pattern can be previewed in different lengths:
[1 Bar]
,
[2 Bars]
,
[3 Bars]
,
[4 Bars]
.
The lengh of the pattern to be previewed
3 Press the desired pad to begin previewing.
The unit plays the loop with the length specified in step 2 from the pad
that was pressed.
The pads that light up brightly are in the preview range. The pads with
a dim light can be selected to start the preview. The preview cannot be
started at pads that do not light up.
!
The preview restarts each time a pad is pressed.
!
To stop a preview, press the
[
g
]
(stop) button.
!
The length of one pad is 1 Bar.
The beginning of the preview
4 Press the
[PATTERN]
button.
The unit enters Save mode and the
[PATTERN]
button lights up green.
The pad of the current pattern lights up brightly. The pads with saved
patterns have a dim light. The pads do not light up when there are no
saved patterns.
5 Press the desired pad to save a pattern being
previewed.
The pattern is saved and the pressed pad lights up.
!
A pattern cannot be saved to the pad with the current pattern.
6 Press the
[PATTERN]
button again to exit Save mode.
The
[PATTERN]
button dims green.
7 Press the
[TIME WARP]
button again to exit Time
Warp mode.
The
[TIME WARP]
button changes from a bright white light to a dim
white light.
Saving a project
1 Press the
[GLOBAL]
button.
The
[GLOBAL]
button lights up and the display shows the GLOBAL
menu.
2 Turn the rotary selector to select
[Save As]
, and press
the rotary selector.
!
Select
[Save]
to overwrite the project.
3 Press the
[
c
]
/
[
d
]
button to move the cursor and
change the character by turning the rotary selector.
Name the project by repeating this step.
!
Alphanumeric characters, symbols, or a blank space can be
inserted.
!
To delete a character in front of the cursor, press and hold the
[SHIFT]
button and press the
[BACK]
button.
!
To insert a blank in front of the cursor, press and hold the
[SHIFT]
button and press the rotary selector.
!
When an existing project is opened, the name of the project
appears in the display.
4 Press the rotary selector.
The project is saved.
Summary of Contents for Toraiz Squid
Page 16: ...16 En...
Page 17: ...En 17...
Page 18: ...18 En...
Page 19: ...En 19 PIONEER ELECTRONICS USA INC UCP0516...
Page 20: ......


