background image

En

3

En

The Safety of Your Ears is in Your Hands

Get the most out of your equipment by playing it at a 
safe level – a level that lets the sound come through 
clearly without annoying blaring or distortion and, most 
importantly, without affecting your sensitive hearing. 
Sound can be deceiving. Over time, your hearing 
“comfort level” adapts to higher volumes of sound, so 
what sounds “normal” can actually be loud and harmful 
to your hearing. Guard against this by setting your 
equipment at a safe level BEFORE your hearing adapts.

ESTABLISH A SAFE LEVEL:

•  Set your volume control at a low setting. 
•  Slowly increase the sound until you can hear it 

comfortably and clearly, without distortion. 

•  Once you have established a comfortable sound 

level, set the dial and leave it there.

BE SURE TO OBSERVE THE FOLLOWING 
GUIDELINES:

•  Do not turn up the volume so high that you can’t 

hear what’s around you.

•  Use caution or temporarily discontinue use in 

potentially hazardous situations.

•  Do not use headphones while operating a motorized 

vehicle; the use of headphones may create a traffic 
hazard and is illegal in many areas.

S001a_A1_En

NOTE:

This equipment has been tested and found to comply with the limits for a Class B digital device, pursuant to Part 15 
of the FCC Rules. These limits are designed to provide reasonable protection against harmful interference in a 
residential installation. This equipment generates, uses, and can radiate radio frequency energy and, if not installed 
and used in accordance with the instructions, may cause harmful interference to radio communications. However, 
there is no guarantee that interference will not occur in a particular installation. If this equipment does cause 
harmful interference to radio or television reception, which can be determined by turning the equipment off and on, 
the user is encouraged to try to correct the interference by one or more of the following measures:
— Reorient or relocate the receiving antenna.
— Increase the separation between the equipment and receiver.
— Connect the equipment into an outlet on a circuit different from that to which the receiver is connected.
— Consult the dealer or an experienced radio/TV technician for help.

D8-10-1-2_A1_En

IMPORTANT NOTICE

THE MODEL NUMBER AND SERIAL NUMBER OF 
THIS EQUIPMENT ARE ON THE REAR OR BOTTOM.
RECORD THESE NUMBERS ON PAGE 19 FOR 
FUTURE REFERENCE.                           

D36-AP9-3*_A1_En

Information to User

Alterations or modifications carried out without 
appropriate authorization may invalidate the user’s 
right to operate the equipment.

D8-10-2_A1_En

WARNING

Store small parts out of the reach of children and 
infants. If accidentally swallowed, contact a doctor 
immediately.

D41-6-4_A1_En

When using this product, confirm the safety 
information shown on the bottom of the unit.

D3-4-2-2-4_B1_En

FEDERAL COMMUNICATIONS COMMISSION DECLARATION OF CONFORMITY

This device complies with part 15 of the FCC Rules. Operation is subject to the following two conditions: (1) This 
device may not cause harmful interference, and (2) this device must accept any interference received, including 
interference that may cause undesired operation.
 

Product Name:  DJ Controller


Model Number:  DDJ-1000SRT

 Responsible Party Name:  PIONEER ELECTRONICS (USA) INC. SERVICE SUPPORT DIVISION
 

Address:  2050 W, 190th Street, Suite 100, Torrance, CA 90504, U.S.A


Phone: 1-310-952-2915


URL: pioneerelectronics.com

D8-10-4*_C1_En

CAUTION

This product is evaluated in moderate climate 
condition.

D3-8-2-1-7b_A1_En

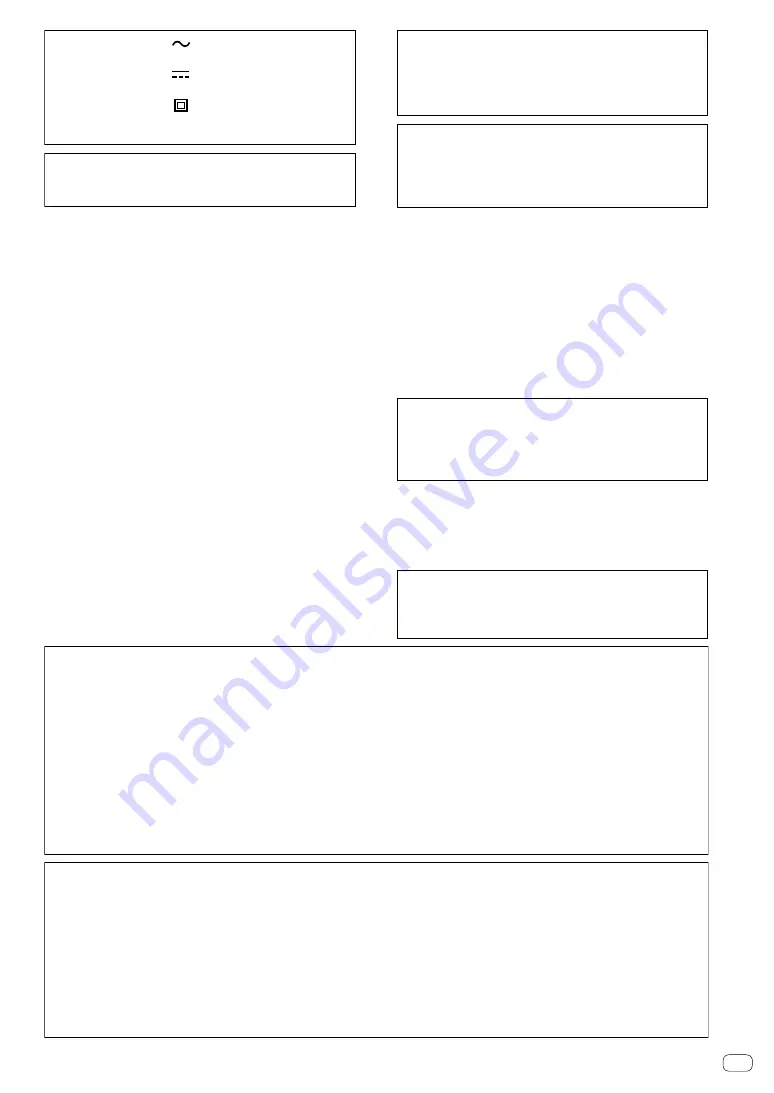
The graphical symbol       placed on the product 
means alternating current.
The graphical symbol       placed on the product 
means direct current.
The graphical symbol       placed on the product 
means Class II equipment.

D3-8-2-4_A1_En

POWER-CORD CAUTION

Handle the power cord by the plug. Do not pull out the 

plug by tugging the cord and never touch the power cord 

when your hands are wet as this could cause a short 

circuit or electric shock. Do not place the unit, a piece of 

furniture, etc., on the power cord, or pinch the cord. Never 

make a knot in the cord or tie it with other cords. The 

power cords should be routed such that they are not likely 

to be stepped on. A damaged power cord can cause a fire 

or give you an electrical shock. Check the power cord once 

in a while. When you find it damaged, ask your nearest 

service center or your dealer for a replacement.

S002*_A1_En

[Supplied power cord]

The supplied power cord is designed specifically for 
120 V. Do not use it with a voltage other than 120 V.
Doing so may cause a fire or electric shock.

D3-7-14_PDJ_A1_En

Summary of Contents for Serato DDJ-1000SRT

Page 1: ...pioneerdj com support http serato com For FAQs and other support information for this product visit the above websites DJ Controller DDJ 1000SRT Operating Instructions Quick Start Guide ...

Page 2: ...nufacturer or sold with the apparatus When a cart is used use caution when moving the cart apparatus combination to avoid injury from tip over Unplug this apparatus during lightning storms or when unused for long periods of time Refer all servicing to qualified service personnel Servicing is required when the apparatus has been damaged in any way such as power supply cord or plug is damaged liquid...

Page 3: ...ced radio TV technician for help D8 10 1 2_A1_En IMPORTANT NOTICE THE MODEL NUMBER AND SERIAL NUMBER OF THIS EQUIPMENT ARE ON THE REAR OR BOTTOM RECORD THESE NUMBERS ON PAGE 19 FOR FUTURE REFERENCE D36 AP9 3 _A1_En Information to User Alterations or modifications carried out without appropriate authorization may invalidate the user s right to operate the equipment D8 10 2_A1_En WARNING Store small...

Page 4: ...may differ from the ways shown in this manual Please note that the language on the screens of the software described in this manual may differ from the language on your screen This manual provides brief descriptions regarding the names of parts on the unit and the connections between the unit and peripherals For more detailed instructions on using the unit see its Operating Instructions For detail...

Page 5: ...ling the software Before you install the software The Serato DJ Pro software and driver software are not included with the unit Access and download the software from the Pioneer DJ support page pioneerdj com support You are responsible for preparing your PC Mac network devices and other elements needed to connect to the internet Downloading the driver software 1 Launch a web browser on your PC Mac...

Page 6: ...the download page and click DOWNLOAD SERATO DJ PRO to download the software Installation procedure Mac Do not connect the unit to your Mac until installation is complete Quit any other programs that are running on your Mac 1 Unzip the downloaded driver software DDJ1000SRTXXXdmg zip 2 Double click DDJ 1000SRT_M_X X X dmg 3 Double click DDJ 1000SRT_AudioDriver pkg 4 Follow the on screen instructions...

Page 7: ...10 14 macOS High Sierra 10 13 you don t need to follow these steps When installing Pioneer DJ driver software on macOS Mojave 10 14 macOS High Sierra 10 13 the following screen is displayed Click OK to allow the driver software installation The installation will finish 1 Open System Preferences then click Security Privacy 2 Check that System software from developer Pioneer DJ Corporation was block...

Page 8: ...r details on each button and knob refer to the Part names and functions section in the Operating Instructions 1 Browser section 2 Deck section 3 Mixer section Browser section 1 Rotary selector 2 BACK button 3 LOAD PREPARE button ...

Page 9: ...IZE button 4 SLIP button 5 JOG ADJUST knob 6 SYNC button 7 KEY LOCK button 8 TEMPO slider 9 HOT CUE mode button a ROLL mode button b SLICER mode button c SAMPLER mode button d PARAMETER buttons e KEY SYNC button f KEY RESET button g Performance Pads h PLAY PAUSE button i CUE button j BEAT JUMP buttons k SHIFT button l GRID button m DECK SELECT button n CENSOR button o LOOP IN button p LOOP OUT but...

Page 10: ...splay b BEAT buttons c BEAT FX SELECT knob d BEAT FX CH SELECT knob e BEAT FX LEVEL DEPTH knob f BEAT FX ON OFF button g HEADPHONES LEVEL knob h HEADPHONES MIX knob i SAMPLER VOL knob j SAMPLER CUE button k SOUND COLOR FX SELECT buttons l MIC EQ HI LOW knobs m MIC2 LEVEL knob n MIC1 LEVEL knob o Channel level indicators p TRIM knobs q EQ HI MID LOW knobs r COLOR knobs s Headphones CUE buttons t Ch...

Page 11: ...to these terminals 3 MASTER 2 output terminals 4 BOOTH output terminals 5 SIGNAL GND terminal 6 LINE PHONO switch 7 LINE PHONO input terminals 8 LINE input terminals 9 USB port USB B a USB port USB A b MIC2 input terminal c MIC1 input terminal d switch This switch is between standby and on for this product e DC IN terminal f Cord hook Front panel 1 PHONES output terminals ...

Page 12: ...d AC adapter Be sure to use the supplied USB cable or one that supports USB 2 0 Do not use a USB hub Connection examples Connecting input terminals Rear panel Portable audio device Multi player Analog player 1 Multi player 2 Microphone PC Mac Analog player 1 Multi player 2 Multi player Portable audio device To power outlet Power cord supplied AC adapter supplied 1 When connecting an analog player ...

Page 13: ...rter adapter etc sound quality may decrease or noise may occur To connect to an unbalanced input such as RCA use the MASTER 2 output terminals 2 Be careful not to accidentally insert the power cord plug of another unit or device into a MASTER 1 output terminal Do not connect devices capable of supplying phantom power to the MASTER 1 output terminals 3 Be sure to use the BOOTH output terminals for ...

Page 14: ...Operating Instructions 3 Connect the unit to your PC Mac via a USB cable 4 Turn on your PC Mac 5 Connect the AC adapter 6 Press the switch on this unit s rear panel to turn the unit on For Windows users The preparing device message may appear when this unit is first connected to a different USB port on the PC Wait until the ready to use message appears 7 Turn on the devices connected to the output...

Page 15: ... Pro software is launched The BUY ACTIVATE icon may appear on the right side of the screen when you launch Serato DJ Pro for the first time However you don t need a license to use the DDJ 1000SRT You can buy expansion packs such as DVS and use them as additional options The screen when tracks are loaded onto decks in the Serato DJ Pro software Click Library in the top left corner of the screen the...

Page 16: ... to add to your library 3 Drag and drop the selected folder to the crates panel A crate is created and the tracks are added to your library a b a Files panel b Crates panel Loading a track onto a deck The following explains how to load a track onto deck 1 as an example 1 Rotary selector 2 BACK button 1 Press the BACK button on this unit move the cursor to the crates panel then turn the rotary sele...

Page 17: ... shown below Names of knob etc Position HEADPHONES MIX knob Center HEADPHONES LEVEL knob Turned fully counterclockwise 2 Press the headphones CUE button for channel 1 3 Turn the HEADPHONES LEVEL knob Adjust the headphones volume to a level you re happy with Note This unit and the Serato DJ Pro software include a variety of features enabling characteristic DJ performances For details on the respect...

Page 18: ...full responsibility of the person who has downloaded the music to ensure that it is used in accordance with the contract concluded with the download site Specifications AC adapter Power AC 100V to 240 V 50 Hz 60 Hz Rated current 0 9 A Rated output DC 12 V 3 A General Main Unit Power consumption DC 12V 2 000 mA Main unit weight 6 0 kg 13 4 lb Max external dimensions W H D 708 mm 73 4 mm 361 4 mm 27...

Page 19: ...En 19 Additional information PIONEER ELECTRONICS USA INC UCP0516 ...

Page 20: ...o purchase replacement parts operating instructions or accessories please go to one of following URLs Pour enregistrer votre produit trouver le service après vente agréé le plus proche et pour acheter des pièces de rechange des modes d emploi ou des accessoires reportez vous aux URL suivantes Printed in Malaysia DRH1560 A 2019 Pioneer DJ Corporation All rights reserved ...

Reviews: